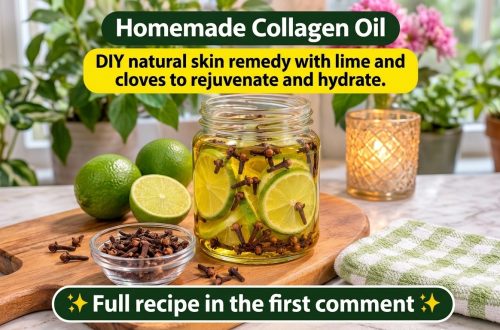
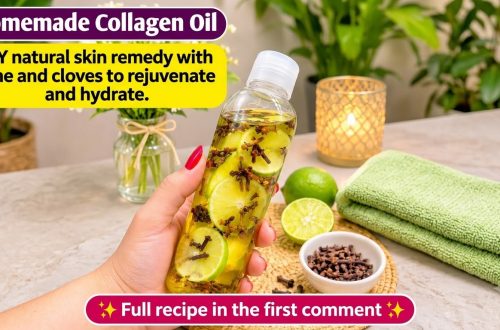
Who doesn’t love the idea of a simple, homemade beauty ritual that feels a little like a spa night at home? A warm-scented DIY oil is one of the easiest ways to pamper your face and neck, and it fits nicely into a calm evening routine. Let’s walk through what this homemade anti-aging oil is all about, what to keep in mind, and how to make it a gentle part of your self-care habits.
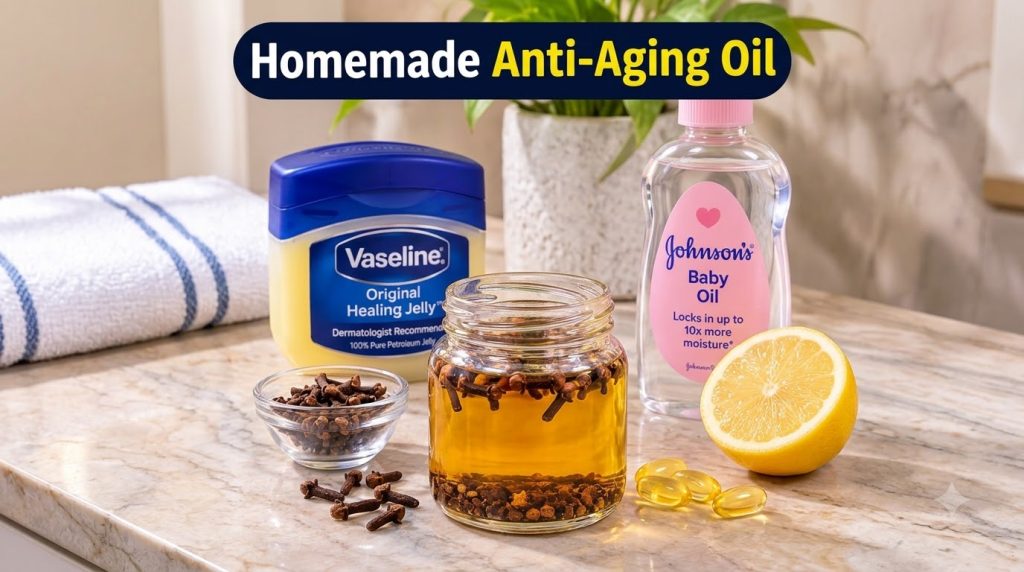
What Is a DIY Anti-Aging Oil?
A DIY anti-aging oil is a simple facial oil made at home by infusing a carrier oil with gentle botanicals such as cloves, citrus peel, or herbs. The idea is to create a nourishing layer that helps your skin feel soft, supple, and comfortable. Oils are popular because they can help lock in moisture, which is especially helpful for dry or tired-looking skin.
It’s important to keep expectations realistic. No homemade oil can erase wrinkles or change your skin’s age overnight. Think of it as one small step in a healthy routine that also includes cleansing, moisturizing, sunscreen, and good sleep.
Why People Love This Kind of Recipe
- It uses ingredients many people already have at home.
- It feels like a relaxing ritual that makes skincare more enjoyable.
- You control what goes into your blend, which appeals to natural beauty fans.
- It can be a budget-friendly alternative to expensive serums.
Know the Common Ingredients
Most homemade oil blends follow a similar pattern. You start with a gentle base oil, then add a small amount of an aromatic or botanical ingredient for scent and extra character.
- Base oil: Options like sweet almond oil or jojoba oil are popular because they are light and easy to spread.
- Infusion ingredients: Dried cloves and lemon peel are often used for their strong, fresh aroma. Use them sparingly.
- Storage: A clean, dry glass jar with a tight lid keeps your blend fresh and away from direct sunlight.
Simple Steps to Make Your Own Oil
- Choose a clean, dry glass jar and make sure it is fully sterilized.
- Add a small handful of dried cloves or a few thin strips of lemon peel to the jar.
- Pour in your base oil until the ingredients are fully covered.
- Seal the jar and store it in a cool, dark place for about one to two weeks, shaking it gently every day.
- Strain the oil through a fine mesh or clean cloth into a clean bottle.
- Label the bottle with the date so you know when to make a fresh batch.
Important Safety Tips
Natural does not always mean gentle for everyone. Clove and citrus can be strong, so a little goes a long way.
- Always do a patch test on a small area of skin, such as your inner arm, and wait 24 hours before using it on your face.
- Avoid citrus-based oils before going out in strong sun, as citrus can make skin more sensitive to light.
- Stop using the oil if you notice redness, itching, or stinging.
- If you have sensitive skin, a medical condition, or a skin concern, check with a dermatologist first.
How to Use It in Your Routine
Apply a few drops to clean, slightly damp skin after your cleanser and toner. Gently press it in with your fingertips, focusing on dry areas like cheeks and the neck. Use it at night for a calming finishing step, and follow up with your favorite moisturizer if you like extra hydration.
Common Beauty Mistakes to Avoid
- Using too much oil, which can leave skin feeling heavy or greasy.
- Skipping sunscreen during the day, which matters far more for youthful skin than any single product.
- Expecting instant results instead of giving your routine a few weeks.
The Bottom Line
A homemade anti-aging oil can be a lovely, budget-friendly addition to your self-care routine when you use it with care. Focus on gentle ingredients, patch test first, and enjoy the calming ritual as part of a healthy lifestyle. Tell us in the comments how you like to pamper your skin at home!