Curious about the secret to truly youthful-looking skin? Many people today are turning back to simple, everyday ingredients that have been used in home beauty routines for generations. The idea of a homemade skin repair cream is appealing because it is affordable, easy to customize, and made from products many of us already have in the bathroom or kitchen.
Why the Idea of a Skin Repair Cream Is So Popular
Dry, dull, or tired-looking skin can make anyone want a richer routine. Many readers look for gentle options that feel nourishing without a long list of complicated ingredients. A simple homemade cream focuses on three things: sealing in moisture, soothing the skin, and supporting a healthy-looking glow over time.
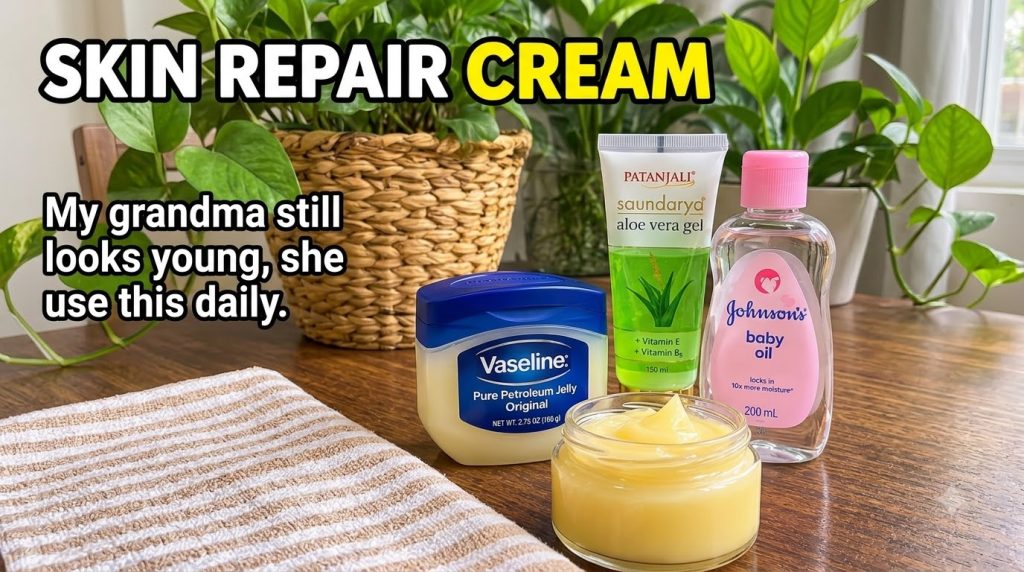
It is also worth remembering that a comforting story, like the one shown in the viral caption, is not the same as scientific proof. Results vary from person to person, and genes, sun exposure, diet, and lifestyle all play a big role in how skin ages.
Common Ingredients and What They Do
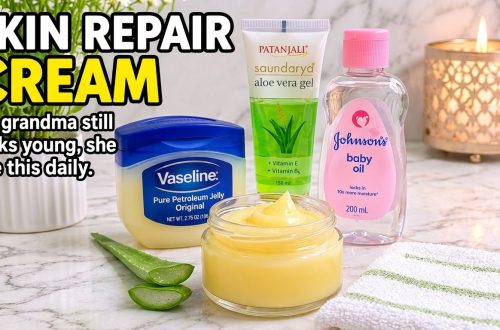
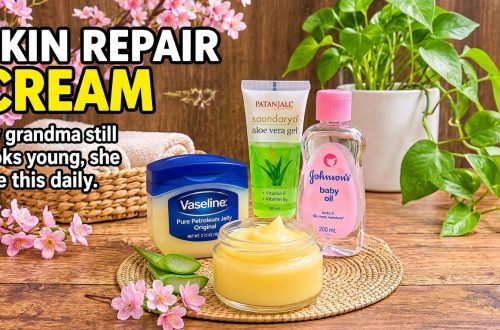
- Petroleum jelly: Acts as an occlusive barrier that helps reduce water loss from the skin, which can be useful for very dry areas such as elbows, heels, and lips.
- Aloe vera gel: Lightweight and soothing, it is often used to calm and hydrate the skin. Choose a pure gel without added alcohol or fragrance.
- Vitamin E oil: A popular antioxidant ingredient often included in moisturizing routines, though it can cause irritation or sensitivity for some people.
- Baby oil: Mineral oil based and gentle for many users, it can help lock in moisture after washing, but it may feel heavy on oily skin.
A Simple Homemade Cream Method
Here is a basic approach many DIY readers try. Start with clean hands and clean containers, and use fresh ingredients whenever possible.
- Add two tablespoons of pure aloe vera gel to a small clean bowl.
- Stir in one tablespoon of petroleum jelly until it is evenly blended into a smooth texture.
- Add a few drops of vitamin E oil if you would like an extra nourishing touch.
- Transfer the mixture to a clean, airtight glass jar and label it with the date.
- Store it in a cool place and use within a short period, since homemade products do not contain the preservatives found in commercial creams.
Safety Tips Before You Try It
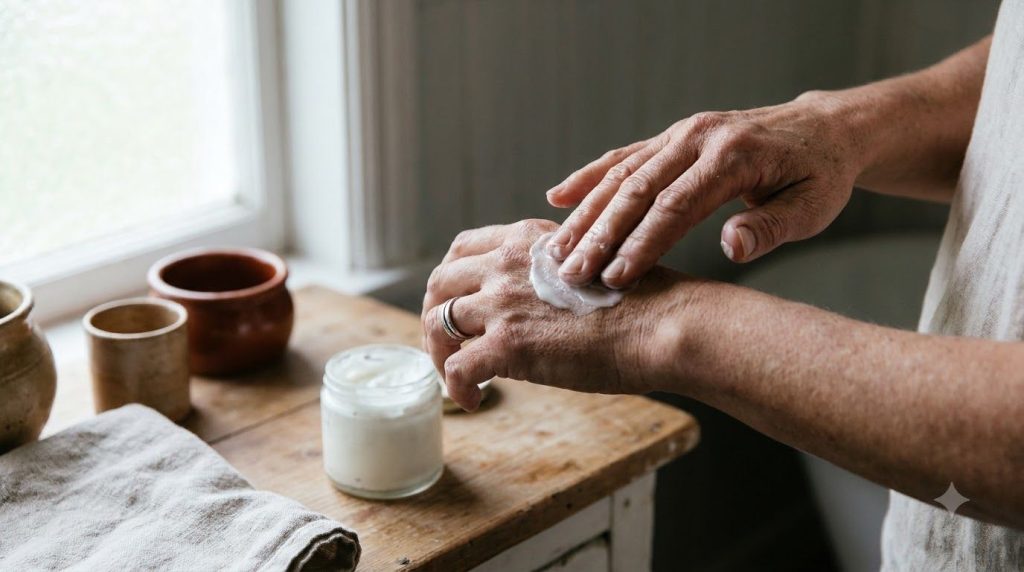
Before applying any homemade mixture to your face, perform a patch test. Dab a small amount on the inner forearm or behind the ear, wait 24 to 48 hours, and watch for redness, itching, or irritation. Stop using the product if any reaction appears.
Petroleum jelly and oils can clog pores for some skin types, especially for those prone to breakouts. If you have acne-prone, rosacea-prone, or very sensitive skin, consider speaking with a dermatologist before adding new homemade products to your routine.
Realistic Expectations and Everyday Habits
A cream can support skin comfort, but it cannot reverse aging on its own. Daily sunscreen, adequate hydration, restful sleep, and a gentle cleansing routine usually have a far bigger impact on how skin looks over the years. Pairing a simple moisturizer with these healthy habits is often the most practical path toward a fresh, radiant appearance.
Final Thoughts
A homemade skin repair cream can be a budget-friendly way to explore natural beauty and build a calming self-care ritual. Keep the recipe simple, test it carefully, and focus on consistent everyday habits. If you enjoy DIY beauty, save this guide and share your experience with others who love natural skincare.