This homemade amla hair oil is a traditional home hair care idea used to support darker-looking, shinier hair. It is simple to make with a base oil and amla powder, and it can leave hair feeling softer and smoother after regular use.
Quick Recipe
Prep time: About 15 minutes, plus cooling and infusing time.
Best for: Dull-looking hair, dry ends, and a scalp care routine aimed at darker-looking hair.
Use type: Hair oil.
Main ingredients:
- Coconut oil or another light hair oil
- Dried amla powder
- A small glass jar for storage
Ingredients
- 1/2 cup (120 ml) coconut oil
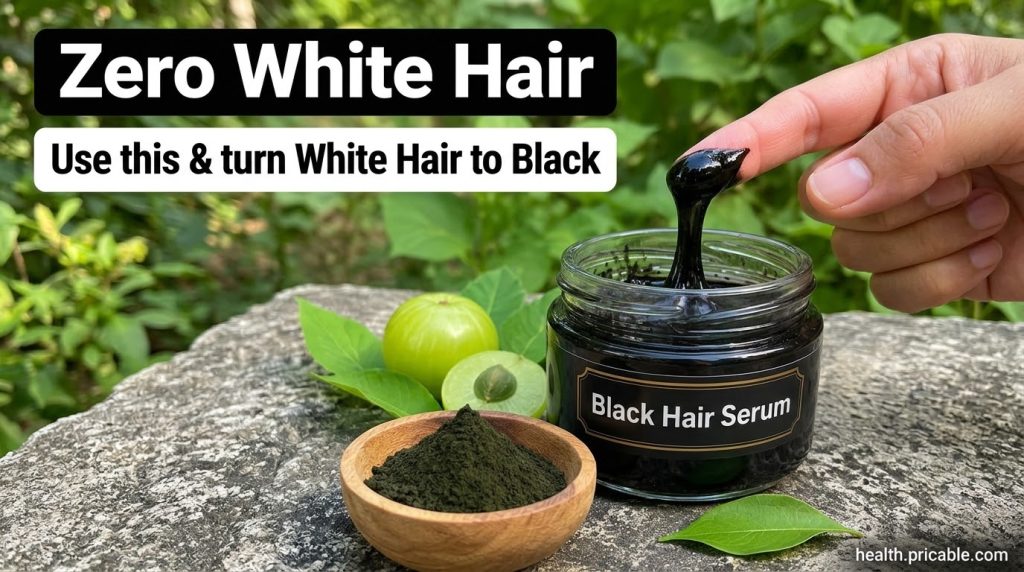
- 2 tablespoons dried amla powder
- Optional: 5 to 6 fresh curry leaves for fragrance
How to Make It
- Add the coconut oil to a small saucepan and warm it over very low heat until it is just melted. Do not let it boil.
- Turn off the heat and stir in the dried amla powder. Mix well so there are no dry clumps.
- Let the mixture sit on the lowest heat for about 3 to 5 minutes, stirring often, then remove it from the stove. If using curry leaves, add them now and let them steep as the oil cools.
- Allow the oil to cool completely. Strain it through a fine sieve or cheesecloth into a clean dark glass jar.
- Label the jar with the date and store it in a cool, dry place away from direct sunlight.
How to Use It
- Part your hair into sections and apply a small amount of oil directly to your scalp using your fingertips.
- Massage gently in small circles for 3 to 5 minutes, then smooth a little through the lengths and ends.
- Leave the oil on for at least 1 hour, or overnight with a shower cap if you prefer. Wash with a mild shampoo and rinse well.

How Often to Use It
Most people can use this oil 1 to 2 times per week. Start with a small amount, and use less if your scalp feels greasy. Consistency matters more than strength, so regular use over several weeks is a better way to judge results.
Why These Ingredients Are Used
Amla
Amla is a traditional fruit in home hair care routines. It is often used in oils and rinses to help hair feel softer and look fuller and healthier.
Coconut Oil
Coconut oil is a common base for hair oils. It helps the oil spread easily and can leave hair feeling smooth and conditioned.
Curry Leaves
Curry leaves are optional. They add a fresh scent and are traditionally included in many home hair oil recipes.
What Results to Expect
This oil is best seen as a supportive routine rather than a quick fix. Many people notice hair that feels softer, looks shinier, and seems to have a richer tone over time. It cannot change the color of grey or white hair on its own, and results vary from person to person.
Safety Notes
- Patch test first for topical remedies. Apply a small amount behind the ear or on the inner arm and wait 24 hours.
- Use gently.
- Avoid irritated, broken, or infected scalp skin.
- Stop using it if discomfort, itching, redness, or flaking occurs.
- Coconut oil can clog pores or cause buildup for some people, so use a light amount and wash thoroughly.
- Keep the jar tightly closed and discard the oil if it smells sour or changes color.
FAQ
Can this oil turn white hair completely black?
No product can guarantee that. This oil is traditionally used to support darker-looking, shinier hair, but results vary and grey hair may not change.
How long does the oil last?
Store it in a cool, dry, dark place and use it within about 2 to 3 months. Refrigeration can help in warm climates.
Can I use it on color-treated hair?
Yes, but patch test first, especially if your scalp is sensitive or you have recently had chemical treatments.
Final Thoughts
A simple amla oil is an easy addition to a natural hair care routine. Try the recipe, follow the patch test, and share your experience in the comments or save this guide for your next batch.