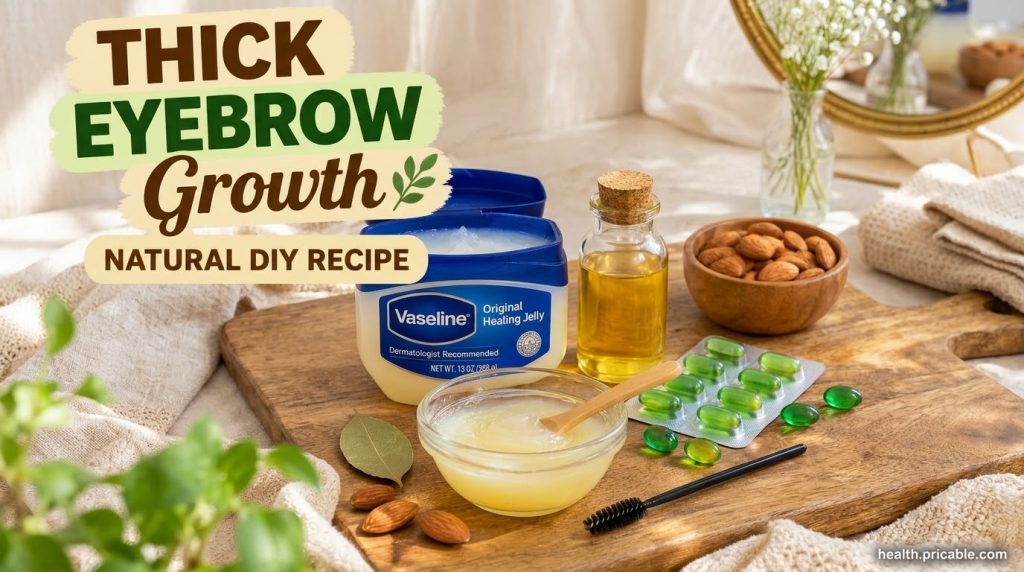
This simple homemade brow recipe blends petroleum jelly, a golden plant oil, and vitamin E into a soft, easy-to-apply serum you can brush through your eyebrows each night. It is a practical home beauty routine for anyone wanting fuller-looking brows with everyday ingredients.
Quick Recipe
Prep time: About 5 minutes
Best for: Sparse-looking eyebrows and dry, brittle brow hairs
Use type: Brow balm or light serum
Main ingredients:
- Petroleum jelly (Vaseline-style)
- 1 teaspoon golden plant oil
- 1 vitamin E softgel capsule
Ingredients
- 1 teaspoon petroleum jelly
- 1 teaspoon golden plant oil, such as a light carrier oil from an amber bottle
- 1 vitamin E softgel capsule
- 1 clean, dry spoolie brush or clean old mascara wand
- 1 small clean glass jar with a lid
How to Make It
- Wash your hands and wipe the jar with a clean, dry cloth so the mixture stays fresh.
- Spoon the petroleum jelly into the jar and add the golden plant oil.
- Snip or pierce the vitamin E softgel and squeeze the oil into the jar.
- Stir gently with a clean spoon until the mixture is smooth and evenly blended. Seal the jar and store it in a cool, dark place.
How to Use It
- Start with clean, dry brows and a clean face. Remove any makeup or oily residue first.
- Dip the tip of a clean spoolie into the mixture and take up only a very small amount.
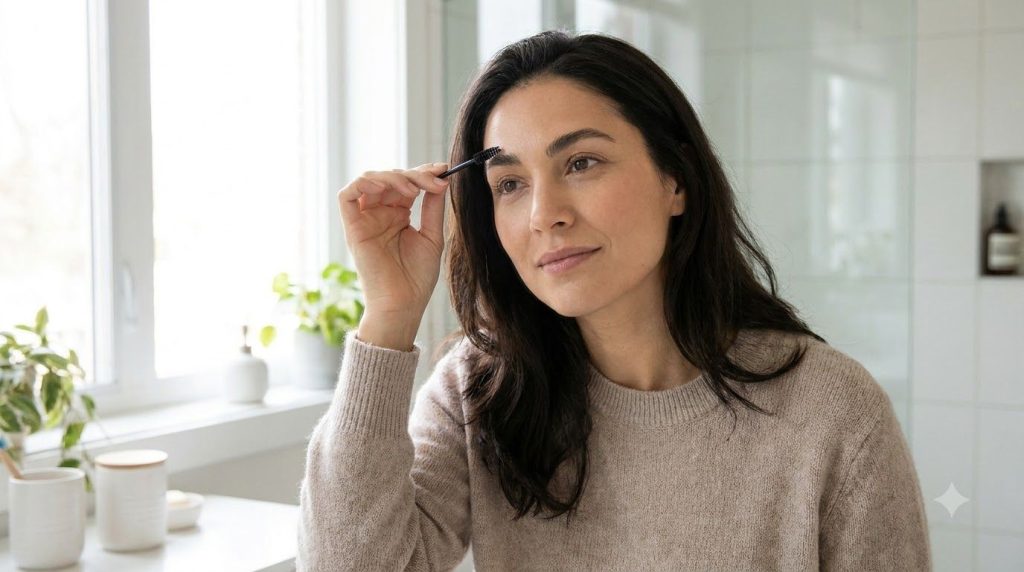
- Brush the product upward and outward through your brow hairs, following the natural direction of growth.
- Gently press the brow area with a fingertip to help the mixture settle. Leave it on overnight or for at least 30 minutes during the day.
How Often to Use It
Most people use this brow routine once a day at night. Keep the amount small, since a thin layer goes a long way. If your skin is sensitive, start with three or four nights a week and increase only if your skin feels comfortable.
Why These Ingredients Are Used
Petroleum Jelly
Petroleum jelly is a classic home moisturizer. It creates a light protective layer that can help brow hairs feel softer and less dry.
Golden Plant Oil
A light plant oil adds slip and softness, making the mixture easier to spread and helping brows look smoother and more conditioned.
Vitamin E
Vitamin E is often used in traditional home beauty routines for its moisturizing and conditioning qualities. It can help the skin and hair feel nourished.
What Results to Expect
This recipe is a nourishing home routine, not a medical treatment. With regular use, many people notice brows that look softer, shinier, and better conditioned. Visible fullness usually develops gradually over several weeks, and results vary from person to person. Hair growth depends on many factors, including genetics, hormones, and overall health.
Safety Notes
- Patch test first for topical remedies. Apply a small amount to the inner arm and wait 24 hours.
- Use gently. Keep the mixture away from your eyes and eyelid edges, and rinse with water if it gets in your eyes.
- Avoid irritated, broken, or infected skin in the brow area.
- Stop using it if redness, itching, burning, or discomfort occurs.
- Check that the vitamin E capsule is for topical use. Do not use it if you are allergic to any ingredient.
- If you have a skin condition, hair loss, or persistent thinning brows, speak with a dermatologist or healthcare professional before starting a new routine.
FAQ
Can this recipe make eyebrows grow back?
This recipe is designed to nourish and condition brow hairs and skin. It may help brows look fuller and healthier, but it cannot guarantee new growth. Patience and consistency matter most.
How long should I wait before seeing a difference?
Many people give a routine about six to eight weeks before judging results. Brow hairs grow in cycles, so changes often appear slowly.
Can I store the mixture for longer?
Keep the jar sealed in a cool, dark place and use a clean spoolie each time. If the mixture smells off or changes color, discard it and make a fresh batch.
Final Thoughts
This easy homemade brow serum uses simple ingredients you may already have at home. Try it for a few weeks, track how your brows look, and let us know what works best for you in the comments. For more natural beauty recipes, explore the rest of our DIY beauty guides.