Most people assume a year of herbal remedy has to come from a small, expensive bottle. The truth is that one healthy wild elderberry bush can supply a household with homemade syrup for months if you harvest and store it correctly.
What It Is
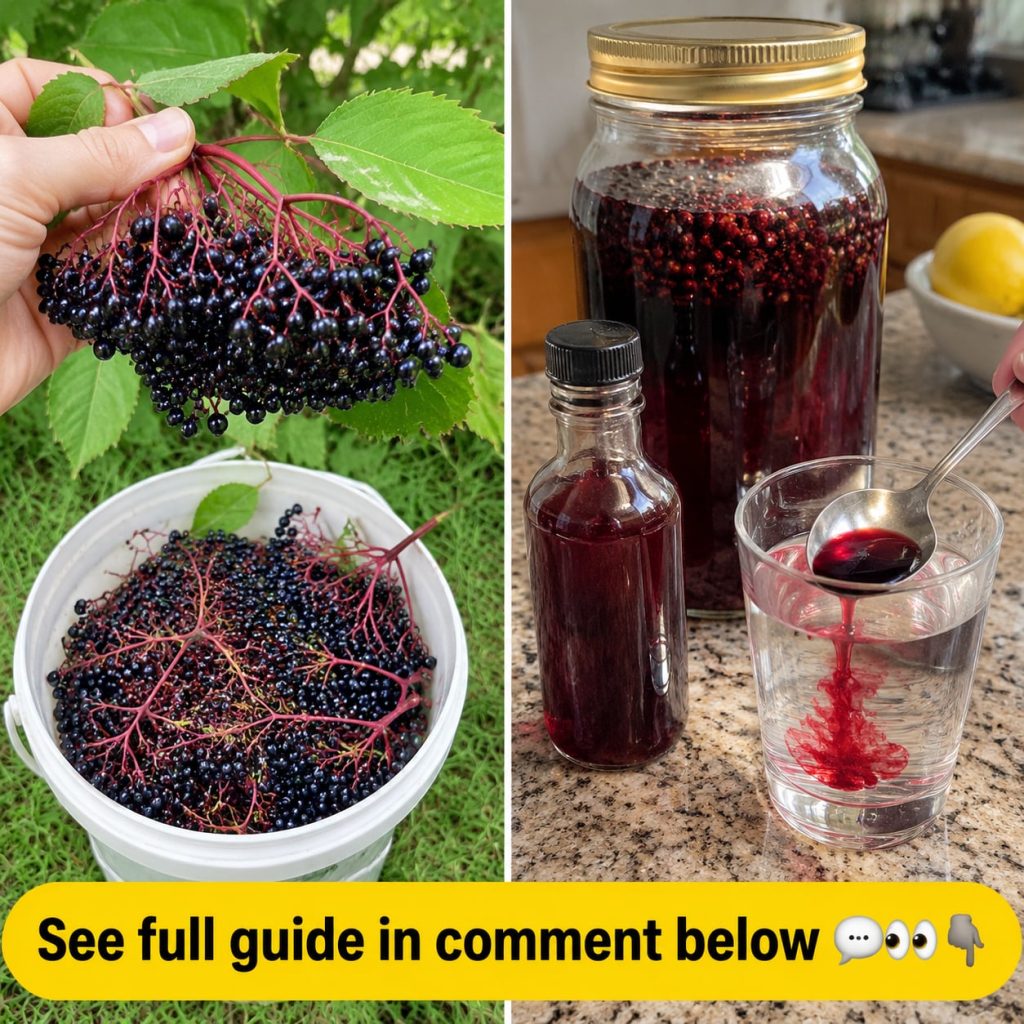
Elderberry (Sambucus nigra) is a shrub that produces flat, umbrella-shaped clusters of small berries. Once cooked, the berries are most often turned into a syrup, a simple homemade remedy that is easy to scale up. Dried berries and tinctures are also common, but syrup is the most practical option for a beginner.
Before You Forage: Safety Comes First
This is the part most people skip, and it matters. Raw elderberries, stems, leaves, and unripe berries contain compounds that can cause stomach upset, so only use fully ripe, cooked berries. Only harvest plants you have positively identified, ideally with an experienced local forager. Avoid roadsides, ditches, and areas that may have been sprayed.
- Choose black elderberry, not red elderberry (Sambucus racemosa), which should not be used.
- Pick berries that are deep purple-black and firmly attached to the stalk.
- Remove every berry from the stems before cooking, because stems should never go into the pot.
Ingredients and Approximate Measurements
This recipe yields about one cup of syrup, which is enough for a short course at home. Scale it up in batches rather than making one huge pot that takes too long to use.
- 1 cup destemmed ripe black elderberries (fresh), about 150 g
- 1 cup filtered water
- 1/2 cup raw honey, added after cooling
- Optional: 1 small cinnamon stick, 3 to 4 whole cloves, or a thin slice of fresh ginger
Step-by-Step Method
- Rinse the berries gently in cool water and remove all stems and debris.
- Add the berries, water, and any optional spices to a small saucepan.
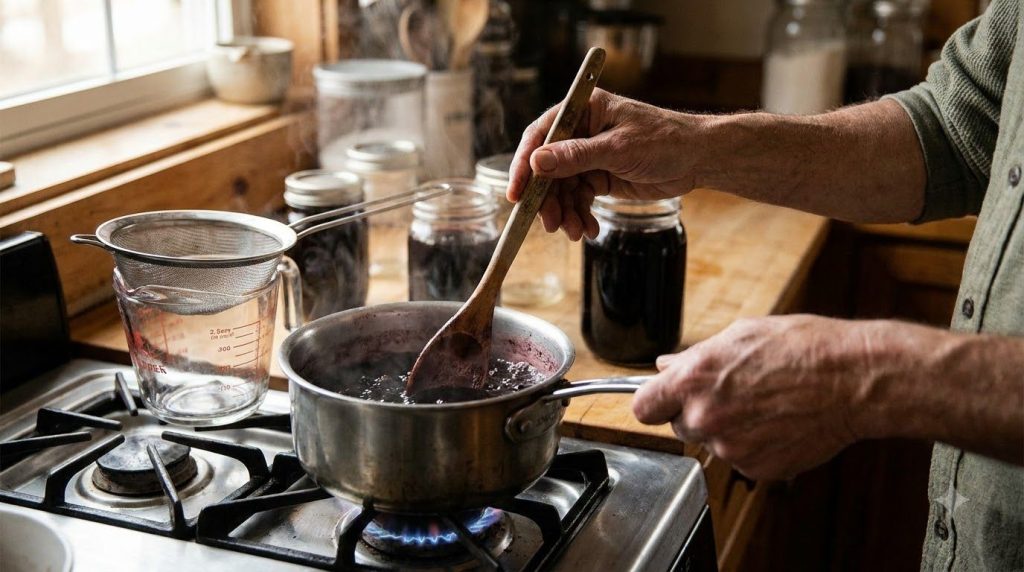
- Bring to a gentle boil, then reduce to a low simmer for 20 to 30 minutes until the berries soften and burst.
- Mash the berries with a spoon or potato masher, then strain through a fine mesh sieve or cheesecloth.
- Let the liquid cool until it is comfortably warm, about 40 to 43 °C, then stir in the raw honey until fully dissolved.
- Pour into clean, dry glass jars and label with the date.
Quick Tip: Honey should be added only after the liquid cools. Adding it to a hot pot can reduce some of its natural character.
How to Use It
Use a small spoon for measuring, or pour the syrup into a dark glass bottle with a dropper for easy portions. Adults commonly take one to two teaspoons at a time, but follow the guidance on your own product or a qualified professional’s advice. Do not give honey-based syrup to infants under one year old.
How Often to Use It
Many people use elderberry syrup only during colder months or when they feel a seasonal change. Keep use occasional, avoid taking it every day without guidance, and stop if you notice any unusual reaction.
How to Choose and Buy Ingredients
If you do not have a bush nearby, buy dried elderberries from a reputable herb supplier and reconstitute them carefully. Choose raw, unpasteurized honey from a trusted source, and buy spices in small amounts so they stay fresh.
Storage: Making a Year’s Supply Last
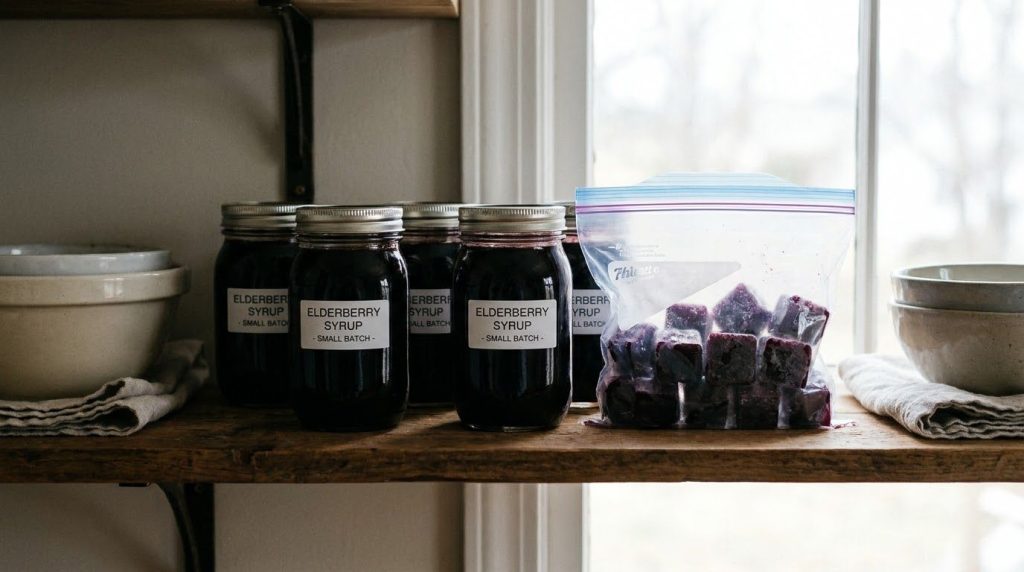
The biggest challenge is keeping the syrup fresh. Refrigerated syrup stays good for about two to three weeks. For longer storage, pour cooled syrup into silicone ice cube trays, freeze, then transfer the cubes to a labeled bag. Frozen portions keep for about six months.
| Version | Best For | How Long It Lasts |
|---|---|---|
| Fresh syrup in fridge | Short-term use | 2 to 3 weeks |
| Frozen syrup cubes | Stocking up for the year | About 6 months |
| Dried berries | Making fresh batches later | Up to 12 months in a cool, dark jar |
Practical Tips
- Harvest on a dry day so the berries stay firm.
- Freeze whole berries on a tray before bagging them for later batches.
- Write the date and batch size on every jar.
Common Mistakes
- Using unripe or green berries, which can cause stomach upset.
- Leaving stems or leaves in the pot.
- Boiling the honey, which changes its flavor.
- Storing syrup in warm, humid places or in jars that were not sterilized.
- Making one large batch you cannot use before it spoils.
Cautions and Who Should Avoid It
Speak with a healthcare professional before using elderberry preparations if you are pregnant or breastfeeding, if you have an autoimmune condition, or if you take prescription medication such as immune-suppressing drugs. Never give honey to infants under one year old. Stop use and seek medical advice if you notice an allergic reaction.
Quick Summary
- Best preparation: Cooked black elderberry syrup sweetened with raw honey.
- Best use: Occasional seasonal use in small spoonfuls.
- Storage: 2 to 3 weeks refrigerated, about 6 months frozen.
- Avoid: Raw berries, stems, leaves, red elderberry, and sprayed plants.
FAQ
Can I use fresh or dried elderberries?
Both work. Use about one-third as much dried berry by weight, and cook it fully before use.
How long does homemade syrup last?
Refrigerated syrup lasts about two to three weeks, while frozen cubes can last around six months.
Can I refrigerate it?
Yes. Keep it in a sealed glass jar in the coldest part of the fridge.
Can I freeze elderberry syrup?
Yes. Freezing in ice cube trays is the easiest way to build a year-long supply.
Can I reuse the leftover berry pulp?
It is best to compost the pulp rather than reuse it, since flavor and sweetness are mostly extracted during cooking.
How often should I take it?
Keep use occasional and follow professional guidance for any regular use.
Why does my syrup taste bitter?
Overcooking or using unripe berries can make it bitter. Keep the simmer gentle and harvest only deep purple-black fruit.
When should I avoid it?
Avoid it if you are pregnant, breastfeeding, or taking immune-related medication without medical advice, and never give honey to infants.
Conclusion
A single healthy elderberry bush, handled carefully, can become a practical year’s supply of homemade syrup. Focus on proper identification, full cooking, and small frozen batches, and the process becomes simple and repeatable.
Read more: how to start a basic home herbal pantry
You may also like: a beginner’s guide to making herbal tinctures at home
See the full guide: storing dried herbs for long-term use