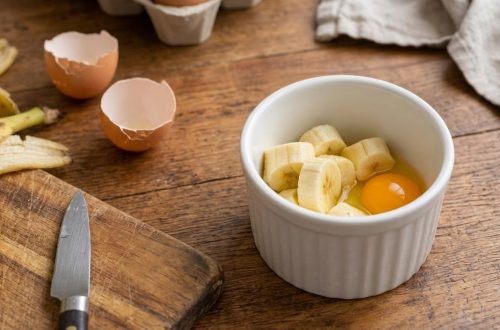
Craving a rich chocolate cake but don’t want to heat up the oven? This one-pan chocolate banana cake is a simple answer. It bakes gently on the stovetop in a covered pan, giving you a moist, fudgy chocolate cake with a soft banana flavor in about 35 to 45 minutes.
Why You’ll Love This Recipe
- No oven required. It is a good option for hot days, small kitchens, or when your oven is not available.
- Simple ingredients. Most of the ingredients are pantry staples, plus ripe bananas.
- Moist texture. Mashed bananas and oil keep the crumb soft.
- Quick cleanup. You mix the batter in one bowl and cook it in one pan.
Ingredients
- 1 cup (125 g) all-purpose flour
- 1/3 cup (35 g) unsweetened cocoa powder
- 3/4 cup (150 g) granulated sugar
- 1 tsp (4 g) baking soda
- 1/4 tsp (1.5 g) salt
- 2 ripe medium bananas (about 240 g), mashed
- 1 large egg, at room temperature
- 1/3 cup (80 ml) vegetable oil
- 1/2 cup (120 ml) milk, any type
- 1 tsp (5 ml) vanilla extract
These amounts are estimates for a 9-inch (23 cm) nonstick skillet with a tight-fitting lid. Adjust as needed for your pan.
Ingredient Notes
- Ripe bananas add natural sweetness and moisture. Brown spots on the peel mean they are ready to use.
- Cocoa powder gives the cake its deep chocolate flavor. Unsweetened cocoa works best with the sugar amount listed.
- Vegetable oil keeps the cake tender. You can use melted butter in place of oil, though the texture will be slightly firmer.
- Milk can be dairy or a plant-based milk such as soy or oat milk.
Equipment You’ll Need
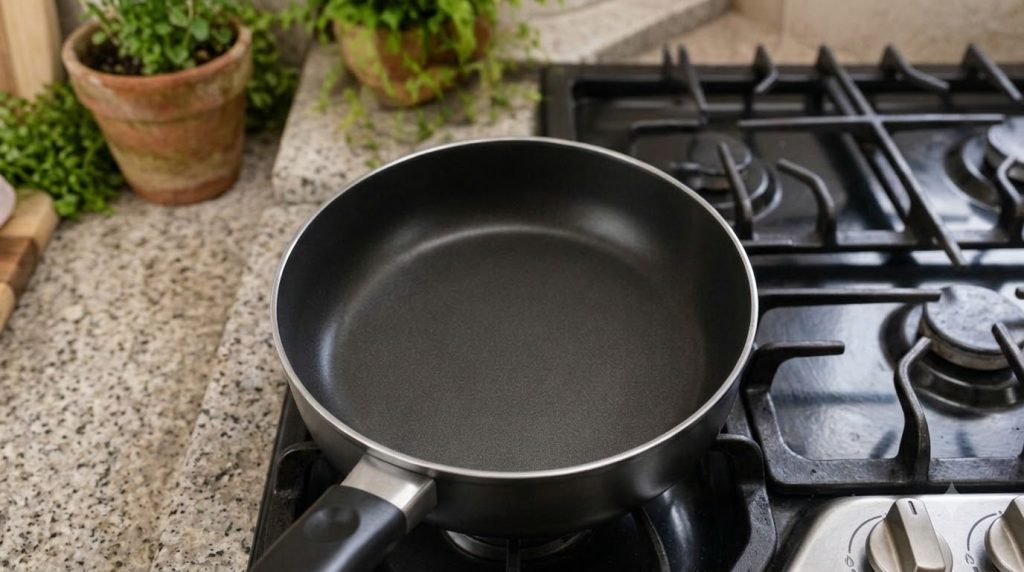
- A 9-inch (23 cm) nonstick skillet or deep pan with a tight-fitting lid
- A large mixing bowl and a whisk or fork
- A spatula
- A toothpick or cake tester
How to Make One-Pan Chocolate Banana Cake
- Mix the dry ingredients. In a large bowl, whisk together the flour, cocoa powder, sugar, baking soda, and salt until no lumps of cocoa remain. This takes about 30 seconds.
- Mash the bananas. In a separate bowl, mash the bananas with a fork until mostly smooth. A few small lumps are fine.
- Make the wet mixture. Add the egg, oil, milk, and vanilla to the mashed bananas. Whisk for about 1 minute until the mixture looks smooth and evenly combined.
- Combine the batter. Pour the wet mixture into the dry ingredients. Stir with a spatula just until no dry streaks remain. The batter should be thick but pourable, similar to heavy cream. Do not overmix.
- Prepare the pan. Grease the skillet lightly with oil or butter and add a small piece of parchment paper to the bottom if you have it. Pour in the batter and spread it evenly.
- Cook covered on low heat. Place the lid on the pan and set the burner to low. Cook for about 25 to 30 minutes. Keep the heat low so the bottom does not scorch before the center sets.
- Check for doneness. Insert a toothpick into the center. It is done when it comes out with moist crumbs but no wet batter. If the center is still wet, cover and cook for another 5 minutes, then check again.
- Cool before slicing. Let the cake rest in the pan for about 10 minutes, then move it to a rack. Cutting too early can cause the slices to crumble.
Pro Tips for the Best Results
- Use bananas that are heavily speckled or brown. They are sweeter and make a more flavorful cake.
- Keep the heat low. A high flame can burn the bottom while the middle stays raw.
- Check the lid for condensation drips. Wiping the lid before serving keeps the top from becoming soggy.
- Measure the flour by weight if you have a kitchen scale for the most consistent texture.
- Let the batter sit for a few minutes before pouring. This helps the cocoa and flour fully hydrate.
Common Mistakes to Avoid
- Overmixing the batter. This can make the cake dense. Stop stirring once the flour disappears.
- Cooking on high heat. The outside can scorch while the inside remains undercooked. Use low heat and be patient.
- Skipping the doneness test. Stovetop cooking times vary by pan and burner, so always check with a toothpick.
- Cutting while hot. Let the cake cool slightly so it holds its shape.
Variations and Substitutions
- Add chocolate chips. Fold in about 1/2 cup (85 g) of chocolate chips before cooking.
- Add nuts. Chopped walnuts or pecans add crunch. Stir in about 1/3 cup (40 g).
- Make it richer. Add a spoonful of peanut butter or Nutella to the center of the batter before covering.
- Use a different milk. Oat or soy milk works well in this recipe.
Serving Suggestions
Serve the cake warm or at room temperature. A dusting of powdered sugar, a spoonful of whipped cream, or a few fresh banana slices make it look more special. It pairs well with a cold glass of milk or a cup of coffee.
Storage and Reheating
Store leftover cake covered at room temperature for up to 2 days, or in an airtight container in the refrigerator for up to 4 days. For longer storage, wrap individual slices tightly and freeze them for up to 2 months. To reheat, warm a slice in a covered pan over low heat for a few minutes, or microwave it for 10 to 15 seconds.
Frequently Asked Questions
Can I make this cake without an oven?
Yes. The cake cooks on the stovetop in a covered pan over low heat, so no oven is needed.
Why did my cake burn on the bottom?
The heat was likely too high. Lower the burner and consider placing a heat diffuser under the pan if your burner runs hot.
Why is the center still wet?
The cake needs more time. Cover it again and check every few minutes until a toothpick comes out with moist crumbs only.
Can I use less sugar?
You can reduce the sugar slightly, but the cake may be less moist and less tender. Very ripe bananas also add sweetness, so taste your batter before cooking if you want to adjust.
Can I make it ahead of time?
Yes. The cake keeps well for up to 2 days at room temperature, and it often tastes even better the next day.
What’s your favorite easy dessert to make? Share it in the comments below!