Most people pick elderberries, make one batch of syrup, and then forget about the rest of the season. The real value comes from planning a simple routine so your jars, freezer bags, and dried berries last through the cold months.
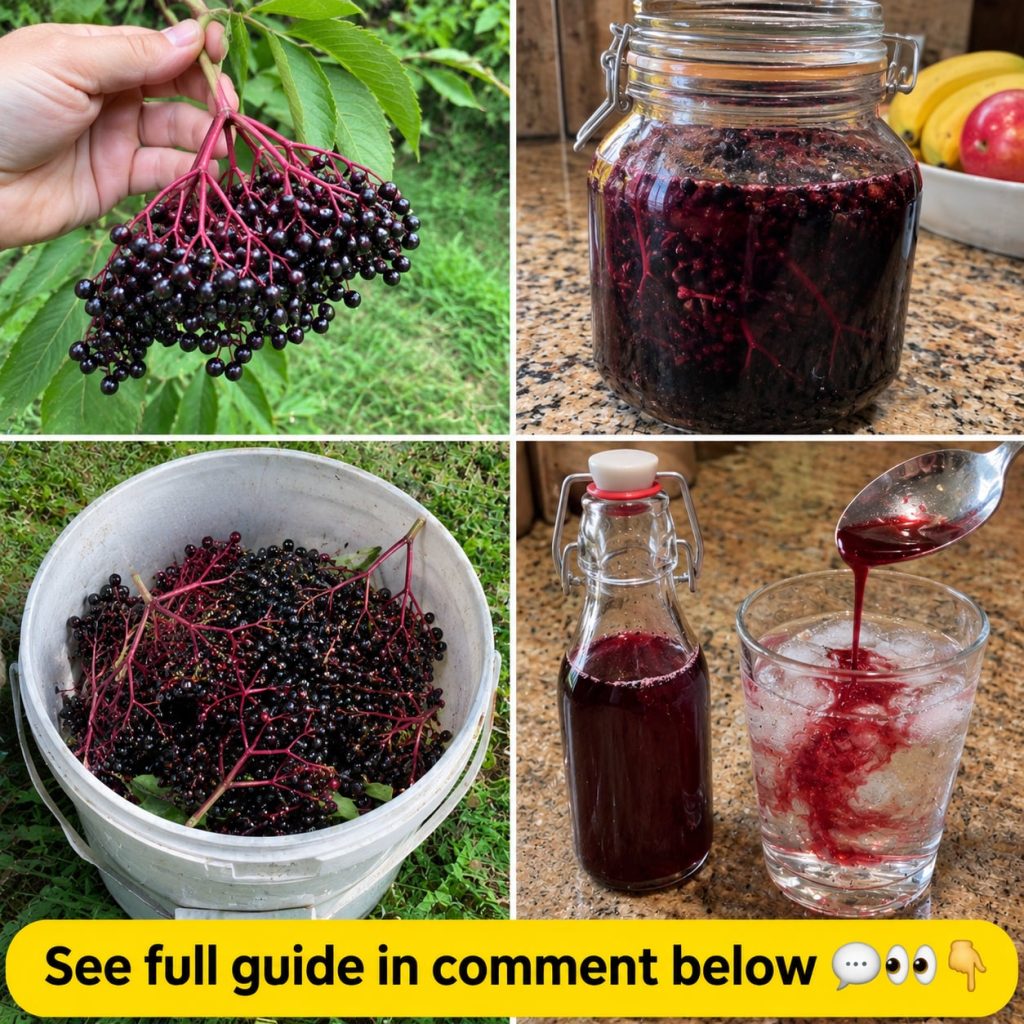
What It Is
Elderberry remedies are usually made from the berries of the black elderberry (Sambucus nigra). The fruit is cooked into a syrup, a tea base, or a dried stock. Only fully ripe, cooked berries should be used. Raw berries, stems, leaves, and green unripe fruit contain compounds that can cause stomach upset.
Ingredients
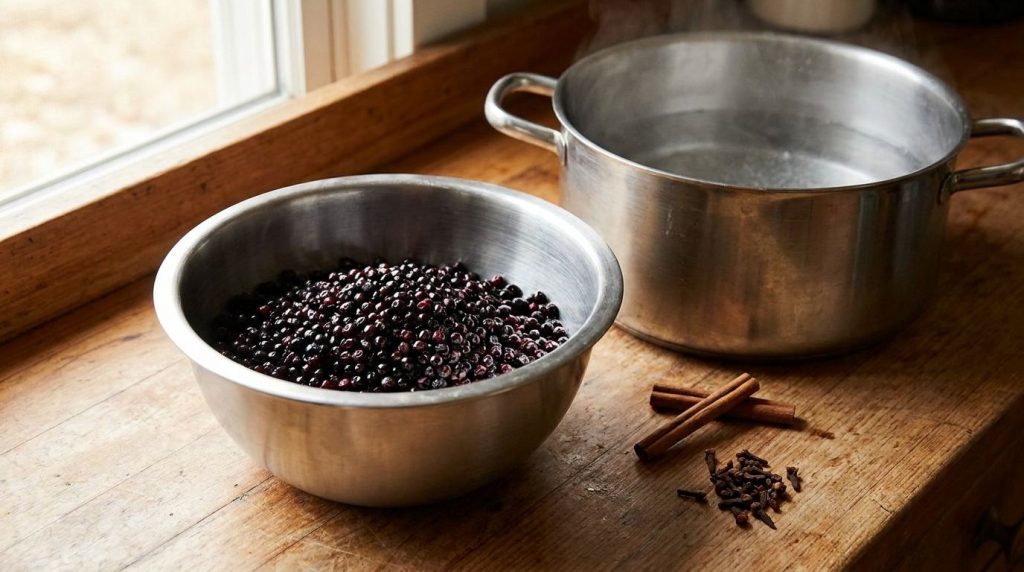
- 500 g (about 1 lb) ripe elderberries, stripped from stems
- 500 ml (about 2 cups) filtered water
- 120 to 250 g (about 1/2 to 1 cup) raw honey, added after cooling, or sugar for a shelf-stable version
- 1 cinnamon stick (optional)
- 1 tsp fresh grated ginger (optional)
- 4 whole cloves (optional)
Formula and Approximate Measurements
A useful starting ratio is 1 part berries to 1 part water by weight, then honey at roughly one-quarter the volume of the finished liquid. Adjust sweetness to taste. For a thicker syrup, simmer a little longer, but do not let it scorch.
Step-by-Step Method
- Rinse the berries and remove every stem. Discard any green or unripe berries.
- Add the berries, water, cinnamon, ginger, and cloves to a pot.
- Bring to a boil, then reduce to a gentle simmer for 30 to 40 minutes until the berries burst and soften.
- Mash the berries gently and let the mixture cool until it is comfortably warm, not hot.
- Strain through a fine mesh sieve or cheesecloth, pressing gently to collect the juice.
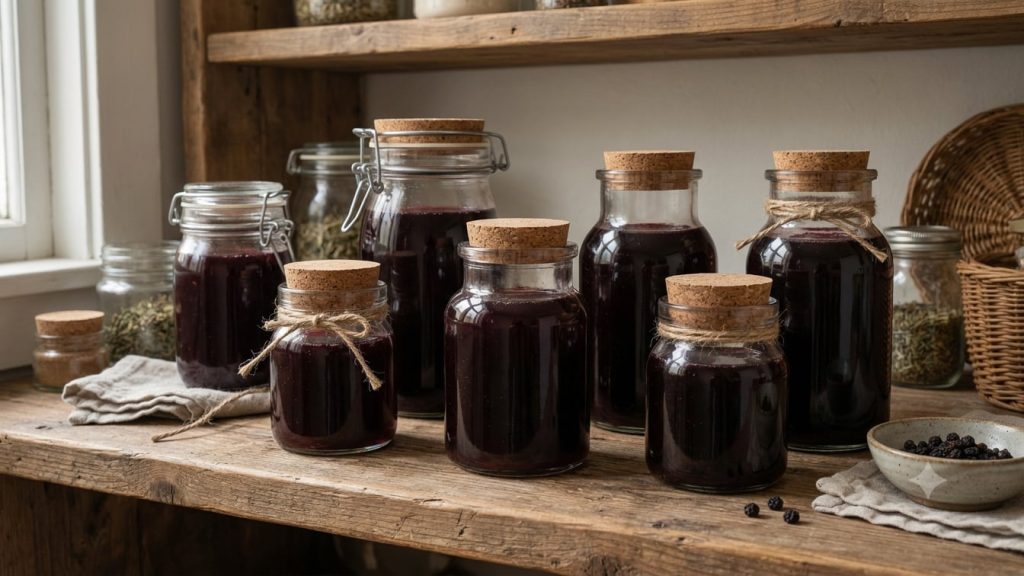
- Stir in honey once the liquid is warm, not boiling. Pour into clean, dry glass jars and label with the date.
Quick Tip: Stir honey in only after the liquid has cooled. High heat can reduce its character and make it harder to manage.
How to Use It
Most people take elderberry syrup by the spoonful, or dilute it in warm water or herbal tea. It is a simple preparation for cold-season routines and works best when kept as a regular habit rather than a one-time dose.
How Often to Use It
Follow the dosage on the label of your own batch and do not exceed what you are comfortable with. Start with a small amount to see how your body responds. Keep the syrup in the fridge and use it within the storage window below.
How to Buy and Choose Ingredients
Choose berries that are deep purple-black, firm, and free of mold. If you forage, identify the plant with certainty and avoid roadside plants, which collect exhaust and pesticide residue. Buy honey from a reputable source. Use filtered water for the cleanest taste.
Storage
| Version | Best Storage | Approximate Shelf Life |
|---|---|---|
| Fresh cooked syrup with honey | Refrigerated in a sealed glass jar | About 2 to 3 months |
| Syrup with sugar | Refrigerated in a sealed glass jar | About 3 to 6 months |
| Fresh berries | Frozen in airtight bags | About 6 to 12 months |
| Dried berries | Sealed jar, away from light | About 12 months |
Fresh vs Dried Elderberries
Fresh berries give a brighter flavor and are ideal for syrup. Dried berries are easier to store and work well for teas, but they must be fully dried and kept in an airtight container. Frozen berries are a good middle option because they can go straight into the pot.
Practical Tips
- Freeze berries on a tray first so they do not clump in the bag.
- Label every jar with the harvest date and batch name.
- Use a clean spoon each time to avoid introducing bacteria.
- Make small batches if you are new to preserving.
Common Mistakes
- Eating raw or undercooked berries, which can upset the stomach.
- Using stems, leaves, or green berries in the pot.
- Boiling honey, which changes its taste and texture.
- Storing syrup in wet or unsterilized jars, which shortens shelf life.
- Overusing the syrup because it tastes pleasant.
Cautions and Who Should Avoid It
Never consume raw elderberries, leaves, stems, or unripe fruit. Do not give honey-based syrup to infants under one year old. Pregnant or breastfeeding people, anyone with an autoimmune condition, and anyone taking prescription medication should speak with a qualified healthcare professional before use. Stop use if you notice an adverse reaction.
Did You Know? Elderberry syrup is often sold at high prices, but a homemade batch uses inexpensive pantry ingredients and can be made in under an hour.
Quick Summary
- Best preparation: Cooked syrup made from fully ripe, stripped berries.
- Best use case: Seasonal routine with warm water or tea.
- Storage: Refrigerate syrup, freeze fresh berries, keep dried berries sealed.
- When to use: During the cold season, following label guidance.
- What to avoid: Raw berries, stems, leaves, unripe fruit, and honey for infants.
Frequently Asked Questions
Can I use fresh or dried elderberries?
Yes. Fresh berries give a brighter taste, while dried berries are more convenient for long storage. Both must be cooked.
How long does homemade syrup last?
Honey-based syrup usually keeps about two to three months in the fridge. Sugar-based syrup can last longer when stored cold in clean sealed jars.
Can I freeze elderberries?
Yes. Freeze stripped berries in airtight bags. Use them straight from frozen in your syrup recipe.
Can I refrigerate the syrup?
Yes, always keep homemade syrup refrigerated after preparation.
What part of the plant is safe to use?
Only the ripe berries should be used, and always cooked. Leaves, stems, bark, and unripe berries should not be eaten.
Can I reuse the leftover pulp?
It is best to compost the pulp rather than reuse it, since the flavor is mostly extracted and the pulp can spoil quickly.
When should I avoid it?
Avoid it if you are an infant under one year old, or if you have a condition or take medication that requires professional guidance.
Continue With Related Guides
You may also like: How to Identify Safe Wild Berries Before You Forage. Read more: Simple Honey-Based Remedies for Your Pantry. See the full guide: Seasonal Herbal Tea Blends for Cold Months.
Final Thoughts
Making elderberry syrup is a simple way to turn a short harvest into a steady supply for months. Start with clean, ripe berries, follow the cooking steps carefully, and store your jars well. Used with good sense and proper caution, a homemade batch can become a practical part of your seasonal routine.