Glowing, healthy-looking skin does not always need an expensive jar on the bathroom shelf. Many people are turning to simple, natural routines built from everyday ingredients. This guide explores a homemade gel idea inspired by the popular collagen gel trend, along with honest tips to help you get the most from a gentle routine.
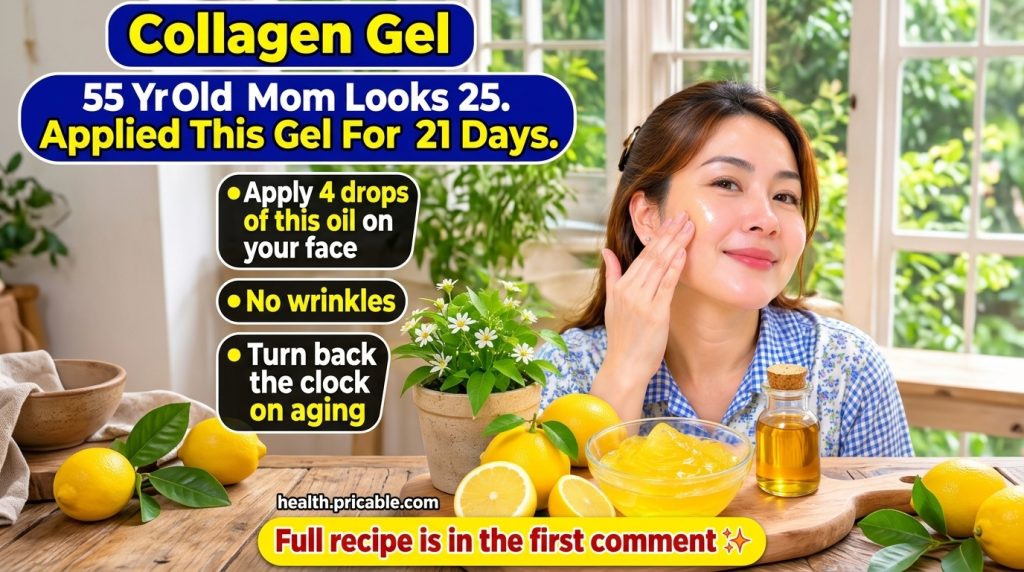
What Is a Homemade Collagen Gel?
A homemade collagen gel is a DIY skincare idea that combines gentle, natural ingredients in a light gel texture for easy application. The name reflects the goal of supporting a smoother, more radiant look, rather than a guarantee that collagen is rebuilt in the skin. Topical products cannot replace the body’s own collagen production, but a consistent, nourishing routine can help skin look refreshed and well cared for.
Why Natural Ingredients Appeal to So Many Readers
Many people who enjoy self-care prefer recipes they can understand and control. Ingredients like lemon, plant-based oils, and soothing bases are easy to find and often feel more approachable than long product lists. Natural routines also tend to be budget-friendly, which makes them a good fit for anyone who wants to experiment without a large investment.
A Gentle Routine to Try
If you want to explore a simple gel routine, keep the steps calm and consistent. Here is a practical approach:
- Patch test first. Apply a tiny amount to the inner arm or behind the ear and wait at least 24 hours to check for redness or irritation.
- Cleanse your face with a mild cleanser and pat it dry.
- Apply a thin, even layer of the gel to clean skin, avoiding the eye area unless a product is made for it.
- Gently massage in small upward and outward motions for about one minute.
- Let it absorb fully, then follow with your usual moisturizer.
- Wear sunscreen during the day, since sun protection is one of the most effective habits for supporting a youthful look.
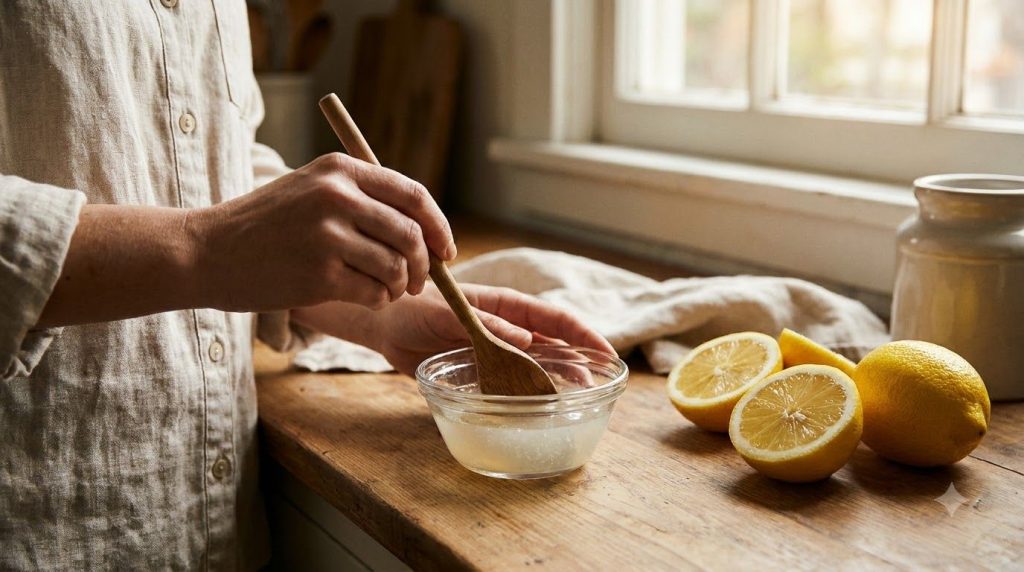
Set Realistic Expectations Over 21 Days
Many routines are described as working within about three weeks. Think of this window as a chance to build a habit and observe how your skin responds, not as a promise of dramatic change. Take a photo in good light at the start, then compare after several weeks. Subtle improvements in softness, hydration, and overall radiance are the most common results people notice.
Simple Tips for Lasting Results
- Use fresh preparations and store them in a clean, cool container.
- Stay consistent, since small daily habits matter more than occasional intense treatments.
- Pair your routine with good hydration, balanced meals, and quality sleep.
- Stop using any product that causes stinging, burning, or persistent redness.
- Speak with a dermatologist if you have sensitive skin, a medical condition, or ongoing concerns.
Final Thoughts
Turning back the clock is less about a single miracle ingredient and more about gentle, consistent care. A simple homemade gel can be a pleasant part of a natural self-care ritual. If you would like the full method, check the first comment on the original post for the complete steps, and enjoy building a routine that feels right for you.