There’s nothing quite like the comforting crunch and juicy tenderness of perfectly crispy fried chicken. While it might seem like a dish best left to restaurant professionals, the truth is, you can absolutely master the art of homemade crispy fried chicken right in your own kitchen! Forget complex techniques and secret ingredients – with a few straightforward steps, you’ll be enjoying this classic comfort food anytime you wish.
At Glowra Health, we believe in empowering you to create delicious, satisfying meals at home. This guide will walk you through each essential stage, transforming raw chicken into a golden, crispy masterpiece. From seasoning to serving, we’ll unlock the secrets to achieving that irresistible crunch and incredible flavor that makes homemade fried chicken truly special.
The Journey to Perfect Crispy Fried Chicken Starts Here
Creating sensational crispy fried chicken involves a meticulous, step-by-step process. Each stage plays a crucial role in developing the flavor, texture, and overall appeal of your dish. Follow along as we break down the journey from raw chicken to a perfectly plated culinary delight.
Step 1: Perfectly Seasoning Your Chicken
The foundation of any delicious dish is proper seasoning. For crispy fried chicken, this initial step is critical for infusing flavor deep into the meat before it even touches a marinade. Don’t be shy with your spices; they’re what will give your chicken its memorable taste.
Ingredients for Initial Seasoning:
- 2 lbs bone-in, skin-on chicken pieces (e.g., drumsticks, thighs, wings)
- 1 teaspoon salt
- 1 teaspoon black pepper
- 1 teaspoon garlic powder
- 1 teaspoon onion powder
- 1/2 teaspoon paprika
- 1/4 teaspoon cayenne pepper (optional, for a kick)
How to Season:
- Pat the chicken pieces dry thoroughly with paper towels. This helps the seasoning adhere better and promotes crispier skin.
- In a small bowl, combine salt, black pepper, garlic powder, onion powder, paprika, and cayenne pepper (if using).
- Sprinkle the seasoning generously over all sides of the chicken pieces. Use your hands to rub the spices into the meat, ensuring an even coating.
- Allow the seasoned chicken to sit at room temperature for about 15-20 minutes while you prepare the marinade. This allows the flavors to penetrate the meat.

Step 2: The Art of Marinating for Flavor and Tenderness
Marinating is a game-changer for fried chicken, contributing significantly to both its tenderness and flavor. Buttermilk is a classic choice, as its mild acidity helps to tenderize the chicken without cooking it, while also providing a sticky surface for the breading to cling to.
Buttermilk Marinade Ingredients:
- 2 cups buttermilk
- 1 large egg
- 1 tablespoon hot sauce (optional, for extra flavor and a slight kick)
How to Marinate:
- In a large bowl, whisk together the buttermilk, egg, and hot sauce (if using) until well combined.
- Add the seasoned chicken pieces to the buttermilk mixture, ensuring all pieces are fully submerged.
- Cover the bowl and refrigerate for at least 4 hours, or preferably overnight (up to 24 hours) for the best results. The longer the marination, the more tender and flavorful your chicken will be.
Step 3: Mastering the Breading Technique
The breading is what gives fried chicken its signature crispy crust. A well-seasoned flour mixture applied correctly will create that irresistible golden-brown exterior. We’ll use a double-dredging method to ensure maximum crunch.
Breading Ingredients:
- 2 cups all-purpose flour
- 1/4 cup cornstarch (for extra crispiness)
- 1 teaspoon salt
- 1 teaspoon black pepper
- 1 teaspoon garlic powder
- 1 teaspoon onion powder
- 1/2 teaspoon paprika
- 1/4 teaspoon cayenne pepper (optional)
How to Bread:
- In a large, shallow dish or resealable plastic bag, combine all breading ingredients: flour, cornstarch, salt, black pepper, garlic powder, onion powder, paprika, and cayenne pepper (if using). Mix thoroughly.
- Remove the chicken pieces from the buttermilk marinade, allowing any excess to drip off, but do not wipe it completely dry.
- Working with one piece at a time, dredge the chicken in the flour mixture, ensuring it’s completely coated. Press the flour onto the chicken to help it adhere.
- Dip the floured chicken piece back into the remaining buttermilk marinade for just a second, allowing the excess to drip off.
- Return the chicken to the flour mixture for a second coating, pressing firmly again. This double-dredging creates extra layers for maximum crispiness.
- Place the breaded chicken pieces on a wire rack set over a baking sheet and let them rest for at least 15-20 minutes at room temperature. This allows the breading to set, preventing it from falling off during frying.
Step 4: Frying to Golden Perfection
Frying is where the magic happens, transforming your breaded chicken into a crispy, juicy delight. Maintaining the correct oil temperature is crucial for achieving that perfect golden-brown crust without undercooking or overcooking the inside.
Frying Essentials:
- 6-8 cups vegetable oil, canola oil, or peanut oil (enough to submerge chicken halfway)
- Heavy-bottomed pot or Dutch oven
- Deep-fry thermometer
How to Fry:
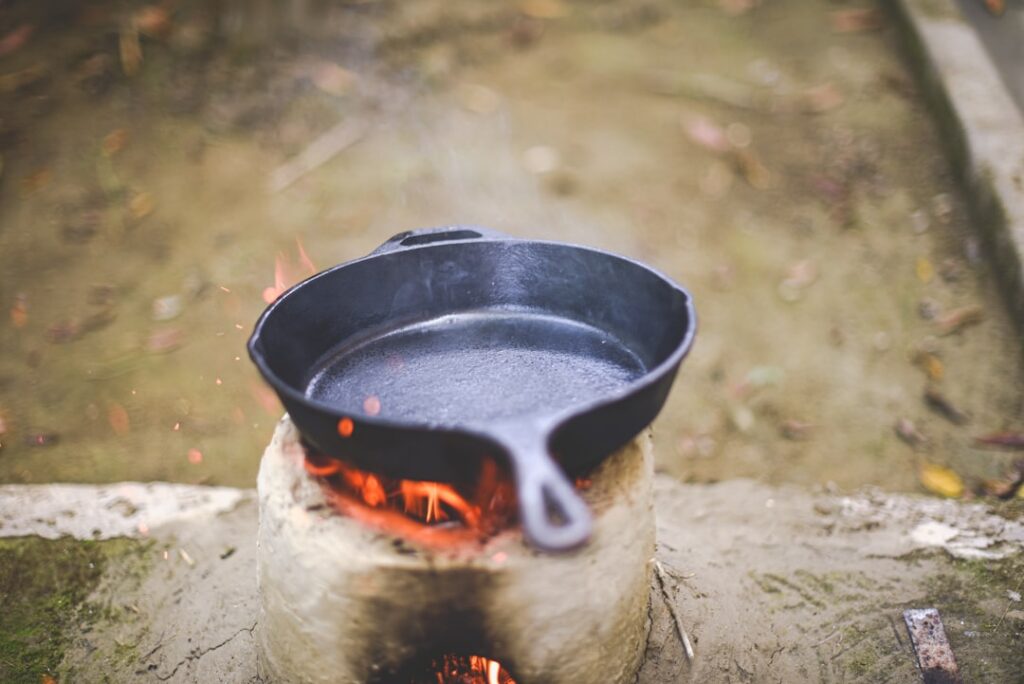
- Pour the oil into your heavy-bottomed pot or Dutch oven, filling it no more than halfway. Heat the oil over medium-high heat until it reaches a temperature of 350°F (175°C). Use a deep-fry thermometer to monitor the temperature.
- Carefully place 2-3 pieces of breaded chicken into the hot oil, ensuring not to overcrowd the pot. Overcrowding will lower the oil temperature too much, resulting in soggy chicken.
- Fry the chicken for about 6-8 minutes per side, turning occasionally, until it’s golden brown and cooked through. The internal temperature of the chicken should reach 165°F (74°C).
- Adjust the heat as needed to maintain a consistent oil temperature between 325-350°F (160-175°C). If the oil gets too hot, the outside will burn before the inside cooks. If it’s too cool, the chicken will absorb too much oil and become greasy.
- Once cooked, carefully remove the chicken from the oil using tongs.
Step 5: Draining for Ultimate Crispiness
This often-overlooked step is essential for ensuring your fried chicken stays perfectly crispy. Allowing the chicken to drain properly removes excess oil, preventing it from becoming greasy and helping to maintain its crunch.
How to Drain:
- As you remove each piece of fried chicken from the oil, immediately place it on a wire rack set over a baking sheet lined with paper towels. The wire rack allows air to circulate around all sides, preventing the bottom from steaming and becoming soggy.
- Avoid stacking the chicken, as this can trap steam and soften the crust.
- Let the chicken rest for a few minutes on the rack before serving. This not only allows excess oil to drain but also lets the juices redistribute within the meat, resulting in a more tender and flavorful bite.
Step 6: Presentation: Plating Your Culinary Masterpiece
The final touch for your homemade crispy fried chicken is presentation. A beautifully plated dish enhances the dining experience and makes your effort even more rewarding.
How to Present:
- Arrange the golden-brown crispy fried chicken pieces on a serving platter.
- Garnish with fresh herbs like parsley or cilantro for a pop of color, if desired.
- Serve immediately with your favorite sides, such as mashed potatoes, coleslaw, corn on the cob, or a fresh green salad.
Classic Crispy Fried Chicken Recipe
Here’s a complete recipe to guide you through making the perfect crispy fried chicken, combining all the steps for a seamless cooking experience.
Yields: 4-6 servings
Prep time: 20 minutes (plus 4-24 hours marinating)
Cook time: 20-25 minutes
Ingredients:
- 2 lbs bone-in, skin-on chicken pieces (drumsticks, thighs)
Initial Seasoning:
- 1 teaspoon salt
- 1 teaspoon black pepper
- 1 teaspoon garlic powder
- 1 teaspoon onion powder
- 1/2 teaspoon paprika
- 1/4 teaspoon cayenne pepper (optional)
Buttermilk Marinade:
- 2 cups buttermilk
- 1 large egg
- 1 tablespoon hot sauce (optional)
Breading Mixture:
- 2 cups all-purpose flour
- 1/4 cup cornstarch
- 1 teaspoon salt
- 1 teaspoon black pepper
- 1 teaspoon garlic powder
- 1 teaspoon onion powder
- 1/2 teaspoon paprika
- 1/4 teaspoon cayenne pepper (optional)
For Frying:
- 6-8 cups vegetable oil, canola oil, or peanut oil
Instructions:
- Season the Chicken: Pat chicken pieces dry. In a small bowl, combine initial seasoning ingredients. Rub generously over all chicken pieces. Let sit for 15-20 minutes.
- Prepare Marinade: In a large bowl, whisk together buttermilk, egg, and hot sauce. Add seasoned chicken, ensuring it’s submerged. Cover and refrigerate for 4-24 hours.
- Prepare Breading: In a large, shallow dish or bag, combine flour, cornstarch, and breading seasoning ingredients. Mix well.
- Bread the Chicken: Remove chicken from marinade, letting excess drip. First, dredge in flour mixture, pressing to coat. Second, dip briefly back into marinade. Third, return to flour mixture for a second, firm coating. Place breaded chicken on a wire rack for 15-20 minutes to set.
- Heat Oil: Pour oil into a heavy-bottomed pot. Heat to 350°F (175°C).
- Fry the Chicken: Carefully place 2-3 chicken pieces in hot oil. Fry for 6-8 minutes per side, or until golden brown and internal temperature reaches 165°F (74°C). Maintain oil temperature between 325-350°F (160-175°C).
- Drain: Remove fried chicken and place on a wire rack over paper towels to drain excess oil.
- Serve: Plate immediately and enjoy your perfectly crispy homemade fried chicken!