Are you ready to transform your arm workouts and see real results? The bicep curl is a fundamental exercise for building strong, defined arms, but many people unknowingly make common form mistakes that can hinder progress and even lead to injury. At Remedies Wellness, we believe in empowering you with the knowledge to train smarter, not just harder.
Today, we’re diving deep into mastering the bicep curl, focusing on the critical element of proper form. Get ready to refine your technique, maximize your muscle gains, and protect your joints!
The Importance of Perfect Bicep Curl Form
It’s not just about lifting the weight; it’s about how you lift it. Proper form in bicep curls ensures that you are effectively targeting the intended muscles (your biceps brachii and brachialis) and minimizing the involvement of secondary muscles like your shoulders or back. This isolation is key for hypertrophy (muscle growth) and strength development.
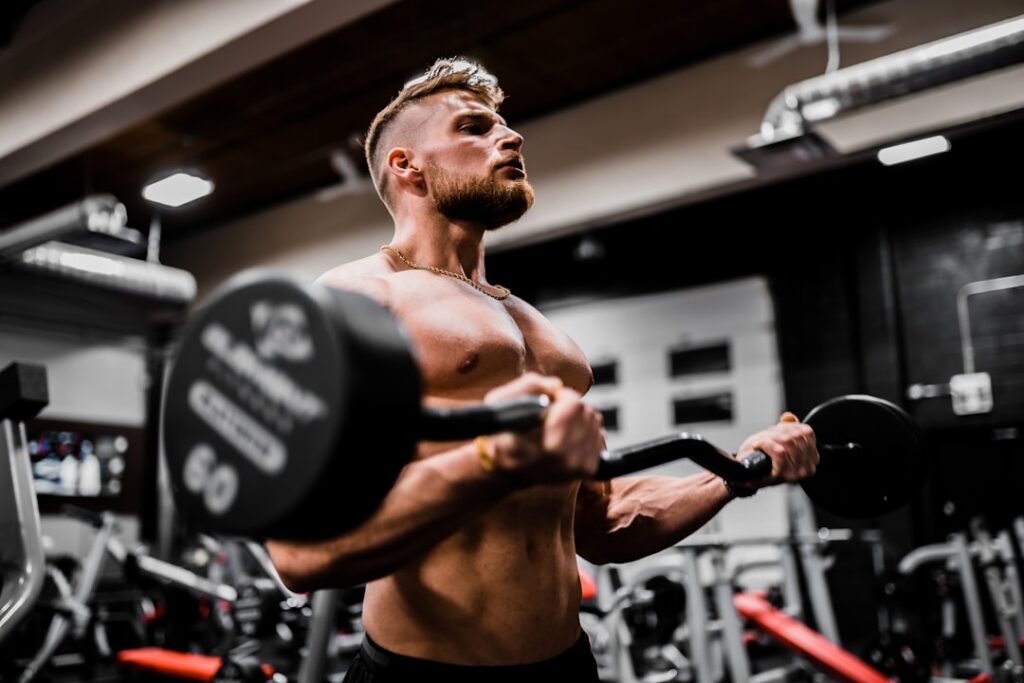
The Most Common Mistake: Flaring Elbows
One of the most frequent errors we see is letting the elbows flare out wide during the curl. When your elbows move away from your body, you shift tension away from your biceps and recruit other muscles, reducing the effectiveness of the exercise for your arms. This not only diminishes your bicep stimulation but also puts unnecessary strain on your shoulder joints, increasing the risk of discomfort or injury.
How to Master Your Bicep Curl Form
Ready for a game-changing adjustment? Here’s your step-by-step guide to perfect bicep curls:
- Starting Position: Stand tall with your feet shoulder-width apart, a slight bend in your knees, and your core engaged. Hold a dumbbell in each hand, palms facing forward, arms extended towards the floor.
- Elbow Alignment is KEY: This is where the magic happens! Tuck your elbows close to your sides and keep them ‘locked’ in that position throughout the entire movement. Imagine you’re pinning your elbows to your ribcage – they should not move forward, backward, or out to the sides.
- Controlled Ascent: Slowly curl the weights upwards, contracting your biceps. Focus on squeezing your biceps at the top of the movement. Your forearms should be the only part of your arm moving significantly.
- Peak Contraction: At the top of the curl, the dumbbells should be around shoulder level, and your biceps should be fully contracted. Avoid swinging the weights or using momentum.
- Slow and Steady Descent: Lower the weights back down with control, resisting gravity. This eccentric (lowering) phase is just as important for muscle growth. Extend your arms fully but don’t hyperextend your elbows at the bottom.
Benefits of Tucked Elbows
- Maximized Bicep Activation: By keeping your elbows tucked, you create a direct line of tension on your biceps, ensuring they do the majority of the work.
- Injury Prevention: This form protects your shoulder joints from undue stress and allows for a safer, more stable movement.
- Improved Mind-Muscle Connection: When you execute the movement correctly, you’ll feel a stronger contraction in your biceps, leading to better gains over time.
- More Efficient Workouts: Every repetition counts when performed with precision, making your time in the gym more productive.
Ready to Build Stronger Arms?
This small adjustment – keeping those elbows tucked in – can make a monumental difference in your bicep development and overall arm strength. Consistency with proper form is what truly leads to lasting results and helps you avoid plateaus.
Start incorporating this technique into your next arm workout and feel the difference. Your biceps will thank you!
What’s your go-to tip for a killer arm workout? Share your best bicep curl advice in the comments below!