The squat is often hailed as the king of all exercises, and for good reason! It’s a foundational movement that builds lower body strength, core stability, and improves overall functional fitness. Whether you’re aiming for bigger lifts, more explosive power, or simply want to move through your daily life with greater ease, perfecting your squat form is absolutely crucial. Without proper technique, you risk injury and won’t get the full benefits this incredible exercise offers.
Are you ready to unlock your squat potential? Let’s dive into the ultimate guide to mastering your squat form, ensuring every rep is effective and safe.
Why Prioritize Perfect Squat Form?
Before we break down the mechanics, understand why investing time in form is non-negotiable:
- Injury Prevention: Poor form can put excessive strain on your knees, lower back, and hips, leading to discomfort or serious injury. Correct form protects your joints and spine.
- Maximized Muscle Activation: Proper technique ensures you’re effectively targeting the right muscles—glutes, quads, hamstrings, and core—leading to better strength gains and muscle development.
- Increased Strength and Performance: A stable and efficient squat allows you to lift more weight safely, translating to improved performance in other exercises and sports.
- Enhanced Mobility: Consistently performing squats with good depth and control can improve hip and ankle mobility over time.
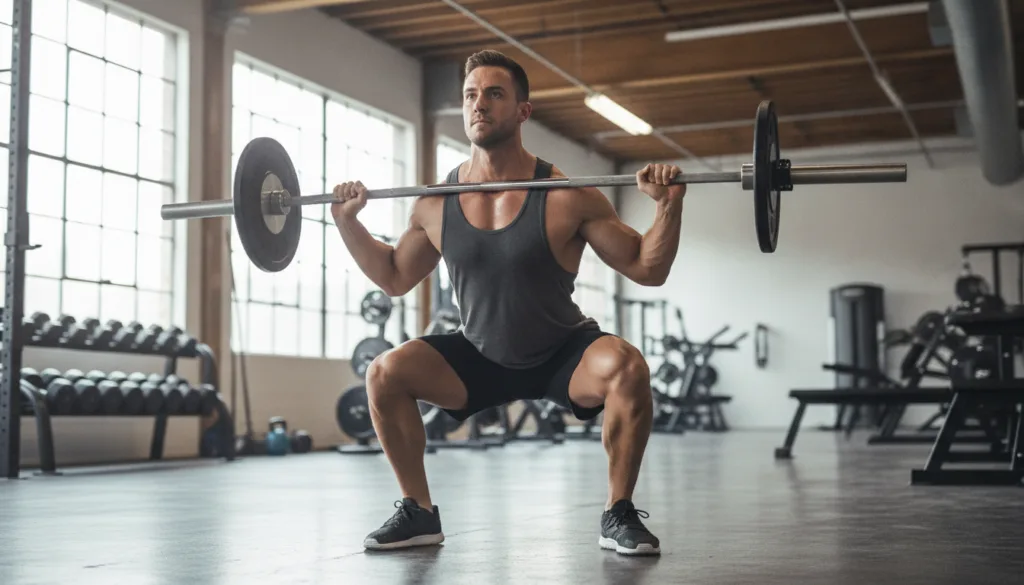
The Anatomy of a Perfect Squat: Step-by-Step Breakdown
Let’s go through the squat movement phase by phase to ensure you hit all the key checkpoints.
1. The Setup: Your Foundation
- Stance: Stand with your feet shoulder-width apart, toes pointed slightly outwards (around 10-30 degrees, adjust for comfort and mobility). This allows for better hip tracking.
- Posture: Stand tall, chest up, shoulders pulled back and down. Engage your core by bracing your abdominal muscles as if preparing for a punch.
- Gaze: Keep your head in a neutral position, looking straight ahead or slightly downwards, matching the angle of your spine.
2. The Descent: Controlled and Balanced
- Initiate with Hips: Begin the movement by pushing your hips back as if you’re sitting down in a chair. Simultaneously, bend your knees.
- Chest Up, Core Engaged: Throughout the descent, maintain a proud chest and keep your core braced. Avoid rounding your back at all costs.
- Knees Tracking: Ensure your knees track in line with your toes. Do not let them cave inwards. Focus on pushing them slightly outwards.
- Depth: Aim to squat down until your hip crease is below the top of your knee (parallel or deeper), as long as you can maintain good form and don’t experience pain.
- Weight Distribution: Keep your weight evenly distributed across your feet, driving through your midfoot and heels. Your heels should remain firmly planted on the ground.
3. The Ascent: Power and Drive
- Drive Through Heels: Push through your heels and the midfoot to drive back up to the starting position.
- Squeeze Glutes: As you stand, actively squeeze your glutes at the top to fully extend your hips.
- Maintain Form: Keep your chest up and core tight throughout the ascent. Avoid letting your hips shoot up faster than your chest.
- Full Extension: Stand tall at the top, but avoid hyperextending your knees.
Common Squat Mistakes and How to Fix Them
Even seasoned lifters can fall victim to common squat errors. Here’s how to identify and correct them:
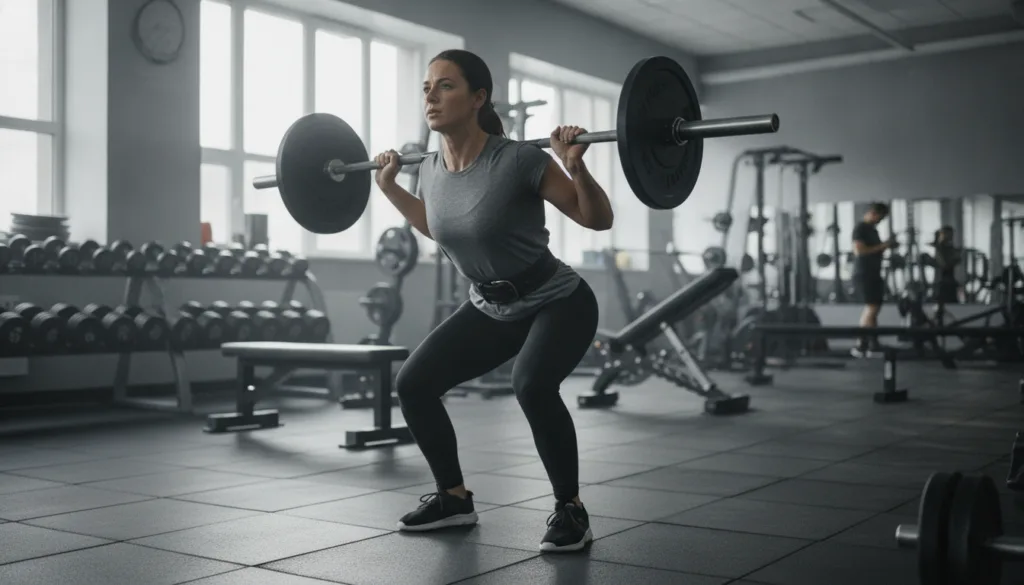
1. Knees Caving In (Valgus Collapse)
- Why it happens: Weak glutes, tight adductors, or poor motor control.
- Fix: Focus on actively pushing your knees out throughout the movement. Practice with resistance bands above your knees to provide external cueing. Strengthen your glute medius with exercises like clam shells and band walks.