Craving warm, fluffy flatbreads that are miles better than anything from the store? You absolutely can make them at home! It’s easier than you think and incredibly rewarding to pull a fresh, hot flatbread right off the griddle. These homemade flatbread recipes are designed to be soft, flavorful, and a perfect addition to any meal, from curries to tacos to simple dips.
We’ve gathered five incredible flatbread recipes, including favorites like Butter Naan, Soft Tortillas, and Pita Bread, ensuring you have a diverse collection to master in your kitchen. Get ready to impress your family and friends with these freshly made delights.
Quick Overview
- Main topic: Homemade Flatbread Recipes
- Best for: Home cooks, anyone seeking fresh, soft, flavorful bread
- Number of recipes: 5
- Prep style: Mixing, kneading, resting, pan-frying or baking
- Reader benefit: Enjoy superior-tasting flatbreads made with fresh ingredients, save money, and gain new culinary skills.
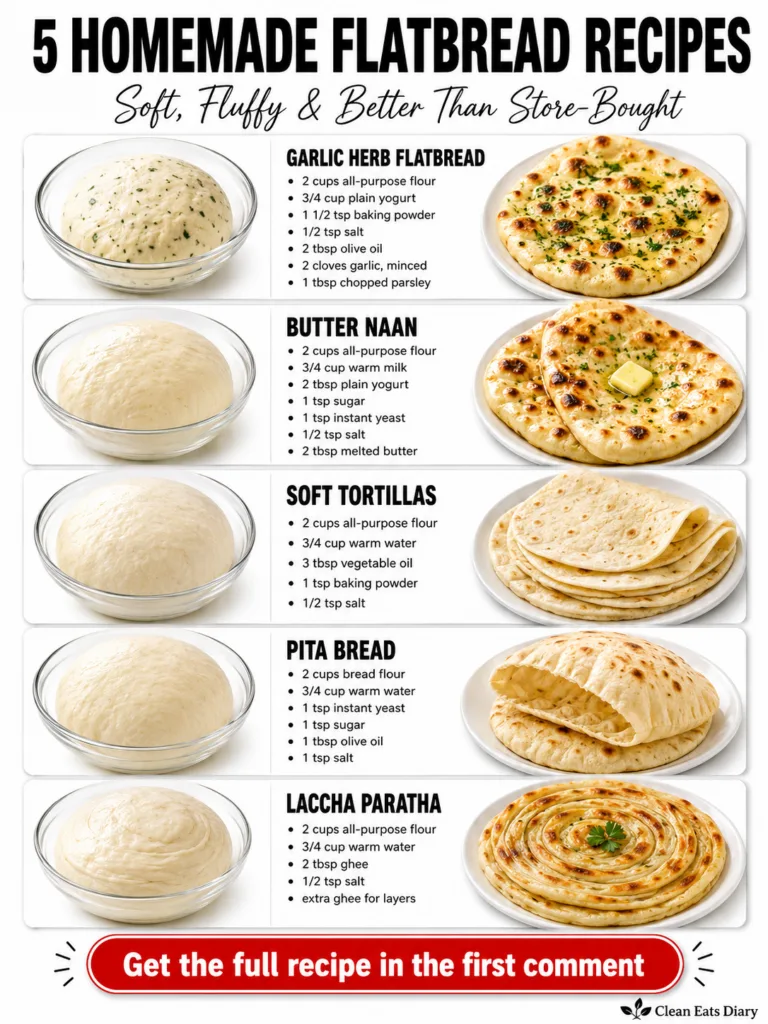
Recipe 1: Garlic Herb Flatbread
This savory flatbread is packed with aromatic garlic and a medley of dried herbs, making it an excellent accompaniment to soups, stews, or simply enjoyed on its own with a touch of olive oil.
Servings: 4-6
Prep time: 15 minutes
Cook / chill / rest time: 30 minutes rest + 10 minutes cook
Ingredients:
- All-purpose flour: 2 cups
- Baking powder: 1/2 tsp
- Salt: 1/2 tsp
- Garlic powder: 1/2 tsp
- Dried herbs (like oregano, basil, thyme): 1 tsp
- Warm water: 1/2 cup
- Oil (plus extra for kneading): 2 tbsp
Instructions:
- In a large bowl, whisk together the all-purpose flour, baking powder, salt, garlic powder, and dried herbs.
- Gradually add the warm water and 2 tablespoons of oil to the dry ingredients, mixing until a shaggy dough forms.
- Turn the dough out onto a lightly floured surface and knead for 5-7 minutes until smooth and elastic. If needed, add a tiny bit more flour or oil to prevent sticking.
- Place the dough in a lightly oiled bowl, cover with a clean kitchen towel or plastic wrap, and let it rest in a warm place for at least 30 minutes. This allows the baking powder to work and the gluten to relax.
- Divide the rested dough into 4-6 equal portions. Roll each portion into a thin, oval, or round shape, about 1/8-inch thick.
- Heat a non-stick pan or cast-iron griddle over medium-high heat. Once hot, place one flatbread onto the pan.
- Cook for 2-3 minutes per side, or until golden brown spots appear and the flatbread is puffed up and cooked through.
- Remove from heat, garnish with fresh parsley if desired, and serve warm.
Storage / Serving / Usage Note:
Best served fresh and warm. Leftovers can be stored in an airtight container at room temperature for up to 2 days and reheated in a pan or microwave.
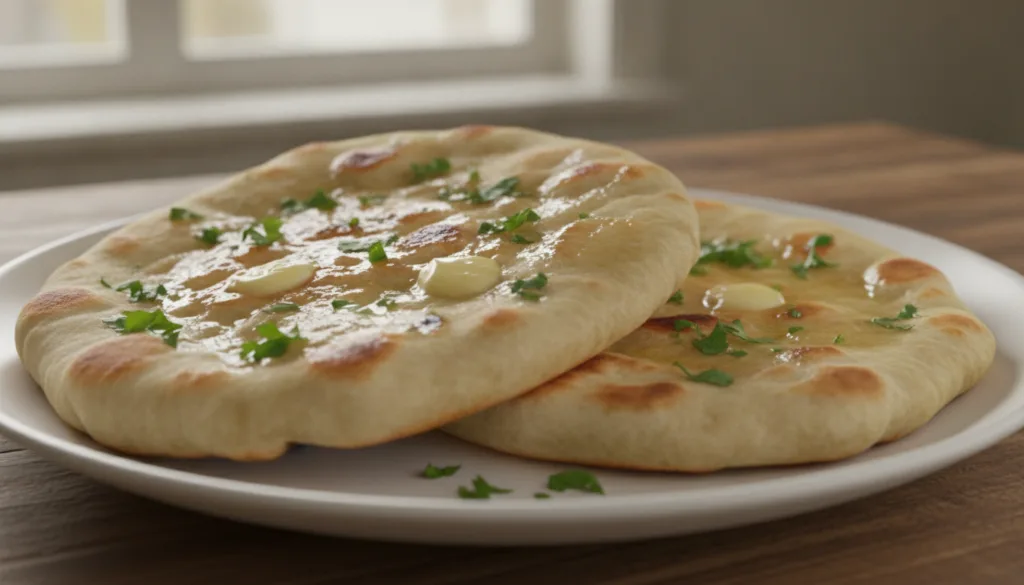
Recipe 2: Butter Naan
This classic Indian flatbread is incredibly soft, chewy, and brushed with rich butter. It’s the perfect companion for your favorite curries, dals, or simply as a delightful appetizer with dips.
Servings: 4-6
Prep time: 20 minutes
Cook / chill / rest time: 30 minutes rest + 10 minutes cook
Ingredients:
- All-purpose flour: 2 cups
- Baking powder: 1/2 tsp
- Baking soda: 1/4 tsp
- Sugar: 1 tbsp
- Salt: 1/2 tsp
- Yogurt: 1/4 cup
- Warm water: 1/2 cup
- Oil: 2 tbsp
- Butter: for brushing (melted)
Instructions:
- In a large mixing bowl, combine the all-purpose flour, baking powder, baking soda, sugar, and salt. Mix well.
- In a separate smaller bowl, whisk together the yogurt, warm water, and oil.
- Pour the wet ingredients into the dry ingredients. Mix until a soft, shaggy dough forms.
- Transfer the dough to a lightly floured surface and knead for 5-7 minutes until it becomes smooth and elastic.
- Place the dough in a lightly oiled bowl, cover with a clean kitchen towel or plastic wrap, and let it rest in a warm place for at least 30 minutes. The dough should become slightly puffy.
- Divide the rested dough into 4-6 equal portions. Roll each portion into an oval or teardrop shape, about 1/4-inch thick.
- Heat a non-stick griddle or cast-iron pan over medium-high heat. Once hot, place one rolled naan onto the pan.
- Cook for 2-3 minutes until bubbles appear on the surface. Flip and cook for another 1-2 minutes until both sides are golden brown and cooked through.
- Remove the cooked naan from the pan and immediately brush generously with melted butter.
Storage / Serving / Usage Note:
Serve warm with your favorite curries, dals, or as a side with grilled meats. Store leftover naan in an airtight container for up to 2-3 days; reheat gently in a pan.
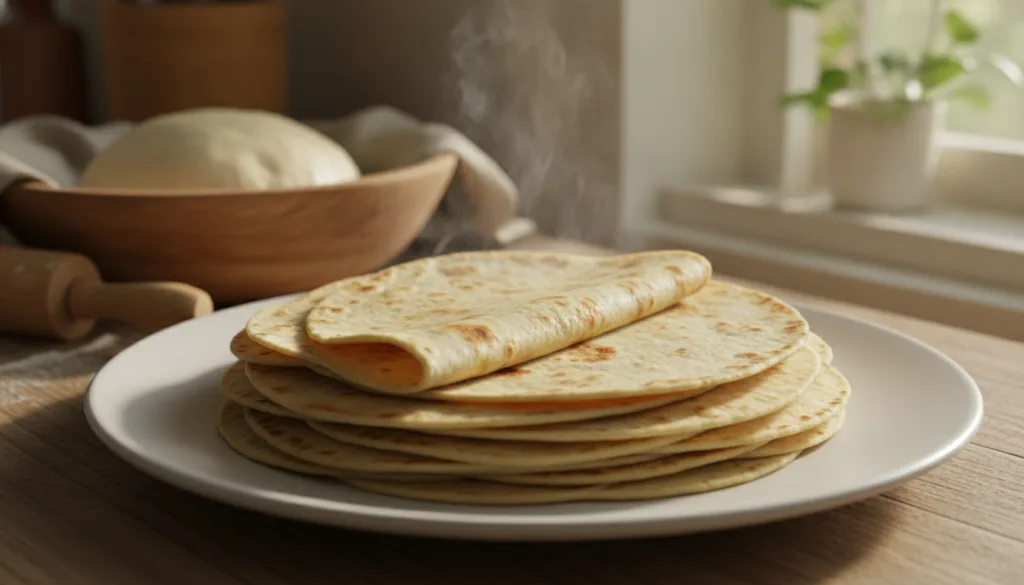
Recipe 3: Soft Flour Tortillas
Forget store-bought! These homemade soft flour tortillas are incredibly pliable and fresh, perfect for wrapping up your favorite tacos, burritos, or quesadillas.
Servings: 6-8
Prep time: 10 minutes
Cook / chill / rest time: 15 minutes rest + 10 minutes cook
Ingredients:
- All-purpose flour: 2 cups
- Salt: 1/2 tsp
- Warm water: 3/4 cup
- Oil (vegetable or canola): 1/4 cup
Instructions:
- In a large bowl, combine the all-purpose flour and salt.
- Pour in the warm water and oil. Mix with a spoon or your hands until a soft, shaggy dough forms.
- Transfer the dough to a lightly floured surface and knead for 2-3 minutes until it’s smooth and elastic. Do not over-knead.
- Cover the dough with a clean kitchen towel and let it rest for at least 15 minutes. This allows the gluten to relax, making the dough easier to roll.
- Divide the rested dough into 6-8 equal portions. Roll each portion into a ball.
- On a lightly floured surface, roll each dough ball into a very thin, round tortilla, about 6-8 inches in diameter. Try to make them as thin as possible without tearing.
- Heat a non-stick pan or cast-iron skillet over medium-high heat (without oil).
- Place one tortilla onto the hot pan. Cook for about 30-60 seconds per side, or until small brown spots appear and the tortilla begins to puff up. Do not overcook, or they will become stiff.
- Transfer cooked tortillas to a plate and cover with a clean kitchen towel to keep them warm and soft.
Storage / Serving / Usage Note:
Serve immediately with your favorite taco or fajita fillings. Store cooled tortillas in an airtight bag at room temperature for up to 3 days, or freeze for longer storage.
Recipe 4: Homemade Pita Bread
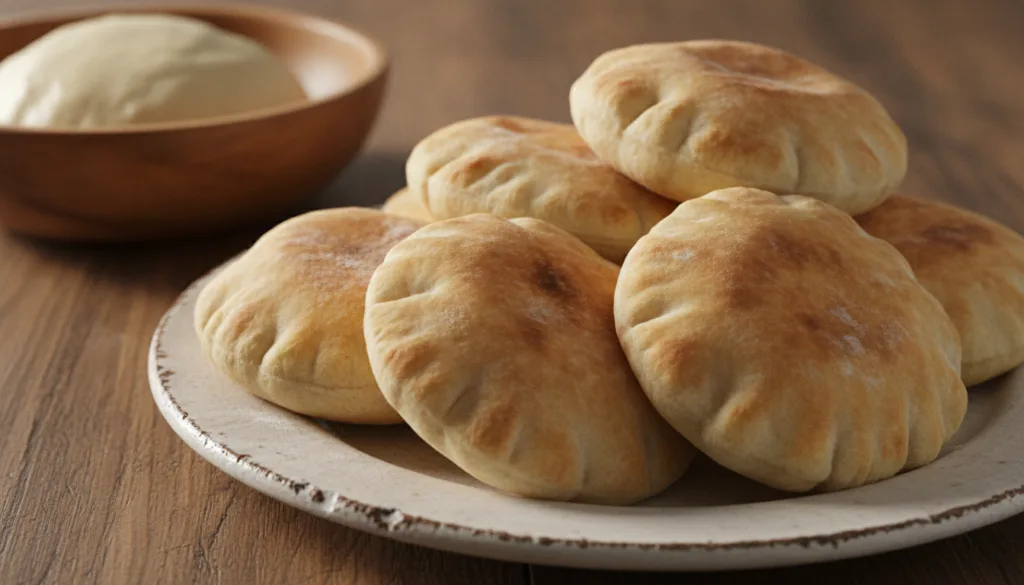
Experience the joy of freshly baked pita bread that puffs up beautifully, creating that iconic pocket perfect for stuffing with falafel, hummus, or your favorite fillings.
Servings: 6-8
Prep time: 20 minutes
Cook / chill / rest time: 1 hour proofing + 10-15 minutes bake
Ingredients:
- Whole wheat flour: 2 cups
- Active dry yeast: 1 tsp
- Sugar: 1 tsp
- Salt: 1/2 tsp
- Olive oil: 2 tbsp
- Warm water (105-115°F / 40-46°C): 3/4 cup
Instructions:
- In a small bowl, combine the warm water and sugar. Sprinkle the active dry yeast over the top and let it sit for 5-10 minutes until foamy, indicating the yeast is active.
- In a large bowl, whisk together the whole wheat flour and salt.
- Pour the activated yeast mixture and olive oil into the dry ingredients. Mix with a spoon until a shaggy dough forms.
- Transfer the dough to a lightly floured surface and knead for 5-7 minutes until it’s smooth and elastic.
- Place the dough in a lightly oiled bowl, turning once to coat. Cover with plastic wrap or a clean kitchen towel and let it rise in a warm place for about 1 hour, or until doubled in size.
- Gently punch down the risen dough and divide it into 6-8 equal portions. Roll each portion into a ball.
- On a lightly floured surface, roll each ball into a thin, round disc about 6-7 inches in diameter and 1/8-inch thick.
- Preheat your oven to 450°F (230°C) with a baking stone or heavy baking sheet inside. Let it heat for at least 20 minutes.
- Carefully place 2-3 pita rounds directly onto the hot baking stone/sheet. Bake for 2-4 minutes per side, or until they puff up like a balloon and are lightly golden.
- Remove from the oven and cover with a clean kitchen towel to keep them soft.
Storage / Serving / Usage Note:
Enjoy warm, fresh from the oven, cut into wedges for dipping in hummus, or filled with your favorite Mediterranean ingredients. Store cooled pita in an airtight bag at room temperature for up to 3-4 days, or freeze for longer.
Recipe 5: Flaky Laccha Paratha
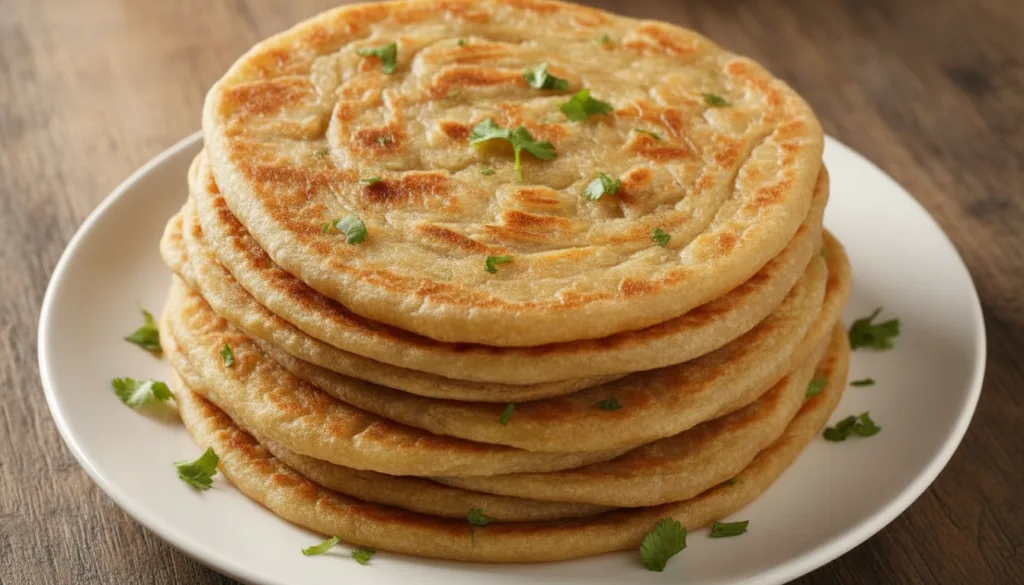
Laccha Paratha, a layered Indian flatbread, is famous for its distinct flaky texture. This recipe combines both all-purpose and whole wheat flours for a tender yet robust bread, perfect for soaking up rich gravies.
Servings: 4-6
Prep time: 25 minutes
Cook / chill / rest time: 30 minutes rest + 15 minutes cook
Ingredients:
- All-purpose flour: 1 cup
- Whole wheat flour: 1 cup
- Salt: 1/2 tsp
- Milk (warm): 1/2 cup
- Ghee (melted, plus extra for brushing): 2 tbsp
- Oil (for frying): 1 tbsp
Instructions:
- In a large bowl, combine all-purpose flour, whole wheat flour, and salt.
- Add the warm milk and 2 tablespoons of melted ghee. Mix until a dough forms. If needed, add a tiny bit more milk or flour to achieve a soft, pliable consistency.
- Transfer the dough to a lightly floured surface and knead for 5-7 minutes until smooth and elastic.
- Place the dough in a lightly oiled bowl, cover with a clean kitchen towel or plastic wrap, and let it rest for at least 30 minutes.
- Divide the rested dough into 4-6 equal portions. Roll each portion into a smooth ball.
- Take one dough ball and roll it out into a very thin, large circle, as thin as possible without tearing.
- Brush the entire surface of the rolled dough with a thin layer of melted ghee.
- Starting from one end, fold the dough into a tight pleat, like an accordion, all the way across.
- Gently stretch the pleated dough, then coil it into a tight spiral, tucking the end underneath. Flatten the coiled dough gently with your palm.
- Repeat with the remaining dough portions.
- On a lightly floured surface, gently roll out each coiled dough into a 6-7 inch round paratha, trying not to press too hard to preserve the layers.
- Heat a flat griddle or non-stick pan over medium heat. Add about 1/2 teaspoon of oil or ghee.
- Place one paratha onto the hot pan. Cook for 2-3 minutes per side, or until golden brown spots appear and the layers become visible and flaky. Add a little more oil/ghee around the edges as it cooks if needed.
- Remove from heat, gently crush the paratha between your palms to enhance the flakiness (optional), and garnish with fresh cilantro if desired.
Storage / Serving / Usage Note:
Serve hot with curries, lentils, or yogurt. Laccha Paratha is best eaten fresh. Leftovers can be stored for 1-2 days in an airtight container and reheated on a pan.
Simple Tips for Best Results
- Use Warm Water: For yeast-based recipes like Pita, warm water (not hot) is crucial to activate the yeast. For baking powder/soda recipes, it helps the dough come together smoothly.
- Don’t Skip the Rest: Resting the dough, even for just 15-30 minutes, allows the gluten to relax, making the dough easier to roll and resulting in a softer final product.
- Hot Pan is Key: A properly heated pan or griddle ensures quick cooking and the characteristic puffing of flatbreads. Don’t crowd the pan; cook one or two at a time.
- Practice Makes Perfect: Rolling flatbreads to an even thickness takes a little practice. Don’t worry if your first few aren’t perfectly round; they’ll still taste delicious!
- Brush with Butter/Ghee: For an extra layer of flavor and softness, brush your cooked flatbreads with melted butter or ghee immediately after taking them off the pan.
FAQ
How do I know if my yeast is active?
When mixed with warm water and sugar, active yeast should become foamy within 5-10 minutes. If it doesn’t foam, your yeast might be old or the water temperature was too hot or cold.
Can I make these flatbreads ahead of time?
Most flatbreads are best enjoyed fresh. However, you can prepare the dough in advance (store in the fridge for up to 1-2 days) or cook the flatbreads and store them in an airtight container. Reheat gently in a pan for best results.
What’s the best way to get my pita bread to puff?
A very hot oven (450-500°F / 230-260°C) with a preheated baking stone or steel is essential. The high heat creates steam quickly, causing the pita to puff. A very hot cast-iron skillet on the stovetop can also achieve this.
Final Thoughts
Making homemade flatbread recipes is a rewarding culinary adventure that brings incredible freshness and flavor to your table. From the garlicky goodness of Garlic Herb Flatbread to the flaky layers of Laccha Paratha, these recipes prove that creating delicious bread at home is both achievable and deeply satisfying. So, roll up your sleeves, gather your ingredients, and taste the difference that homemade makes!