What if the secret to clearer, glowing skin wasn’t a complex serum or an expensive treatment, but something as basic and readily available as salt and water? Most people focus on high-tech solutions, often overlooking time-tested, simple remedies that can offer surprising benefits. This simple salt water face rinse has dermatologists paying attention, not for its complexity, but for its effectiveness in supporting a visibly clear and healthy complexion.

What is a Salt Water Face Rinse?
A salt water face rinse is exactly what it sounds like: a simple solution of salt dissolved in water, used to cleanse and refresh the skin. This natural preparation is not a modern fad, but a practice rooted in historical wellness traditions, particularly valued for its potential to help purify the skin and promote a balanced complexion. It’s an accessible, cost-effective DIY remedy designed to support skin clarity and a natural glow without harsh chemicals.
Ingredients You’ll Need
The beauty of this remedy lies in its simplicity. You only need two core ingredients:
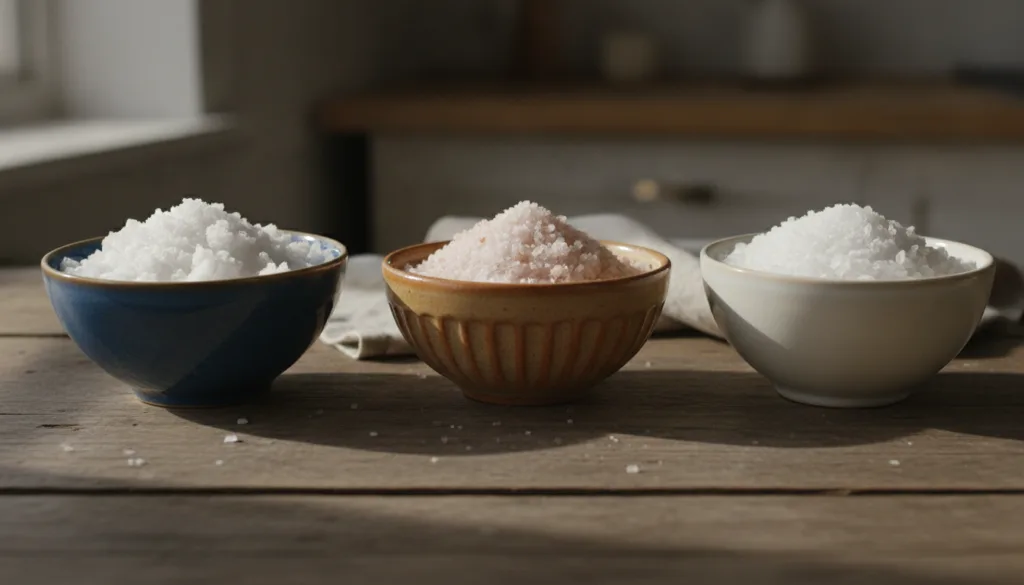
- High-Quality Salt: Opt for non-iodized sea salt, Himalayan pink salt, or Epsom salt. These contain beneficial minerals and are free from anti-caking agents found in common table salt that can irritate skin.
- Clean Water: Filtered or distilled water is best to avoid chlorine and other impurities that can be present in tap water. If using tap water, ensure it’s clean and safe for facial use.
Approximate Measurements
Precision isn’t critical here, but a good starting point ensures effectiveness without irritation.
- 1 teaspoon of salt
- 1 cup of warm water
You can adjust the salt concentration slightly based on your skin’s sensitivity and specific needs, but always start with a milder solution.
Formula / Recipe
This isn’t a complex recipe, but understanding the optimal concentration is key.
Standard Face Rinse Solution:
- Bring 1 cup of filtered or distilled water to a warm (not hot) temperature.
- Add 1 teaspoon of your chosen salt (sea salt, Himalayan pink, or Epsom).
- Stir until the salt is completely dissolved.
Quick Tip: For very sensitive skin, start with ½ teaspoon of salt per cup of water and gradually increase if tolerated.
Step-by-Step Method for Preparation
- Choose Your Salt: Select a fine-grain, non-iodized salt for easier dissolution and less abrasion.
- Warm the Water: Gently warm your filtered water. Warm water helps the salt dissolve faster and can open pores for better cleansing, but avoid hot water, which can strip natural oils.
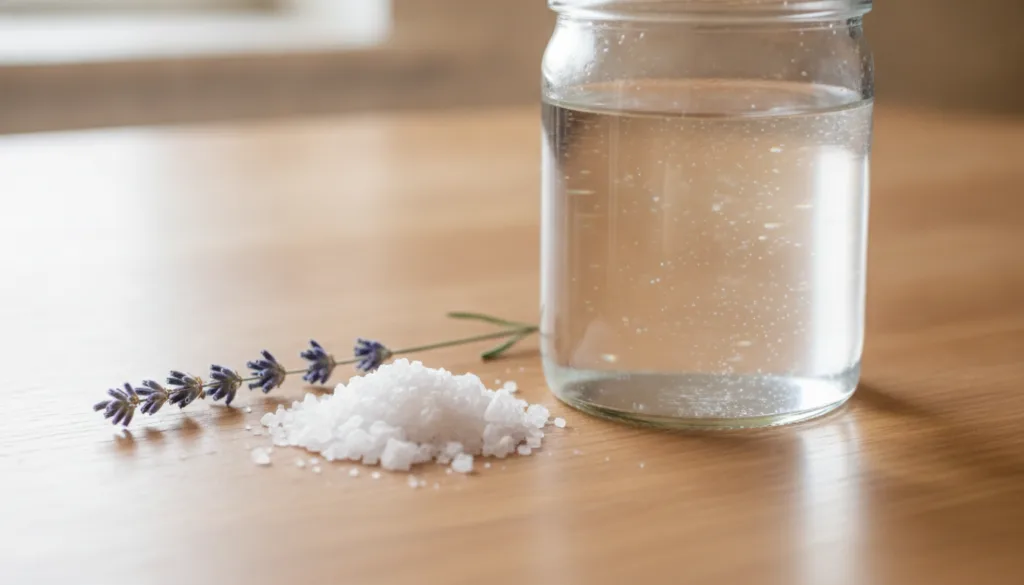
- Dissolve the Salt: Pour the warm water into a clean, non-metallic bowl or jar. Add the salt and stir thoroughly with a clean spoon until no granules are visible.
- Cool (if needed): Allow the solution to cool to a comfortable, lukewarm temperature before applying to your face.
How to Use Your Salt Water Face Rinse
Using the rinse correctly ensures you get the most benefit without irritation.
- Cleanse First: Always start with a clean face. Wash your face with your usual gentle cleanser to remove makeup and surface dirt.
- Apply the Rinse: You have a few options for application:
- Splash Method: Lean over a sink and gently splash the salt water solution onto your face.
- Cotton Pad Method: Dip a clean cotton pad into the solution and gently wipe it over your face, focusing on areas prone to breakouts.
- Spray Bottle Method: Transfer the solution to a clean spray bottle and mist your face.
- Let it Sit (Optional): Allow the salt water to sit on your skin for 30 seconds to 1 minute, especially if targeting acne.
- Rinse Thoroughly: This is a crucial step! Rinse your face thoroughly with fresh, cool water to remove all salt residue. Leaving salt on your skin can lead to dryness.
- Moisturize: Pat your face dry with a clean towel and immediately follow with your regular moisturizer to lock in hydration.
How Often to Use It
Start slowly to see how your skin reacts:
- Beginner: 2-3 times per week.
- Regular Use: If your skin tolerates it well, you may use it once daily. However, listen to your skin; if you notice dryness or irritation, reduce frequency.
Before You Apply: Always perform a patch test on a small, inconspicuous area of your skin (like behind the ear or on your inner arm) 24 hours before full facial application to check for any adverse reactions.
How to Buy / How to Choose Ingredients
The quality of your salt matters. Here’s what to look for:
- Sea Salt: Choose fine-grain, non-iodized sea salt. Look for brands that specify “unrefined” or “natural.”
- Himalayan Pink Salt: Known for its trace minerals, ensure it’s food-grade and finely ground for facial use.
- Epsom Salt (Magnesium Sulfate): While technically not a “salt” in the same way, it’s excellent for soothing and relaxing skin. Ensure it’s pure, USP grade, and fragrance-free.
Avoid regular iodized table salt, as the iodine and anti-caking agents can be drying and irritating to facial skin.
Storage
Fresh is always best for natural remedies.
- Prepare Fresh: Ideally, prepare a fresh batch for each use.
- Short-Term Storage: If you must store it, keep the solution in a clean, airtight glass bottle or jar in the refrigerator for no more than 2-3 days. Discard if you notice any cloudiness or odor.
Practical Tips for Best Results
- Temperature Matters: Lukewarm water is best for mixing and application.
- Consistency is Key: Regular, gentle use yields better results than infrequent, aggressive application.
- Hydrate: Always follow with a good moisturizer, as salt can have a drying effect if not followed up properly.
- Dilute for Sensitivity: If your skin feels tight or dry, dilute your solution further.
Common Mistakes to Avoid
One small preparation mistake can ruin the whole batch or irritate your skin.
Salt Rinse Mistakes & Solutions
| Common Mistake | Why It’s a Problem | Solution |
|---|---|---|
| Using iodized table salt | Contains iodine and anti-caking agents that irritate skin. | Use pure, non-iodized sea salt, Himalayan pink salt, or Epsom salt. |
| Too high salt concentration | Can severely dry out and irritate the skin, causing redness. | Start with 1/2 to 1 teaspoon per cup of water; dilute if needed. |
| Not rinsing thoroughly | Salt residue left on skin will cause dryness and flakiness. | Always rinse face thoroughly with fresh, cool water after use. |
| Using on broken or irritated skin | Can cause stinging, increased irritation, and potentially infection. | Avoid use on open wounds, cuts, or severely irritated skin. |
| Skipping moisturizer | Salt’s natural drying effect can leave skin parched without follow-up hydration. | Always apply a nourishing moisturizer immediately after rinsing. |
Cautions / Who Should Avoid It
- Sensitive Skin: While generally gentle, very sensitive skin types should start with a highly diluted solution and patch test diligently.
- Open Wounds/Cuts: Do not use on broken, cut, or severely irritated skin, as it can sting and hinder healing.
- Dry Skin Conditions: Individuals with extremely dry skin, eczema, or psoriasis should consult a dermatologist before regular use, as salt can be drying.
- Eye Contact: Avoid getting the solution in your eyes, as it can cause irritation.
Quick Summary
For those short on time, here’s the essence of the salt water face rinse:
- Best Preparation: 1 tsp non-iodized sea salt (or Himalayan/Epsom) per 1 cup warm, filtered water.
- Best Use-Case: Cleansing, clarifying pores, addressing mild breakouts, promoting natural glow.
- Storage: Prepare fresh for each use; refrigerate leftovers for max 2-3 days.
- When to Use: 2-3 times per week, or daily if well-tolerated, after cleansing and before moisturizing.
- What to Avoid: Iodized table salt, high concentrations, broken skin, skipping the final rinse and moisturizer.
FAQ
Here are answers to common questions about using a salt water face rinse:
- Can I use regular table salt?
It’s strongly recommended to avoid iodized table salt due to added iodine and anti-caking agents which can be harsh and irritating to facial skin. Stick to pure sea salt, Himalayan pink salt, or Epsom salt. - How long does the prepared solution last?
Ideally, prepare a fresh batch for each use. If stored in a clean, airtight container in the refrigerator, it can last up to 2-3 days, but always check for freshness before use. - Can I use salt water every day?
Some people can use it daily, especially if they have oily or acne-prone skin. However, it’s best to start with 2-3 times a week and observe your skin’s reaction. If dryness or irritation occurs, reduce frequency. - What if I have sensitive skin?
Start with a much milder solution (e.g., ½ teaspoon of salt per cup of water) and perform a patch test. If your skin still reacts negatively, this remedy might not be suitable for you. - Can I use this rinse to remove makeup?
No, the salt water rinse is a cleansing and clarifying step, not a primary makeup remover. Always cleanse your face first to remove makeup, then apply the rinse. - Will salt water dry out my skin?
If used in too high a concentration or if you skip rinsing and moisturizing, it can be drying. Always rinse thoroughly with fresh water and follow immediately with a good moisturizer.
You may also like: The Ultimate Guide to DIY Herbal Toners
Conclusion
The journey to clearer, more radiant skin doesn’t always require a complex arsenal of products. Sometimes, the most effective solutions are the simplest ones. A salt water face rinse offers a natural, budget-friendly approach to support skin clarity and health. By understanding the proper preparation, application, and necessary precautions, you can harness the power of this humble remedy to unveil a naturally refreshed complexion. Listen to your skin, be consistent, and enjoy the surprising benefits of this simple, natural cure.
Read more: Discovering the Best Natural Cleansers for Your Skin Type