Bring back a taste of childhood joy with homemade Potato Smiley Chips! ✨ These crispy, golden bites are surprisingly easy to make with simple ingredients you likely already have. Fun for the whole family and perfect for a nostalgic snack! Few things evoke the comfort of childhood quite like a plate of crispy, golden smiley chips. While store-bought versions are convenient, making them at home is a surprisingly simple and rewarding experience.
This article will guide you through crafting those iconic smiley faces right in your own kitchen. Beyond the classic, we’ll also explore other easy, family-friendly potato and classic snack recipes that are perfect for movie nights, playdates, or just a delightful treat. Get ready to rediscover the simple pleasure of homemade snacks!
Quick Overview
- Main topic: Easy, homemade crispy potato and classic snacks
- Best for: Family fun, nostalgic treats, kids’ parties, easy meal prep snacks
- Number of recipes: 6
- Prep style: Frying and baking options
- Reader benefit: Delicious, simple, and satisfying snack recipes
Recipe 1: Homemade Crispy Potato Smiley Chips
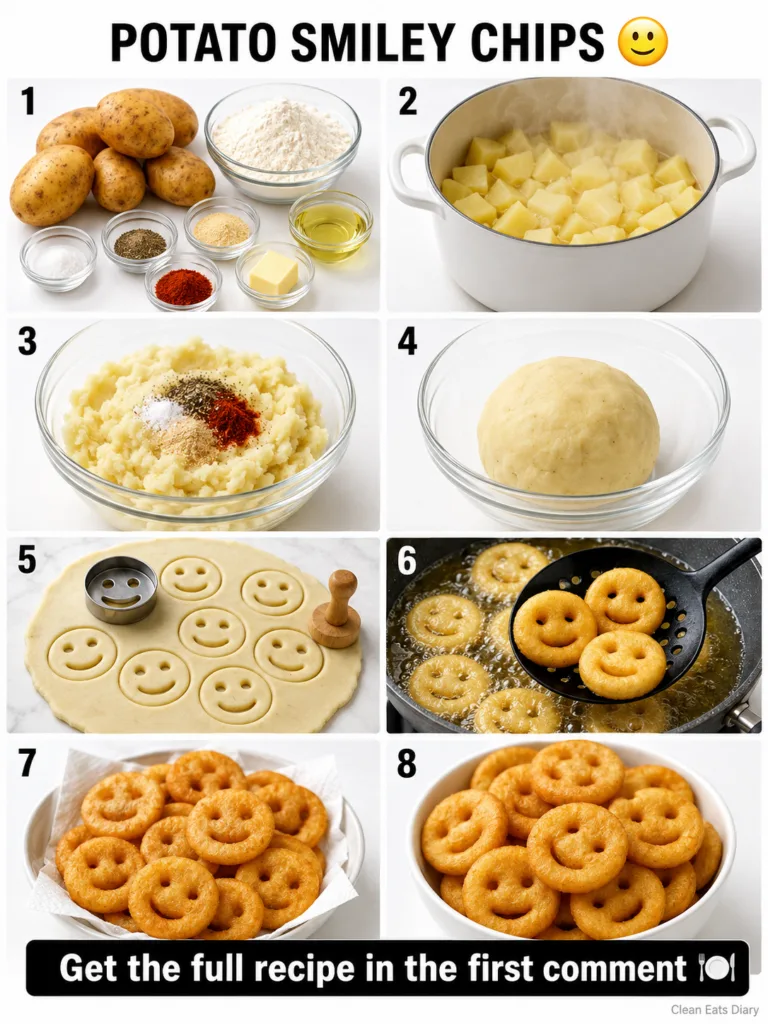
These iconic Potato Smiley Chips are sure to bring a smile to anyone’s face. Crispy on the outside and soft on the inside, they’re a fun and delicious snack for all ages.
Servings: 4
Prep time: 25 minutes
Cook / chill / rest time: 15 minutes (frying) + 30 minutes (chilling)
Ingredients:
- 2 large fresh potatoes
- ¼ cup all-purpose flour
- ½ teaspoon salt, or to taste
- ¼ teaspoon black pepper, or to taste
- ¼ teaspoon chili powder (optional)
- 4 cups oil, for deep frying (or as needed)
Instructions:
- Boil the potatoes until tender. Peel them and mash them thoroughly until absolutely smooth, ensuring no lumps remain.
- In a large bowl, combine the mashed potatoes with all-purpose flour, salt, black pepper, and chili powder (if using). Mix well to form a soft, pliable dough.
- Lightly flour a clean surface or a rolling mat. Roll out the dough to an even thickness of about ¼ inch.
- Use a round cookie cutter (or the rim of a small glass) to cut out circles from the dough.
- For the ‘smiley’ face, use a straw to make two eyes and the edge of a small spoon to create the mouth curve on each potato circle.
- Carefully transfer the smiley chips to a plate and chill them in the refrigerator for at least 30 minutes to help them hold their shape better during frying.
- Heat the oil in a deep pan or kadai over medium heat. Once hot (test with a small piece of dough; it should sizzle and float up), gently drop the chilled smiley chips into the oil, frying in batches to avoid overcrowding.
- Deep-fry until golden brown and crispy on both sides, flipping occasionally. This usually takes about 3-5 minutes per batch.
- Remove the fried smiley chips with a slotted spoon and place them on a plate lined with paper towels to drain excess oil.
Storage / Serving / Usage Note: Serve these homemade crispy Potato Smiley Chips hot with ketchup, mint chutney, or your favorite dipping sauce. They are best enjoyed fresh.
Recipe 2: Classic Crispy French Fries
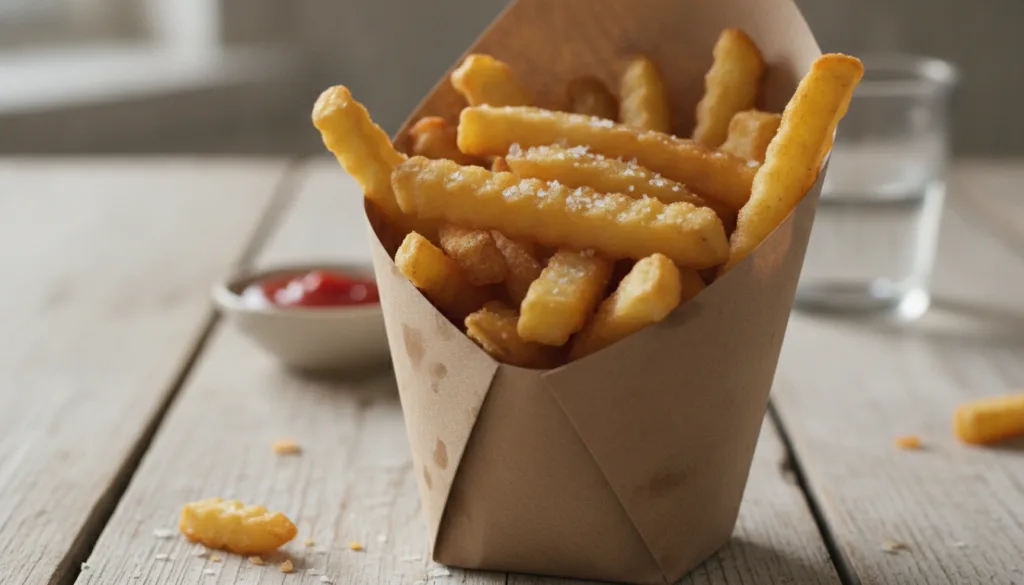
A universally loved snack, classic French fries are surprisingly easy to replicate at home, offering that perfect balance of crispy exterior and fluffy interior.
Servings: 4
Prep time: 20 minutes
Cook / chill / rest time: 10-15 minutes (frying) + 30 minutes (soaking)
Ingredients:
- 3 large Russet potatoes
- 4 cups cold water (for soaking)
- 4 cups vegetable oil, for frying
- Salt, to taste
Instructions:
- Peel the potatoes and cut them into ¼-inch thick sticks.
- Place the cut potatoes in a large bowl of cold water and soak for at least 30 minutes (or up to a few hours) to remove excess starch. This helps them get crispier.
- Drain the potatoes thoroughly and pat them very dry with a clean kitchen towel or paper towels.
- Heat the oil in a deep pot or Dutch oven to 325°F (160°C).
- Fry the potatoes in small batches for 4-6 minutes, until they are soft but not yet browned. This is the first fry. Remove with a slotted spoon and place on a wire rack.
- Increase the oil temperature to 375°F (190°C).
- Return the partially cooked fries to the hot oil and fry for another 2-4 minutes, or until golden brown and crispy.
- Remove and drain on paper towels. Immediately season with salt while hot.
Storage / Serving / Usage Note: Serve immediately with ketchup, mayonnaise, or your favorite dipping sauce. They are best when fresh and hot.
Recipe 3: Spiced Potato Wedges
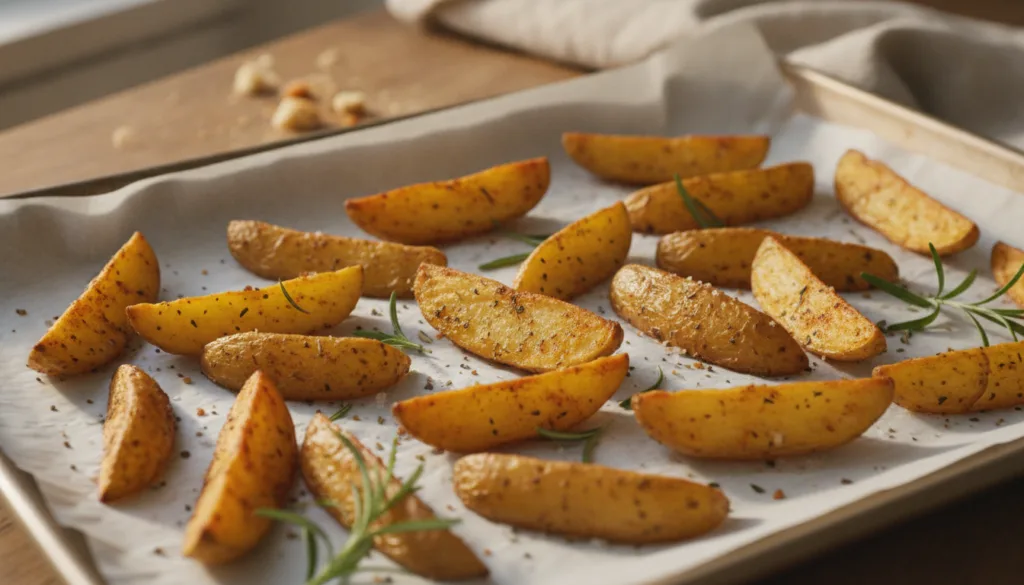
For a slightly healthier and equally delicious snack, these baked spiced potato wedges are full of flavor and have a lovely crispy texture.
Servings: 4
Prep time: 15 minutes
Cook / chill / rest time: 30 minutes (baking)
Ingredients:
- 2 large Russet or Yukon Gold potatoes
- 2 tablespoons olive oil
- 1 teaspoon paprika
- ½ teaspoon garlic powder
- ¼ teaspoon chili powder (optional)
- Salt and black pepper, to taste
- Fresh parsley or cilantro, chopped (for garnish, optional)
Instructions:
- Preheat your oven to 400°F (200°C). Line a baking sheet with parchment paper.
- Wash the potatoes thoroughly and cut them lengthwise into wedges. You can leave the skin on for extra flavor and nutrients.
- In a large bowl, toss the potato wedges with olive oil, paprika, garlic powder, chili powder (if using), salt, and black pepper. Ensure all wedges are evenly coated.
- Spread the seasoned potato wedges in a single layer on the prepared baking sheet, making sure they don’t overlap to allow for even crisping.
- Bake for 25-30 minutes, flipping halfway through, until the wedges are golden brown and crispy on the outside and tender on the inside.
- Garnish with fresh parsley or cilantro, if desired.
Storage / Serving / Usage Note: Serve hot with a side of sour cream, aioli, or your favorite ketchup. Great as a side dish or a hearty snack.
Recipe 4: Cheesy Potato Tots (Tater Tots)
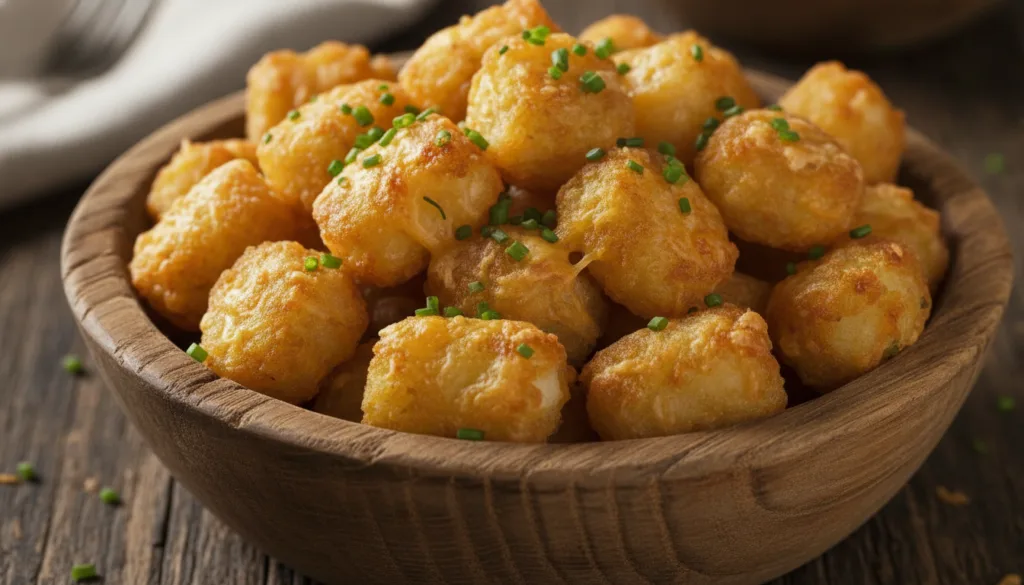
Cheesy potato tots are a delightful twist on a classic, combining the beloved potato flavor with gooey cheese for an irresistible snack.
Servings: 4-6
Prep time: 20 minutes
Cook / chill / rest time: 15 minutes (frying/baking) + 30 minutes (chilling)
Ingredients:
- 2 large Russet potatoes, peeled and grated
- ½ cup shredded cheddar cheese
- ¼ cup all-purpose flour
- 1 small egg, beaten
- ¼ teaspoon onion powder
- Salt and black pepper, to taste
- Oil, for frying or baking spray
Instructions:
- Grate the peeled potatoes. Squeeze out as much excess liquid as possible using a clean kitchen towel. This is crucial for crispiness.
- In a large bowl, combine the grated potatoes, shredded cheddar cheese, all-purpose flour, beaten egg, onion powder, salt, and black pepper. Mix thoroughly until well combined.
- Shape the mixture into small, cylindrical tot shapes. Place them on a plate or baking sheet lined with parchment paper.
- Chill the potato tots in the refrigerator for at least 30 minutes to help them firm up.
- To fry: Heat about 2-3 inches of oil in a deep pan to 350°F (175°C). Fry the tots in batches for 3-5 minutes, or until golden brown and crispy.
- To bake: Preheat oven to 400°F (200°C). Spray the chilled tots with cooking spray and bake for 20-25 minutes, flipping halfway, until golden and crispy.
- Remove and drain on paper towels if fried, or serve directly if baked.
Storage / Serving / Usage Note: Serve hot with ketchup, ranch, or any preferred dipping sauce. These are excellent alongside burgers or as a standalone snack.
Recipe 5: Crispy Onion Rings
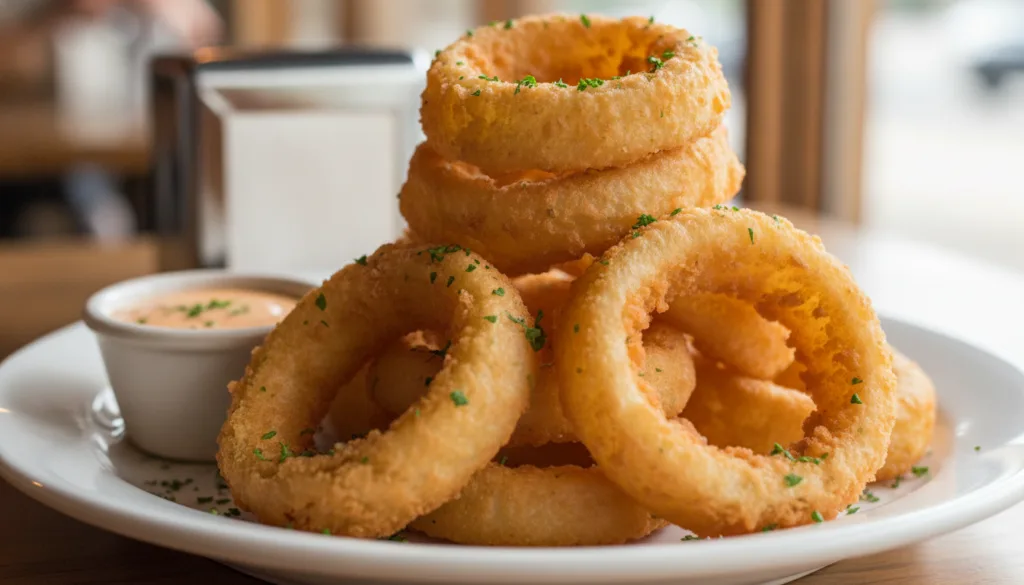
Crispy onion rings are a beloved classic that makes a fantastic side dish or a satisfying appetizer. The sweet onion inside contrasts beautifully with the savory, crunchy coating.
Servings: 4
Prep time: 20 minutes
Cook / chill / rest time: 10-12 minutes (frying)
Ingredients:
- 1 large yellow onion
- 1 cup all-purpose flour
- ½ cup cornstarch
- 1 teaspoon baking powder
- ½ teaspoon salt
- ¼ teaspoon black pepper
- 1 cup cold soda water or beer (for extra crispiness)
- Oil, for deep frying
Instructions:
- Peel the onion and cut it into ½-inch thick rings. Carefully separate the rings.
- In a medium bowl, whisk together the flour, cornstarch, baking powder, salt, and black pepper.
- Gradually pour in the cold soda water or beer, whisking until you have a smooth batter. Do not overmix; a few lumps are fine.
- Heat the oil in a deep pot to 350°F (175°C).
- Dip each onion ring into the batter, ensuring it’s fully coated, allowing any excess to drip off.
- Carefully place the battered onion rings into the hot oil, frying in batches to avoid overcrowding.
- Fry for 2-3 minutes per side, or until golden brown and crispy.
- Remove the fried onion rings with a slotted spoon and place them on a plate lined with paper towels to drain excess oil.
Storage / Serving / Usage Note: Serve hot with ketchup, barbecue sauce, or a spicy aioli. These are best eaten immediately after frying.
Recipe 6: Quick Cheese Sticks
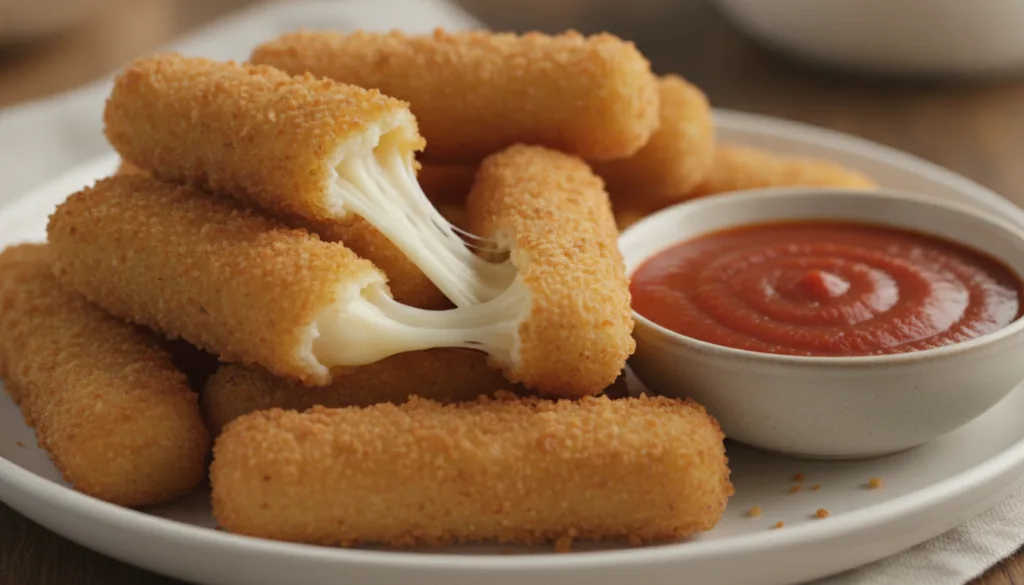
Who can resist a warm, gooey cheese stick with a crispy coating? These quick cheese sticks are a simple yet satisfying snack, perfect for a quick bite or party appetizer.
Servings: 4
Prep time: 10 minutes
Cook / chill / rest time: 5-7 minutes (frying) + 15 minutes (freezing)
Ingredients:
- 8 mozzarella string cheese sticks
- ½ cup all-purpose flour
- 1 large egg, beaten
- 1 cup breadcrumbs (Panko for extra crispiness)
- ¼ teaspoon garlic powder (optional, mixed with breadcrumbs)
- Oil, for deep frying
- Marinara sauce, for dipping
Instructions:
- Cut each mozzarella string cheese stick in half. Place them in the freezer for at least 15 minutes to firm up; this helps prevent the cheese from melting too quickly during frying.
- Set up a breading station with three shallow dishes: one with flour, one with the beaten egg, and one with breadcrumbs (optionally mixed with garlic powder).
- Dip each frozen cheese stick half first into the flour, shaking off excess. Then dip into the beaten egg, ensuring it’s fully coated. Finally, roll it in the breadcrumbs, pressing gently to adhere well. For extra crispiness, you can double coat by dipping back into the egg and then the breadcrumbs again.
- Heat about 2-3 inches of oil in a deep pan to 350°F (175°C).
- Carefully place the breaded cheese sticks into the hot oil, frying in batches for 1-2 minutes, or until golden brown and the cheese starts to get gooey (but not completely melt out).
- Remove with a slotted spoon and place on a plate lined with paper towels to drain excess oil.
Storage / Serving / Usage Note: Serve immediately with warm marinara sauce. Best enjoyed hot and fresh while the cheese is still wonderfully melted.
Simple Tips for Best Results
- Pat Potatoes Dry: For all potato-based recipes, ensuring your potatoes are as dry as possible after washing or boiling is key to achieving maximum crispiness.
- Consistent Cutting: Uniformly sized potato pieces (whether smiley chips, fries, or wedges) ensure even cooking.
- Don’t Overcrowd the Pan: Frying or baking in small batches prevents the temperature from dropping too much and allows for even browning and crispiness.
- Oil Temperature Matters: Use a thermometer to maintain the correct oil temperature. Too low, and food becomes greasy; too high, and it browns too quickly without cooking through.
- Season Immediately: For fried snacks like fries and onion rings, season with salt immediately after removing them from the hot oil. The salt will adhere better.
- Chilling is Key: For shaped snacks like smiley chips and tots, chilling them before frying helps them hold their shape and prevents them from falling apart.
- Quality Ingredients: Using fresh, good-quality ingredients always makes a difference in taste and texture.
FAQ
Can I bake these Potato Smiley Chips instead of frying?
While frying gives the best crispy texture, you can bake them. Lightly spray the shaped smiley chips with oil and bake at 400°F (200°C) for 20-25 minutes, flipping halfway, until golden brown.
What’s the best way to store leftover snacks?
Most of these crispy snacks are best enjoyed fresh. Leftovers can be stored in an airtight container in the refrigerator for 1-2 days. Reheat them in an oven or air fryer for best results, as microwaving will make them soggy.
Can I prepare these snacks ahead of time?
You can prepare the potato dough for smiley chips or tots ahead of time and chill it. You can also bread the cheese sticks and freeze them un-fried. For best results, fry or bake right before serving.
Final Thoughts
Bringing the joy of childhood classics like Potato Smiley Chips into your kitchen is a rewarding experience. These recipes offer a delightful way to create delicious, crispy snacks that are perfect for sharing with family and friends. From classic French fries to cheesy tots and crispy onion rings, there’s a homemade treat for every craving. So, gather your ingredients, get creative in the kitchen, and enjoy the delicious satisfaction of these easy and fun snack recipes!