Tired of scrubbing at stubborn shower grout stains that just won’t budge? You’re not alone! Grimy, discolored grout can make even the cleanest bathroom look dull and uninviting. But what if we told you that the secret to a sparkling clean bathroom might already be in your pantry and medicine cabinet? This powerful natural grout cleaner uses the dynamic duo of baking soda and hydrogen peroxide to tackle mildew, soap scum, and dirt, restoring your grout to its original pristine white.
Forget harsh chemicals and endless scrubbing. Our DIY method is simple, effective, and environmentally friendly. Get ready to transform your tiles and enjoy a truly fresh bathroom!
Quick Overview
- Main topic: DIY natural bathroom cleaning, specifically grout.
- Best for: Removing stubborn grime, mildew, and stains from shower grout.
- Number of recipes: 3 (1 main grout cleaner + 2 bonus bathroom cleaning tips).
- Prep style: Simple mixing and application.
- Reader benefit: Achieve sparkling clean grout and a fresher bathroom with natural, non-toxic solutions.
Recipe 1: DIY Baking Soda & Hydrogen Peroxide Grout Cleaner
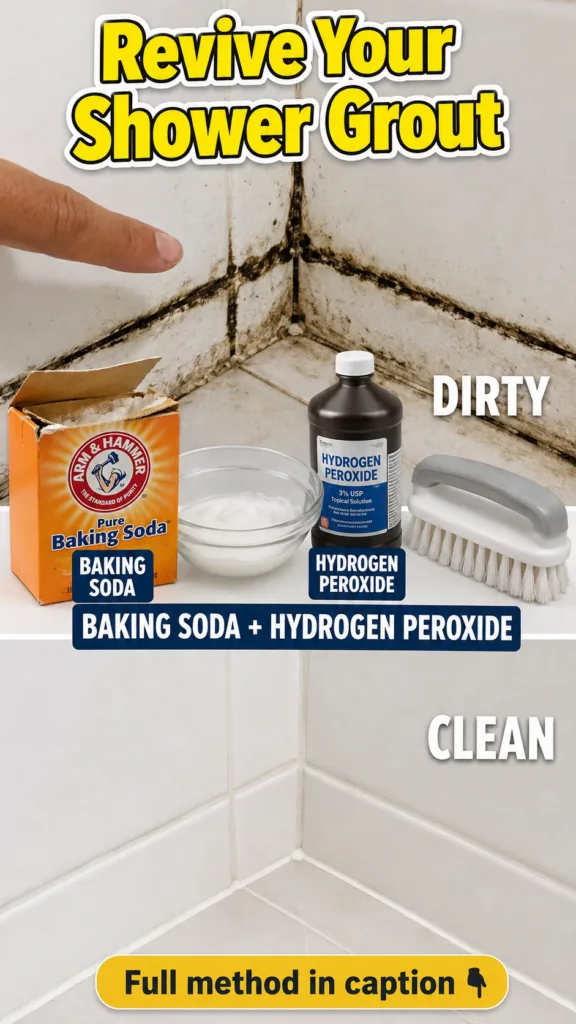
This is your go-to solution for tackling the toughest grout stains. Baking soda acts as a gentle abrasive and deodorizer, while hydrogen peroxide disinfects and brightens.
Servings: Sufficient for one standard shower area
Prep time: 5 minutes
Cook / chill / rest time: 10-15 minutes (application time)
Ingredients:
- 1/2 cup baking soda
- 1/4 cup 3% hydrogen peroxide (adjust as needed)
Instructions:
- In a small bowl, combine the baking soda and hydrogen peroxide. Mix well with a spoon or spatula until a thick, spreadable paste forms. If it’s too thick, add a tiny bit more hydrogen peroxide; if too runny, add more baking soda.
- Using an old toothbrush or a small scrubbing brush, apply the paste directly onto the dirty grout lines. Ensure the grout is thoroughly covered.
- Let the paste sit on the grout for 10 to 15 minutes. This allows the ingredients to penetrate and break down the grime and mildew.
- After the waiting period, vigorously scrub the grout lines with the brush. You should see the grime lifting away.
- Rinse the area thoroughly with warm water, wiping away any remaining paste and loosened dirt. For best results, use a clean cloth or sponge.
Storage / Serving / Usage Note: Use this solution immediately after mixing for best effectiveness. For heavily stained areas, you may need to repeat the process. Always spot-test in an inconspicuous area first.
Recipe 2: Natural All-Purpose Bathroom Spray
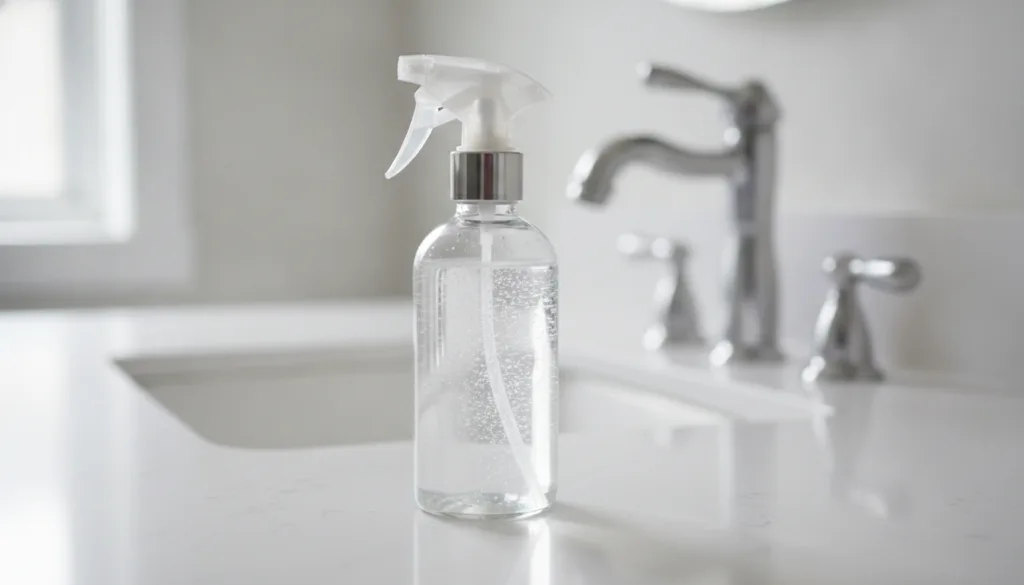
Beyond grout, keep your entire bathroom sparkling with this simple, versatile all-purpose spray. It’s perfect for sinks, counters, and even mirrors!
Servings: 1 spray bottle (approx. 16 oz)
Prep time: 2 minutes
Cook / chill / rest time: None
Ingredients:
- 1 cup distilled white vinegar
- 1 cup water
- 10-15 drops essential oil (tea tree for disinfectant, lemon for freshness, or lavender for calming scent)
Instructions:
- In a clean spray bottle (at least 16 oz capacity), combine the distilled white vinegar and water.
- Add your chosen essential oils.
- Secure the spray nozzle and shake gently to mix.
Storage / Serving / Usage Note: Spray directly onto surfaces, wipe with a clean cloth or sponge, and rinse if desired (especially for food prep surfaces, though this is for bathrooms). Do not use on natural stone surfaces like marble or granite, as vinegar can etch them. Store in a cool, dark place.
Recipe 3: Lemon & Salt Scrub for Hard Water Stains
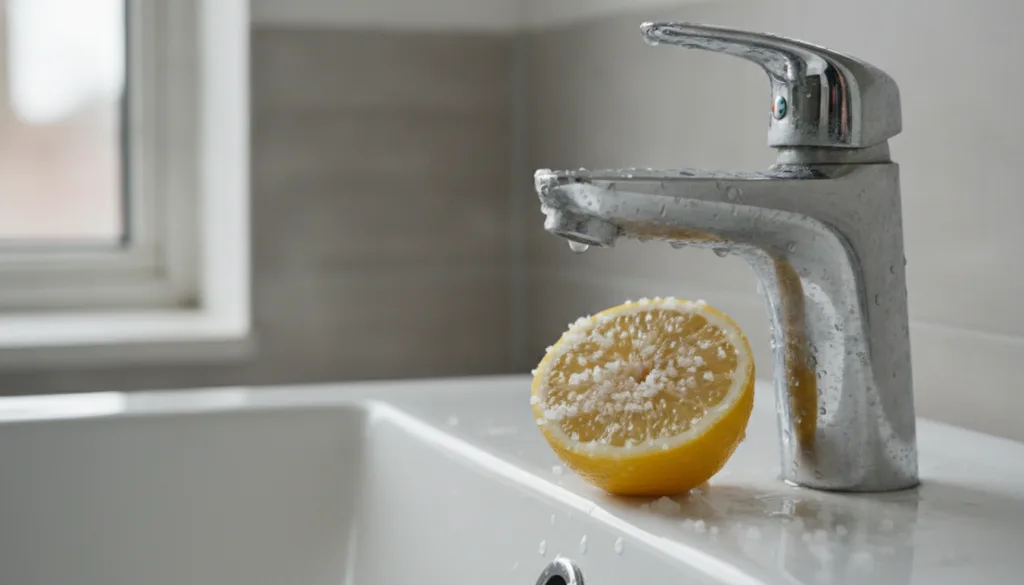
Hard water stains around faucets and drains can be a real nuisance. This natural scrub uses the acidity of lemon and the abrasive power of salt to cut through mineral buildup.
Servings: As needed for small areas
Prep time: 1 minute
Cook / chill / rest time: 5-10 minutes (application time)
Ingredients:
- 1/2 lemon
- 2 tablespoons coarse salt (kosher or sea salt)
Instructions:
- Sprinkle the coarse salt generously onto the cut surface of the half lemon.
- Take the lemon half and directly scrub the areas affected by hard water stains around faucets, shower heads, or drains.
- Allow the lemon and salt mixture to sit on the stains for 5-10 minutes to allow the citric acid to work.
- Scrub again with the lemon and then rinse the area thoroughly with warm water.
Storage / Serving / Usage Note: Use this method for isolated hard water stains. Do not use lemon on natural stone surfaces or unsealed grout, as the acid can cause damage. Discard the lemon half after use.
Simple Tips for Best Results
- Ventilate Well: Always ensure good ventilation in your bathroom when cleaning, especially when tackling mold and mildew.
- Regular Maintenance: Prevent future build-up by wiping down shower walls and drying grout lines after each use. A daily shower spray can also help.
- Grout Sealing: Consider sealing your grout lines after a thorough cleaning to protect them from moisture and stains.
- Safety First: Although these are natural cleaners, always wear gloves to protect your hands, especially when using hydrogen peroxide. Avoid mixing hydrogen peroxide with vinegar in the same container, as it can create harmful fumes. Always use separately.
FAQ
Is hydrogen peroxide safe for all types of grout?
Hydrogen peroxide is generally safe for most ceramic and porcelain tile grouts. However, it’s always recommended to test it on a small, inconspicuous area first, especially with colored grout, to ensure it doesn’t cause discoloration.
How often should I clean my grout?
For high-traffic areas like shower grout, a deep clean with the baking soda and hydrogen peroxide paste every 1-3 months is often sufficient, depending on usage and ventilation. Regular light cleaning and maintenance sprays can help extend the time between deep cleans.
Can I use bleach instead of hydrogen peroxide?
While bleach is a strong disinfectant and whitener, hydrogen peroxide is a milder, non-toxic alternative that breaks down into water and oxygen, making it more eco-friendly and safer to use in enclosed spaces. We recommend avoiding bleach when possible for a natural cleaning approach, and never mix bleach with vinegar or hydrogen peroxide.
Final Thoughts
Achieving sparkling clean grout doesn’t have to be a daunting task filled with harsh chemicals. With the power of simple household ingredients like baking soda and hydrogen peroxide, you can effectively tackle grime, mildew, and stains, leaving your bathroom looking fresh and inviting. Embrace these natural grout cleaner solutions and enjoy a healthier, brighter home!
MEDICAL DISCLAIMER:
The information provided in this article is for general informational purposes only and is not intended as a substitute for professional advice. Always follow product label instructions and exercise caution when using cleaning agents. If you have any concerns about specific materials or health conditions, consult with a professional.