Dreaming of soft, hydrated lips with a natural hint of color? ✨ Get ready to pamper yourself with this easy DIY tinted lip balm! This isn’t just about adding a pretty tint; it’s about nourishing your lips with ingredients you trust, avoiding harsh chemicals, and enjoying the satisfaction of creating something beautiful with your own hands. Say goodbye to dull, dry lips and hello to a natural glow, all made by you!
Why DIY Your Lip Balm?
In a world full of beauty products, why go the DIY route? The answer is simple: control and care. When you make your own tinted lip balm, you:
- Control the Ingredients: No more guessing what’s in your lip products. You choose natural, beneficial components.
- Deep Hydration: Formulate your balm with intensely moisturizing ingredients like shea butter and coconut oil for truly soft lips.
- Customizable Color & Scent: Achieve your perfect shade and aroma using natural colorants and essential oils.
- Cost-Effective: Save money by making your own balms with readily available ingredients.
- Eco-Friendly: Reduce waste by reusing containers and choosing sustainable ingredients.
Key Ingredients and Their Benefits
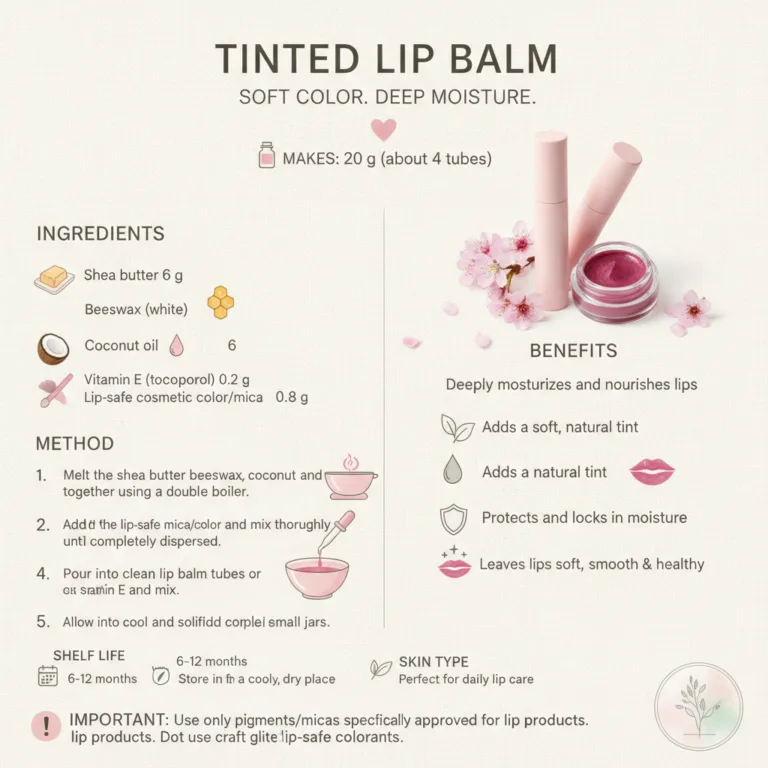
The magic of this tinted lip balm lies in its natural, nourishing ingredients. Here’s a look at what you’ll need and why they’re so good for your lips:
- Beeswax: Creates a protective barrier on your lips, locking in moisture and shielding them from environmental elements.
- Coconut Oil: Known for its moisturizing and healing properties, coconut oil helps keep lips soft and smooth.
- Shea Butter: A powerhouse of hydration, shea butter deeply nourishes and repairs chapped lips, promoting elasticity.
- Natural Colorant (e.g., Beetroot Powder, Mica Powder): Provides a beautiful, natural tint without artificial dyes.
- Essential Oil (Optional, e.g., Peppermint, Lavender): Adds a delightful scent and can offer additional benefits like a cooling sensation or calming effect.
Simple Step-by-Step Recipe
Ready to get started? Here’s how you can create your own moisturizing, tinted lip balm:
What You’ll Need:
- 2 tablespoons Beeswax pellets
- 2 tablespoons Coconut oil
- 2 tablespoons Shea butter
- 1/2 – 1 teaspoon Natural colorant (e.g., beetroot powder for pink, cocoa powder for brown, cosmetic-grade mica for shimmer)
- 5-10 drops of your favorite essential oil (optional)
- Small lip balm containers or tubes
- Double boiler setup (or a heat-safe bowl over a pot of simmering water)
Method:
- Melt the Base: In a double boiler (or a heat-safe bowl placed over a pot of simmering water), combine the beeswax, coconut oil, and shea butter. Stir gently until all ingredients are fully melted and well combined.
- Add Color: Once melted, remove the mixture from the heat. Stir in your chosen natural colorant. Start with 1/2 teaspoon and add more gradually until you reach your desired shade. Mix thoroughly to ensure the color is evenly distributed and there are no clumps.
- Infuse with Scent (Optional): If using essential oils, add 5-10 drops to the mixture. Stir well.
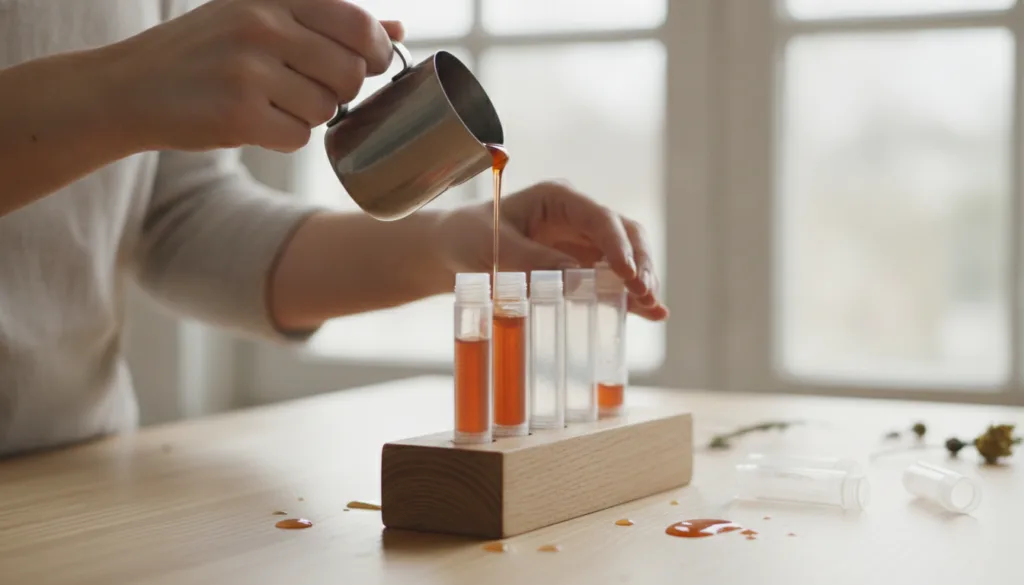
- Pour into Containers: Carefully pour the liquid lip balm mixture into your clean, empty lip balm containers or tubes. Be quick, as the mixture will start to solidify as it cools.
- Allow to Set: Let the lip balms cool completely at room temperature, or place them in the refrigerator for about 30 minutes to speed up the setting process.
- Enjoy! Once solid, your homemade tinted lip balm is ready to use!
Tips for Customization & Usage
- Color Intensity: For a more vibrant tint, gradually add more of your natural colorant. For a subtle sheen, use less or choose a very light mica powder.
- Flavor & Scent: Experiment with different essential oils like vanilla for a sweet scent, peppermint for a refreshing tingle, or lavender for a calming touch. Always use cosmetic-grade essential oils.
- Texture: Adjust the amount of beeswax. More beeswax will result in a firmer balm, while less will create a softer, more emollient texture.
- Storage: Store your homemade lip balms in a cool, dry place away from direct sunlight to maintain their consistency and prolong their shelf life.
Shelf Life and Important Notes
Typically, homemade lip balms made with natural ingredients like these can last for 3-6 months, especially if stored correctly. Always pay attention to the smell and texture; if anything seems off, it’s best to discard it.
Important Reminders:
- Cleanliness is Key: Ensure all your tools and containers are sterilized before starting to prevent bacterial growth.
- Patch Test: Before applying any new product extensively, do a small patch test on your skin to check for any sensitivities or allergic reactions, especially if using new essential oils or colorants.
Embrace Your Inner Alchemist!
Making your own tinted lip balm is a wonderful way to embrace natural beauty and self-care. It’s a simple, rewarding process that leaves you with beautifully colored, deeply moisturized lips and a sense of accomplishment. Give it a try and share your stunning creations with us!
Have you tried making your own lip balm before? What are your favorite natural tints?