Are you searching for ways to achieve smoother, clearer-looking skin and visibly reduce the appearance of open pores? Many people are turning to natural, DIY solutions that have been passed down through generations. One such popular beauty routine that’s been gaining significant attention combines the power of rice water and cloves. It’s a simple, at-home method that people are trying for a radiant complexion.
Let’s dive into this intriguing trick and explore how you can incorporate it into your own beauty regimen for potentially smoother-looking skin.
The Buzz Around Rice Water and Cloves for Skin
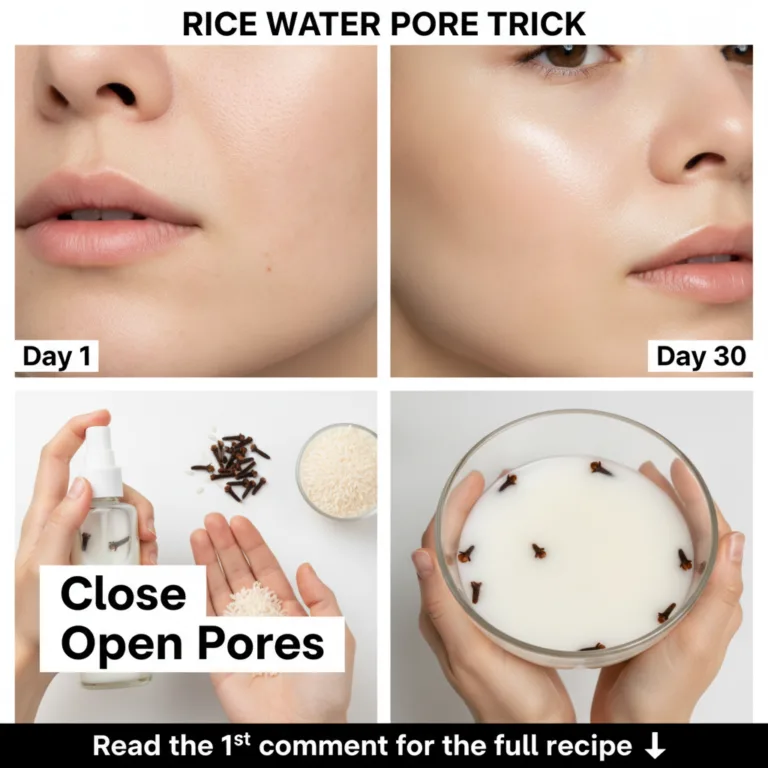
The combination of rice water and cloves has become a popular topic in the DIY beauty world. People are trying this simple method, often shared on social media, for its potential to help refine the look of skin and promote a healthy glow. The image above wonderfully illustrates the journey, with a visual comparison from ‘Day 1’ to ‘Day 30’ suggesting a noticeable improvement in skin texture and pore appearance.
Why Rice Water?
Rice water, a staple in traditional Asian beauty routines for centuries, is celebrated for its rich composition. It’s packed with vitamins, minerals, amino acids, and antioxidants that are believed to nourish the skin. Many people find that fermented rice water, in particular, can have a soothing and brightening effect, making the skin appear more even-toned and luminous.
Why Cloves?
Cloves, beyond their culinary uses, also hold a place in natural beauty practices. They are commonly recognized for their aromatic properties and contain compounds that are believed to offer antioxidant benefits. In skincare, cloves are sometimes used for their natural astringent qualities, which may help skin appear firmer and clearer. When combined with rice water, they are thought to create a potent blend for tackling the appearance of open pores.
Your Step-by-Step Guide to the DIY Rice Water & Clove Solution
Ready to try this popular trick for yourself? Here’s how you can prepare your own rice water and clove solution at home. You can see the key ingredients, like the rice and cloves, laid out in the instructional image.
What You’ll Need (Ingredients):
- 1/2 cup uncooked rice (white rice is commonly used)
- 2 cups filtered water
- 1 tablespoon whole cloves
- A clean glass jar with a lid
- A clean spray bottle (for application)
Preparation Steps:
- Rinse the Rice: Place the 1/2 cup of rice in a colander and rinse it thoroughly under cold running water. This helps remove any impurities or excess starch.
- Soak the Rice: Transfer the rinsed rice into the clean glass jar. Add the 2 cups of filtered water.
- Add the Cloves: Drop the 1 tablespoon of whole cloves into the jar with the rice and water.
- Soak and Ferment: Cover the jar loosely (allowing some air to circulate if fermenting) and let it sit at room temperature for 12-24 hours. If you want a fermented version, 24 hours is often preferred, but even a shorter soak allows the beneficial properties to infuse.
- Strain the Solution: After the soaking period, strain the rice water and clove mixture into a clean bowl, discarding the rice and cloves. You’ll be left with a milky-looking liquid.
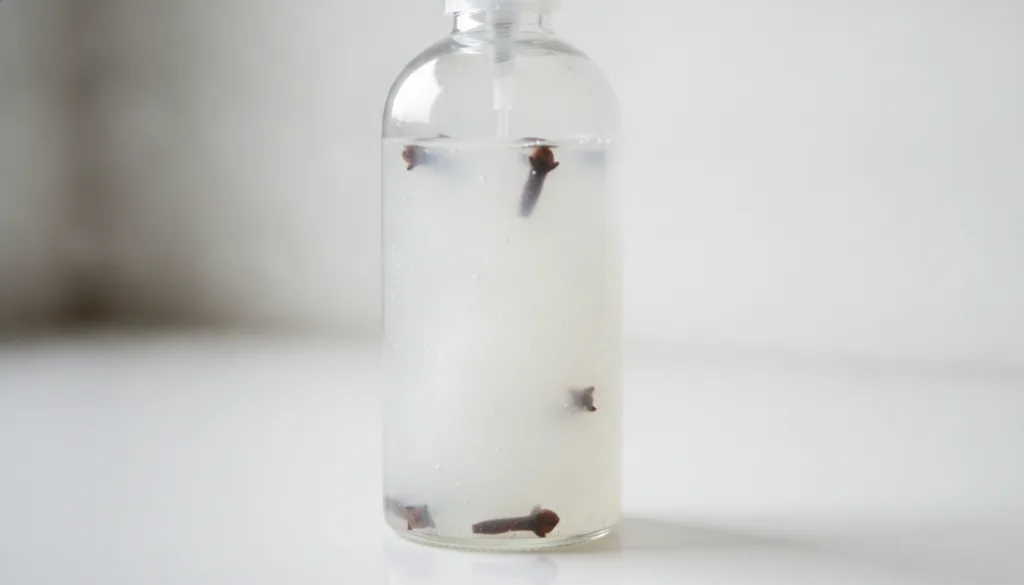
- Transfer to Spray Bottle: Pour the strained rice water and clove solution into your clean spray bottle. This makes it easy to apply.
How to Incorporate This into Your Routine
Application Tips:
- Cleanse Your Skin: Always start with a clean face. Wash your face with your regular gentle cleanser and pat dry.
- Spray Application: Hold the spray bottle about 6-8 inches from your face and mist the rice water and clove solution evenly over your skin. Avoid spraying directly into your eyes.
- Pat Gently: Lightly pat your skin with your fingertips to help the solution absorb.
- Follow with Moisturizer: Once the solution has absorbed, follow up with your usual facial moisturizer.
Consistency is Key:
For best results, people often use this solution once or twice a day, morning and night. Just like the ‘Day 1’ to ‘Day 30’ progression shown in the initial image, consistency is often highlighted as key to seeing any visible changes in your skin’s appearance.
Important Considerations Before You Try
While this DIY trick is popular, it’s essential to approach it with mindful care, especially since natural ingredients can still be potent.
Patch Test is a Must!
Before applying the solution to your entire face, always perform a patch test. Apply a small amount of the rice water and clove mixture to an inconspicuous area of your skin, such as behind your ear or on your inner forearm. Wait 24-48 hours to check for any signs of irritation, redness, or allergic reaction. If irritation occurs, discontinue use.
Managing Expectations:
Remember that individual results can vary. While many people report seeing smoother-looking skin and a reduction in the appearance of pores, this is not a guaranteed cure for any skin condition, nor will it permanently alter your skin structure. The ‘Day 1’ to ‘Day 30’ comparison shows what some people are experiencing with consistent use. This DIY method is a beauty routine that aims to support healthy-looking skin, not replace professional dermatological advice or treatments.
Give Your Skin a Natural Boost!
The rice water and clove trick offers an accessible and natural way to enhance your skincare routine. With a little time and simple ingredients, you can prepare a solution that may help you achieve that coveted smoother, clearer-looking skin. Why not give it a try and see if this ancient beauty secret can work for you?