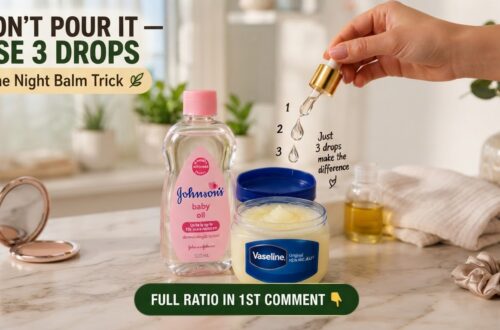
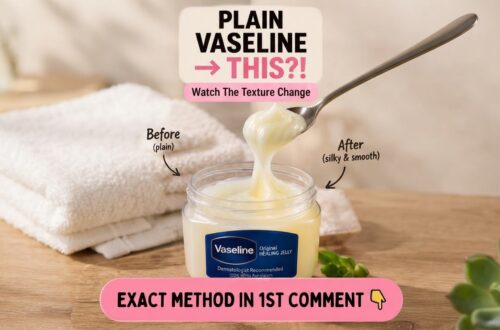
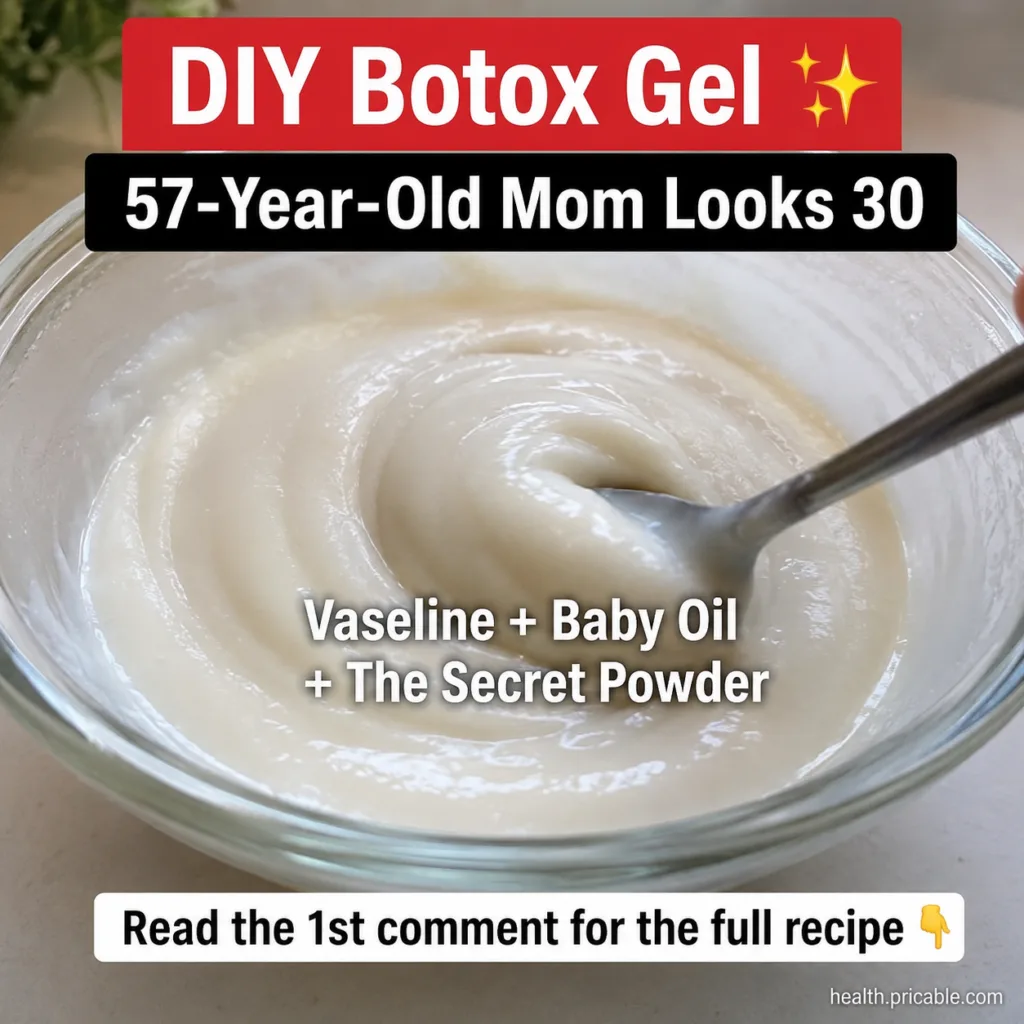
Looking for an affordable way to support a smoother, more radiant complexion? This simple DIY gel, often shared as a ‘Botox Gel’ secret, uses common ingredients like Vaseline, baby oil, and a ‘secret powder’ to help skin look hydrated and supple.
Quick Recipe
Prep time: 5 minutes
Best for: Hydrating skin, supporting a smoother-looking complexion
Use type: Facial gel/mask
Main ingredients:
- Vaseline (Petroleum Jelly)
- Baby Oil
- Rice Flour (or similar fine beauty powder)
Ingredients
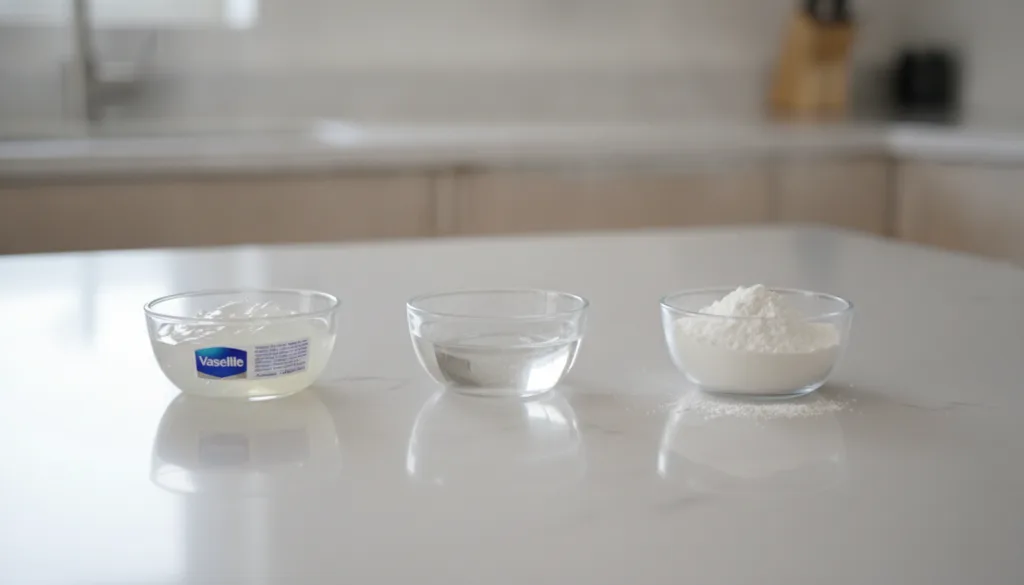
- 2 tablespoons Vaseline (petroleum jelly)
- 1 tablespoon baby oil
- 1 teaspoon finely ground rice flour (or cornstarch)
How to Make It
- Gently warm the Vaseline: In a microwave-safe bowl, warm the Vaseline for 10-15 seconds until it’s softened but not fully liquid. Alternatively, use a double boiler method for gentle melting.
- Combine with baby oil: Add the baby oil to the softened Vaseline and stir well until thoroughly combined and smooth.
- Mix in the powder: Gradually add the rice flour (or cornstarch) to the Vaseline and baby oil mixture. Stir continuously until you achieve a smooth, consistent gel-like texture without any lumps.
- Store: Transfer the finished gel into a clean, airtight container. Let it cool completely and solidify slightly at room temperature or in the refrigerator for about 30 minutes.
How to Use It
- Cleanse your face: Start with a clean, dry face.
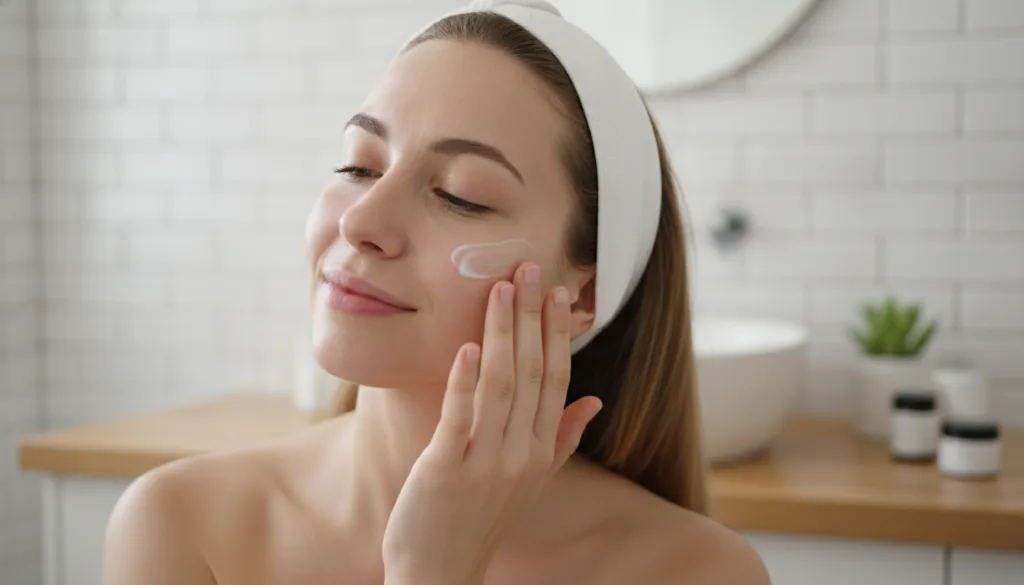
- Apply the gel: Take a small amount of the DIY gel and gently massage it onto your face and neck, focusing on areas where you desire a smoother-looking appearance.
- Leave on: You can leave this gel on for 20-30 minutes as a hydrating mask, or for a more intensive treatment, apply a thin layer before bed and leave it on overnight.
- Rinse (if applicable): If used as a mask, gently wipe off any excess and rinse your face with lukewarm water, then pat dry. If left on overnight, cleanse your face as usual in the morning.
How Often to Use It
For best results, you can use this DIY gel 2-3 times a week as part of your evening beauty routine. Consistent use can help maintain skin hydration and a supple feel.
Why These Ingredients Are Used
Vaseline (Petroleum Jelly)
Vaseline is a highly effective occlusive agent, meaning it forms a protective barrier on the skin. This barrier helps to lock in moisture, preventing water loss and keeping the skin hydrated, which can contribute to a plumper, smoother-looking appearance.
Baby Oil
Baby oil, typically mineral oil, is a lightweight moisturizer that can help to soften and smooth the skin. It also aids in carrying other ingredients and provides a silky texture to the gel, making it easy to apply and spread.
Rice Flour
Rice flour is traditionally used in many Asian beauty routines for its potential to brighten skin and absorb excess oil. When used in a gel, it acts as a thickening agent, giving the mixture a desirable creamy consistency, and may offer gentle exfoliating and soothing properties.
What Results to Expect
With regular use, you may notice your skin feels significantly softer and more hydrated. The combined effect of these ingredients can help to improve the appearance of dry skin, making it look smoother and more supple. While this DIY gel can’t replicate the effects of cosmetic procedures like Botox, it aims to support a radiant, well-moisturized, and youthful-looking complexion.
Safety Notes
- Patch test first: Always apply a small amount of the gel to an inconspicuous area of your skin (like behind the ear or on your inner arm) and wait 24 hours to check for any irritation or allergic reaction before applying to your face.
- Use gently: Apply and remove the gel with gentle motions to avoid unnecessary pulling or stretching of the skin.
- Avoid irritated or broken skin: Do not apply the gel to skin that is broken, irritated, sunburned, or has active acne breakouts.
- Stop using it if discomfort occurs: If you experience any redness, itching, burning, or discomfort, discontinue use immediately and wash your face thoroughly.
- Clogged pores: While generally non-comedogenic for many, heavy use of occlusive ingredients like Vaseline or mineral oil can potentially lead to clogged pores for some skin types. Adjust usage frequency based on your skin’s response.
FAQ
Can this DIY gel replace professional Botox injections?
No, this DIY gel is a home remedy designed to hydrate skin and support a smoother, more supple appearance. It cannot replicate the effects or results of professional cosmetic treatments like Botox injections, which use neurotoxins to temporarily relax facial muscles and reduce the appearance of wrinkles.
Is this suitable for all skin types?
This gel is generally suitable for most skin types, especially those prone to dryness. However, individuals with very oily or acne-prone skin should perform a patch test and observe how their skin reacts, as heavy occlusives might not be ideal for everyone. Discontinue use if breakouts occur.
How long can I store this homemade gel?
When stored in a clean, airtight container in a cool, dark place, this gel can typically last for 1-2 weeks. If you notice any changes in color, texture, or smell, it’s best to discard it and prepare a fresh batch.
Final Thoughts
This simple, budget-friendly DIY gel offers a wonderful way to boost your skin’s hydration and promote a smoother, more radiant appearance from the comfort of your home. Give it a try and share your experience with our community!