There’s a special kind of satisfaction that comes from growing your own food, and garlic is no exception. This beloved pungent bulb is not only a staple in kitchens worldwide but also surprisingly easy and rewarding to grow right in your home garden. While it demands a bit of patience, the journey from a single clove to a bountiful harvest of fragrant garlic is a truly fulfilling experience for any gardener. Let’s dig into how you can cultivate your own supply of this amazing allium!
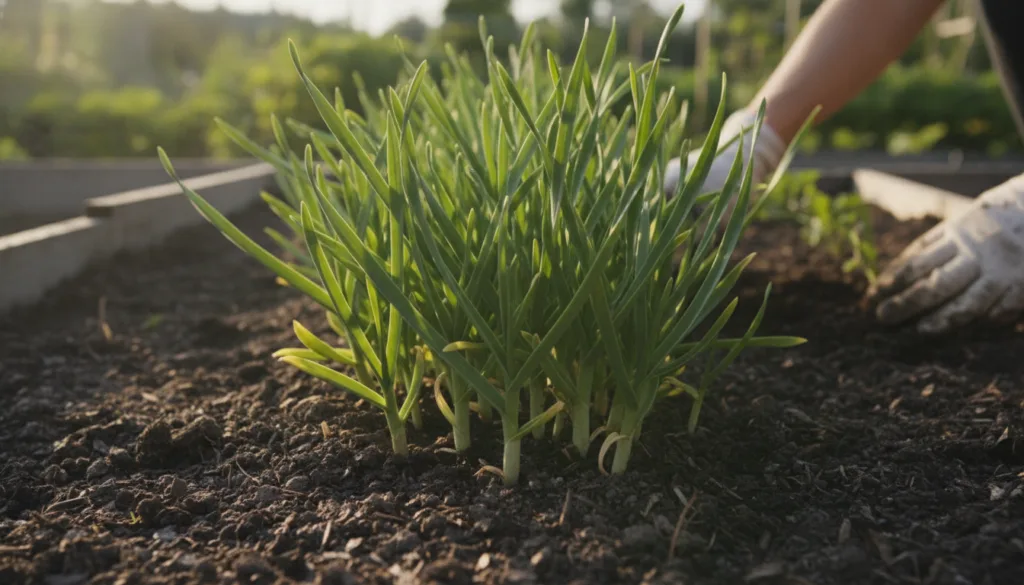 The quiet satisfaction of watching your garlic grow.
Why Grow Your Own Garlic?
Beyond the simple joy of gardening, there are many compelling reasons to grow your own garlic:
- Superior Flavor: Homegrown garlic often boasts a stronger, fresher, and more nuanced flavor than store-bought varieties.
- Variety: Access to unique hardneck and softneck varieties not typically found in supermarkets.
- Cost-Effective: A small investment in seed garlic can yield a significant harvest year after year.
- Pest Control: Garlic can act as a natural pest deterrent for other plants in your garden.
- Organic Control: You control exactly what goes into your soil and onto your plants, ensuring an organic harvest.
Choosing and Preparing Your Garlic Cloves
The journey begins with selecting the right ‘seed’ garlic. Don’t use garlic from the grocery store, as it’s often treated to prevent sprouting or may carry diseases. Instead, buy certified seed garlic from a reputable garden center or online supplier.
- Hardneck vs. Softneck:
- Hardneck varieties typically produce a stiff central stalk (scape) and fewer, larger cloves. They are generally more cold-hardy and preferred in cooler climates. They also produce delicious scapes!
- Softneck varieties have flexible stems and produce more cloves per bulb, often in multiple layers. They are ideal for braiding and thrive in milder climates.
- Selecting Cloves: Choose the largest, healthiest cloves from a whole bulb. Larger cloves tend to produce larger bulbs.
- Separation: Gently break apart the bulb into individual cloves just before planting. Leave the papery skin intact on each clove.
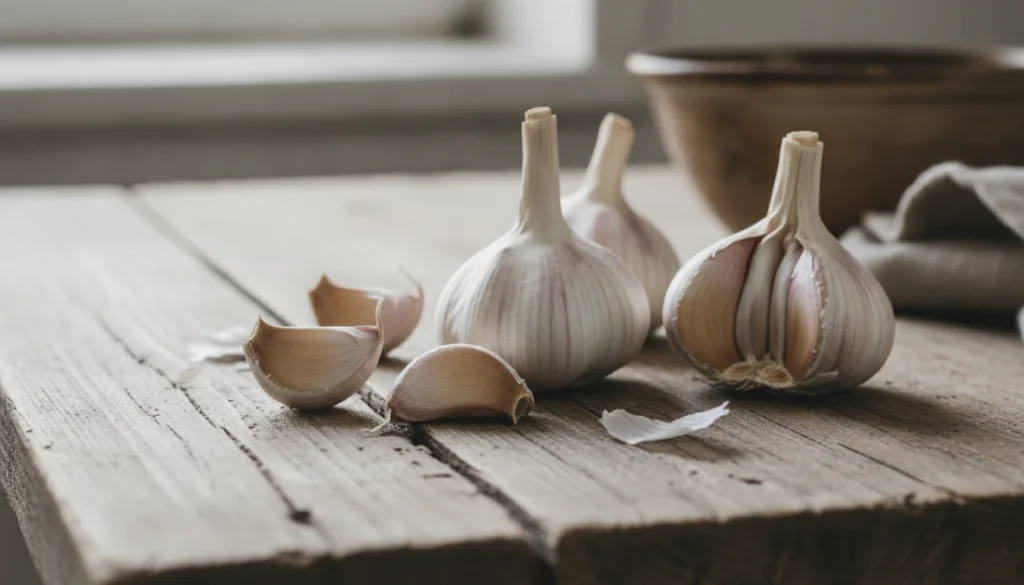 Each healthy clove holds the promise of a future garlic bulb.
When and Where to Plant
- Timing is Key: For most climates, the best time to plant garlic is in the fall, about 4-6 weeks before the ground freezes solid. This allows the roots to establish before winter, leading to a stronger plant and larger bulbs in the summer. In very mild climates, you can plant in late fall or even early winter.
- Location: Choose a sunny spot that receives at least 6-8 hours of direct sunlight per day.
- Soil Preparation: Garlic thrives in rich, well-drained soil with a pH between 6.0 and 7.0. Amend your soil with plenty of organic matter like compost or well-rotted manure to improve fertility and drainage. Heavy, waterlogged soil will cause your garlic to rot.
Planting Your Garlic Cloves
Follow these simple steps for successful planting:
- Dig Furrows or Holes: Create furrows or individual holes about 4-6 inches deep.
- Spacing: Plant cloves 4-6 inches apart within rows, and space rows 12-18 inches apart to allow for good air circulation and growth.
- Orientation: Plant each clove with the pointed end facing upwards and the flat, root end facing downwards. This ensures the plant grows correctly.
- Cover and Water: Cover the cloves with soil, gently firming it down. Water thoroughly after planting.
- Mulch: Apply a 4-6 inch layer of straw, shredded leaves, or other organic mulch over the planted area. This helps regulate soil temperature, conserves moisture, and suppresses weeds.
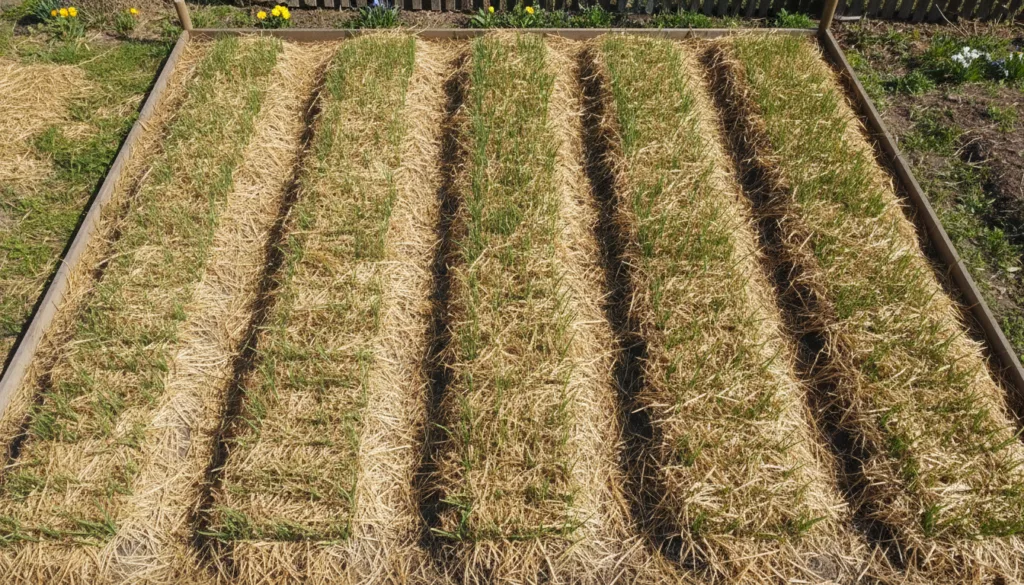 Mulch is a gardener’s best friend for garlic, protecting it through the seasons.
Care and Maintenance Through the Seasons
- Winter: If planted in fall, your garlic will typically overwinter under the mulch. Green shoots might appear in mild spells, which is normal.
- Spring: As temperatures rise, the shoots will grow vigorously. Keep the bed free of weeds, which compete for nutrients and water.
- Watering: Garlic needs consistent moisture, especially during the spring growth period when bulbs are forming. Aim for about 1 inch of water per week, either from rain or irrigation. Reduce watering as harvest time approaches (about 2-3 weeks before) to prevent rot and encourage curing.
- Fertilizing: If your soil is poor, you can apply a balanced organic fertilizer in early spring when growth resumes. Avoid high-nitrogen fertilizers later in the season, as this can encourage leafy growth at the expense of bulb development.
- Scapes (Hardneck varieties only): Hardneck garlic will produce a flower stalk called a ‘scape’ in late spring or early summer. Cut these off once they start to curl to redirect the plant’s energy into bulb growth. Don’t discard them – garlic scapes are delicious grilled, roasted, or in pesto!
Harvesting Your Homegrown Garlic
Patience is key, as garlic takes a long time to mature – typically 8-9 months from a fall planting. You’ll know it’s time to harvest when the lower leaves begin to yellow and brown, and about one-third to one-half of the leaves have turned yellow, while the upper leaves are still green.
- Stop Watering: About 2-3 weeks before harvest, stop watering to help the bulbs dry out and prevent rot.
- Gentle Digging: Don’t pull the garlic bulbs directly from the ground, as this can damage them. Instead, gently loosen the soil around the bulbs with a spade or fork.
- Lift Carefully: Carefully lift the bulbs from the soil, shaking off excess dirt. Try to keep the outer wrappers intact.
Curing and Storage
Curing is a crucial step that allows your garlic to dry properly, intensifying its flavor and significantly extending its storage life.
- Curing: Hang the entire plants (bulbs, stems, and leaves) in a cool, dark, well-ventilated area (like a shed, garage, or attic) for 2-4 weeks. Good air circulation is essential to prevent mold.
- Cleaning: Once cured, the outer wrappers will be dry and papery. You can trim the roots, and cut off the stalks, leaving about an inch or two above the bulb. Brush off any remaining dirt.
- Storage: Store your cured garlic in a cool, dry, dark place with good air circulation. Softneck varieties can be braided for attractive and practical storage. Depending on the variety and storage conditions, homegrown garlic can last for many months.
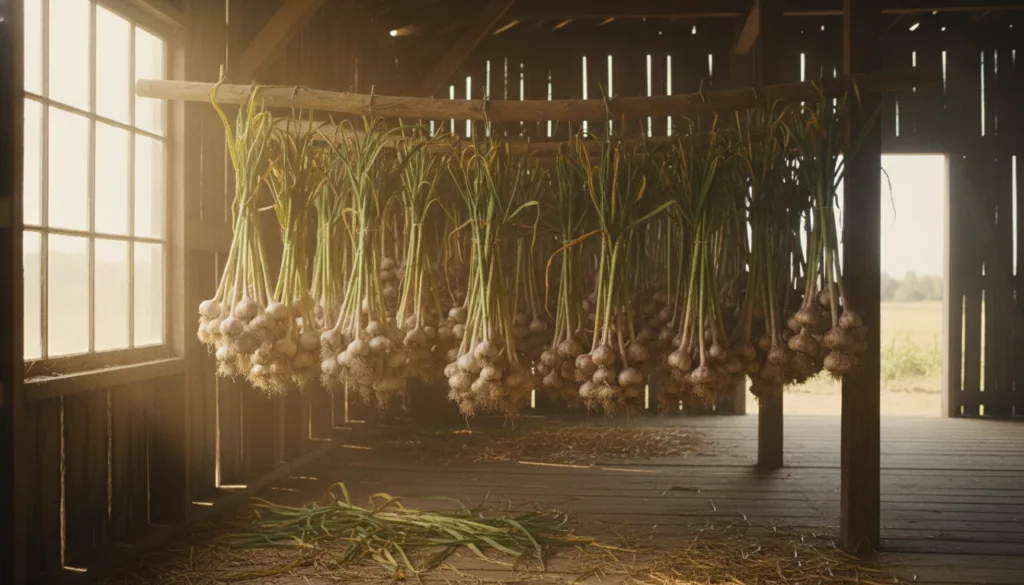 Curing garlic properly ensures a longer-lasting, flavorful harvest.
Enjoy Your Harvest!
Growing garlic is an incredibly rewarding experience that connects you closer to nature’s cycles. From the moment you plant that small clove to the exciting day you harvest and cure your own flavorful bulbs, you’ll feel a deep sense of accomplishment. So, roll up your sleeves, embrace a gardener’s patience, and get ready to enjoy the most delicious garlic you’ve ever tasted!
Happy gardening!