Unlock The Secret To Perfectly Crispy Homemade Pringles-Style Potato Chips! Your New Favorite Snack Awaits
Who knew you could recreate that iconic Pringles crunch and saddle shape right in your kitchen? Forget store-bought chips; with a few simple ingredients, you can whip up perfectly crispy, flavorful potato chips that will become your new go-to snack. This guide not only reveals the secret to making Pringles-style potato chips but also expands into six more delicious and healthy homemade chip recipes, perfect for any craving. Get ready to bake up some serious snack magic!
Quick Overview
- Main topic: Homemade crispy chips and healthy snacks
- Best for: Snack lovers, health-conscious eaters, home cooks
- Number of recipes: 7
- Prep style: Baking and simple preparation
- Reader benefit: Enjoy healthier, customized, and satisfying crispy snacks at home
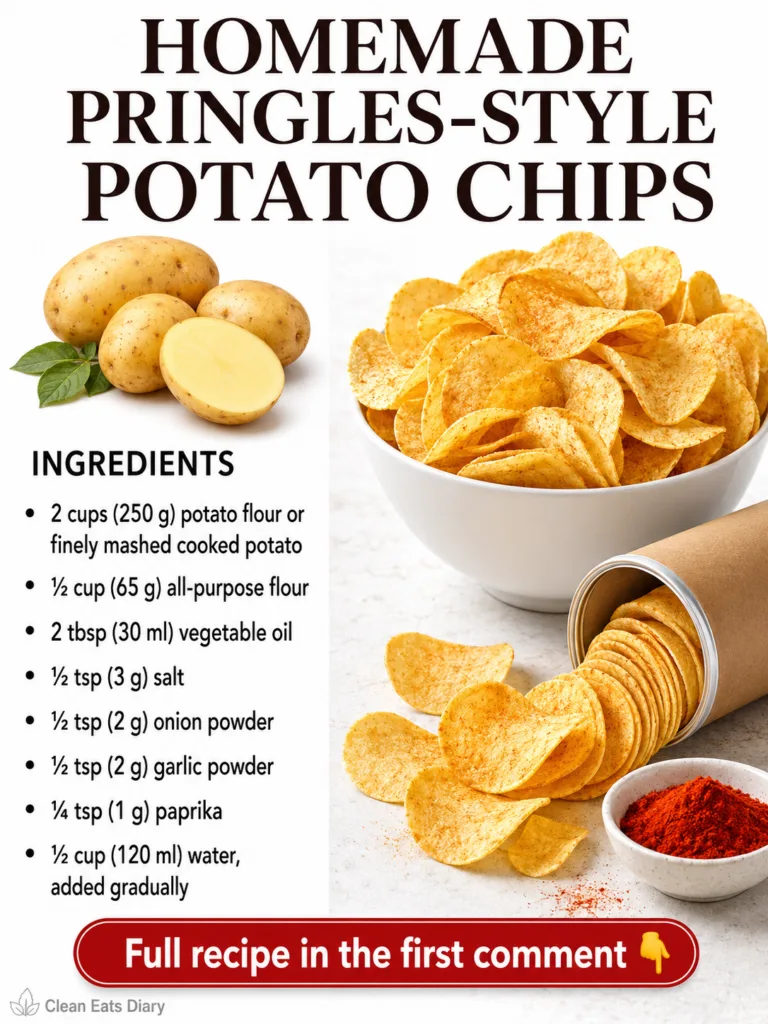
Recipe 1: Classic Homemade Pringles-Style Potato Chips
This is the star recipe, designed to mimic the beloved saddle shape and satisfying crunch of Pringles using simple kitchen ingredients.
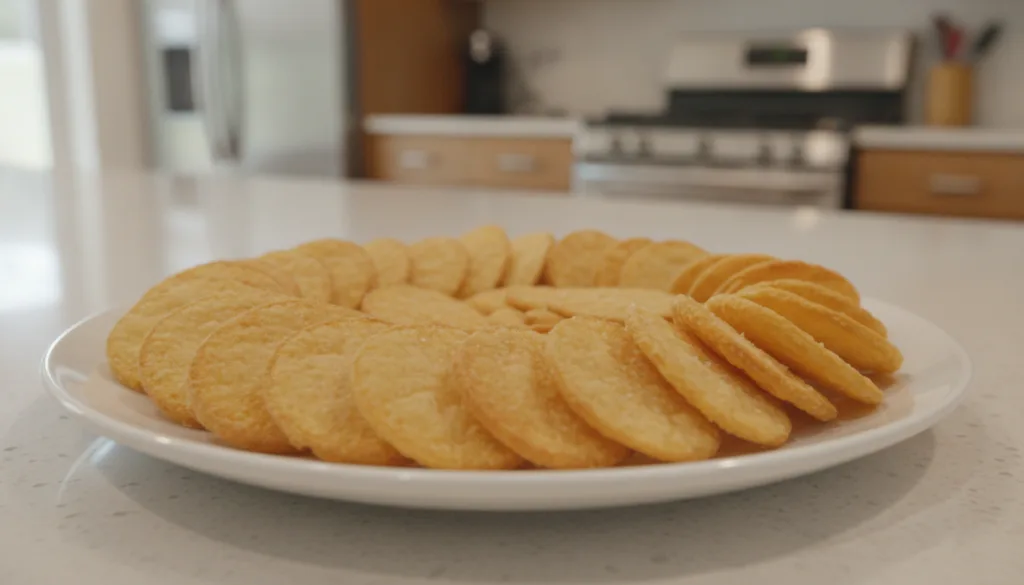
Servings: 4
Prep time: 20 minutes
Cook / chill / rest time: 10-15 minutes
Ingredients:
- 2 cups (250 g) potato flour or finely mashed cooked potato
- ½ cup (65 g) all-purpose flour
- 2 tbsp (30 ml) vegetable oil
- ½ tsp (3 g) salt
- ¼ to ½ cup water (as needed for dough)
Instructions:
- In a large bowl, combine the potato flour (or mashed potato if using), all-purpose flour, and salt. Mix well to ensure an even distribution.
- Add the vegetable oil to the dry ingredients. Gradually add water, a tablespoon at a time, mixing until a firm, pliable dough forms. The dough should be smooth and not sticky.
- Lightly flour a clean work surface. Roll the dough out very thinly, aiming for almost translucent. The thinner the dough, the crispier your chips will be.
- Using a cookie cutter or knife, cut the dough into oval shapes.
- Gently drape each oval dough piece over a curved surface, such as an inverted muffin tin or crumpled aluminum foil, to create that classic saddle shape.
- Preheat your oven to 350°F (175°C). Carefully transfer the shaped chips to a baking sheet lined with parchment paper.
- Bake for 10-15 minutes, or until the chips are golden brown and perfectly crispy. Baking time may vary based on thickness.
- Remove from the oven and let them cool completely on the baking sheet. Cooling is crucial for them to firm up and achieve maximum crispiness.
Storage / Serving / Usage Note: Store cooled chips in an airtight container at room temperature for up to 3-5 days. Serve plain or with your favorite dip.
Recipe 2: Spicy Paprika Potato Chips
Infuse classic potato chips with a smoky, spicy kick using paprika and a hint of cayenne. A simple twist for flavor adventurers!
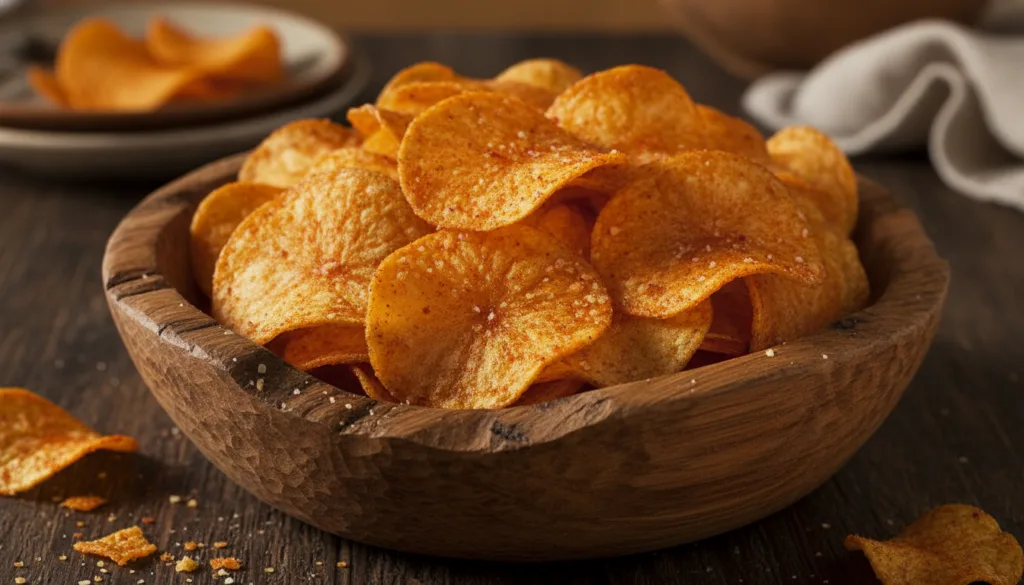
Servings: 4
Prep time: 15 minutes
Cook / chill / rest time: 15-20 minutes
Ingredients:
- 2 large potatoes (e.g., Russet or Yukon Gold), thinly sliced
- 1 tbsp olive oil
- 1 tsp smoked paprika
- ½ tsp garlic powder
- ¼ tsp cayenne pepper (optional, for extra heat)
- Salt to taste
Instructions:
- Preheat your oven to 375°F (190°C). Line two baking sheets with parchment paper.
- Wash and thinly slice the potatoes using a mandoline or a sharp knife (aim for about 1/16-inch thick).
- In a large bowl, combine the potato slices with olive oil, smoked paprika, garlic powder, and cayenne pepper (if using). Toss until all slices are evenly coated.
- Spread the seasoned potato slices in a single layer on the prepared baking sheets, ensuring they don’t overlap.
- Bake for 15-20 minutes, flipping halfway through, until the chips are golden brown and crispy. Keep a close eye on them, as baking times can vary.
- Remove from the oven, sprinkle with salt to taste while still warm, and let cool slightly before serving.
Storage / Serving / Usage Note: Best enjoyed fresh for maximum crispiness. Store leftovers in an airtight container for 2-3 days, though they may soften slightly.
Recipe 3: Garlic Herb Sweet Potato Chips
A healthier, naturally sweet alternative, these sweet potato chips are seasoned with aromatic garlic and herbs for a delightful crunch.

Servings: 4
Prep time: 15 minutes
Cook / chill / rest time: 20-25 minutes
Ingredients:
- 2 medium sweet potatoes, peeled and thinly sliced
- 1 tbsp olive oil
- 1 tsp dried oregano
- 1 tsp dried thyme
- ½ tsp garlic powder
- Salt and black pepper to taste
Instructions:
- Preheat your oven to 375°F (190°C). Line two baking sheets with parchment paper.
- In a large bowl, toss the thinly sliced sweet potatoes with olive oil, dried oregano, dried thyme, garlic powder, salt, and black pepper until well coated.
- Arrange the seasoned sweet potato slices in a single layer on the prepared baking sheets, making sure they do not overlap.
- Bake for 20-25 minutes, flipping halfway through, until the chips are crispy and slightly browned at the edges.
- Remove from the oven and let cool for a few minutes before serving. They will crisp up further as they cool.
Storage / Serving / Usage Note: Store cooled chips in an airtight container for 2-3 days. Re-crisp in a toaster oven if desired.
Recipe 4: Parmesan Zucchini Chips
Light, savory, and incredibly easy to make, these zucchini chips are coated in Parmesan cheese for a delicious, low-carb snack.
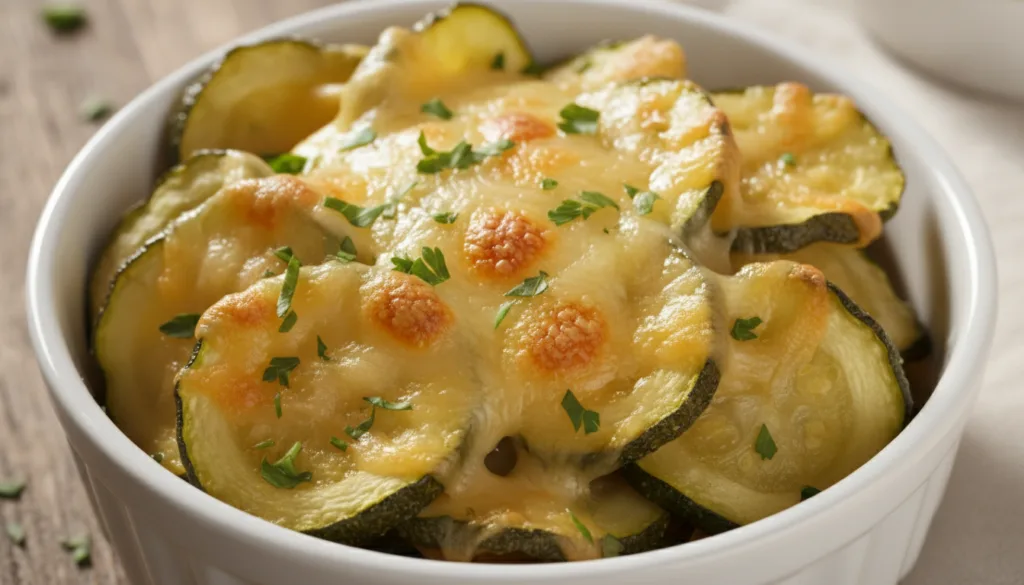
Servings: 4
Prep time: 15 minutes
Cook / chill / rest time: 20-25 minutes
Ingredients:
- 2 medium zucchinis, thinly sliced
- 2 tbsp olive oil
- ¼ cup grated Parmesan cheese
- 1 tsp garlic powder
- Salt and black pepper to taste
Instructions:
- Preheat your oven to 375°F (190°C). Line two baking sheets with parchment paper.
- Pat the zucchini slices very dry with paper towels to remove excess moisture. This is key for crispiness.
- In a large bowl, toss the zucchini slices with olive oil, garlic powder, salt, and black pepper.
- Spread the zucchini slices in a single layer on the prepared baking sheets.
- Sprinkle the grated Parmesan cheese evenly over the zucchini slices.
- Bake for 20-25 minutes, or until the zucchini is tender-crisp and the Parmesan is golden and bubbly.
- Serve immediately for the best texture.
Storage / Serving / Usage Note: These chips are best enjoyed immediately as they can lose crispness quickly. Not recommended for storage.
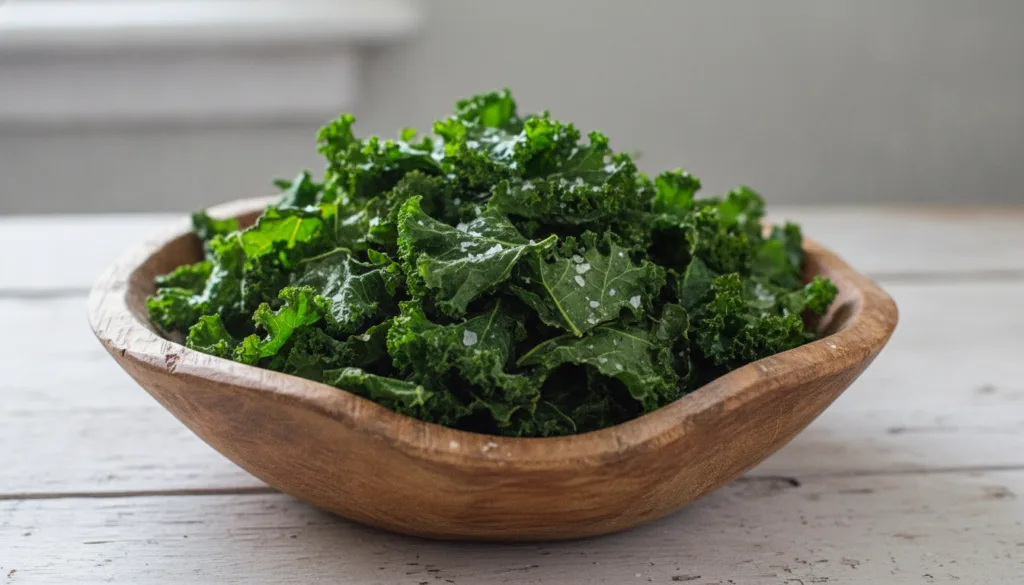
Recipe 5: Crispy Kale Chips
Simple, superfood-packed, and surprisingly addictive! Kale chips are a fantastic way to enjoy greens with a satisfying crunch.
Servings: 4
Prep time: 10 minutes
Cook / chill / rest time: 10-15 minutes
Ingredients:
- 1 large bunch kale (about 6 cups torn leaves)
- 1 tbsp olive oil
- ¼ tsp salt
- Pinch of garlic powder (optional)
Instructions:
- Preheat your oven to 300°F (150°C). Line a large baking sheet with parchment paper.
- Wash the kale thoroughly and dry it completely. This is crucial for crispiness; any moisture will steam the kale instead of crisping it. Remove the thick stems and tear the leaves into bite-sized pieces.
- In a large bowl, drizzle the kale pieces with olive oil and sprinkle with salt (and garlic powder, if using). Massage the oil and seasonings into the kale with your hands until every piece is lightly coated.
- Spread the kale in a single layer on the prepared baking sheet, ensuring pieces do not overlap too much. You may need to use two baking sheets.
- Bake for 10-15 minutes, or until the edges are crispy but not burnt. Watch them carefully, as they can go from crisp to burnt very quickly.
- Remove from the oven and let cool slightly before serving. They will become even crispier as they cool.
Storage / Serving / Usage Note: Best consumed immediately. If you have leftovers, store them in an airtight container for a day, but they may lose some crispness.
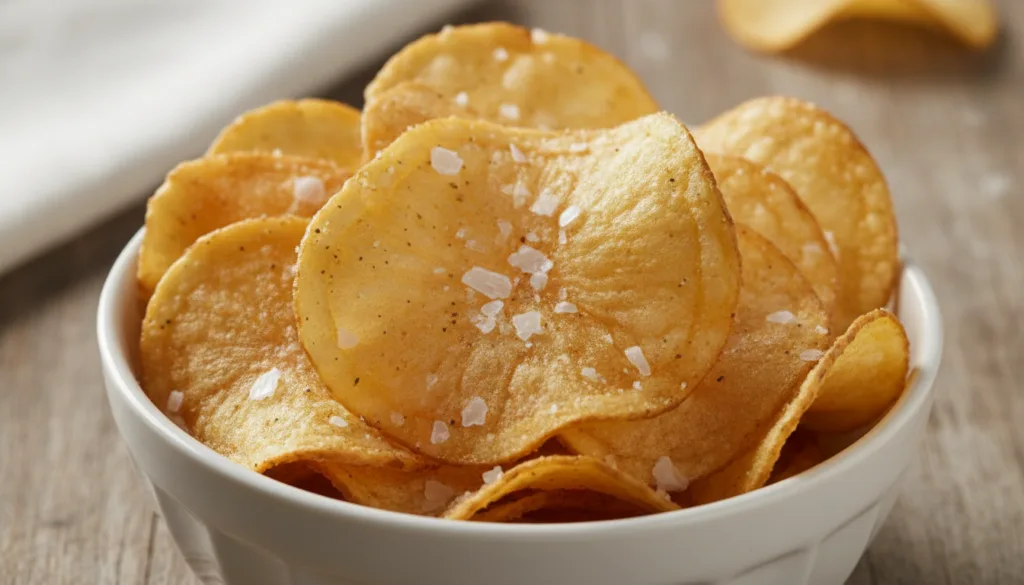
Recipe 6: Salt & Vinegar Baked Potato Chips
A tangy twist on classic potato chips, these baked salt and vinegar chips deliver that beloved puckering flavor without the deep-frying.
Servings: 4
Prep time: 20 minutes (plus 30 min soak)
Cook / chill / rest time: 20-25 minutes
Ingredients:
- 2 large Russet potatoes, very thinly sliced
- ½ cup white vinegar
- 2 cups cold water
- 1 tbsp olive oil
- 1 tsp sea salt (or to taste)
Instructions:
- In a large bowl, combine the white vinegar and cold water. Add the thinly sliced potatoes and let them soak for at least 30 minutes. This helps infuse the vinegar flavor and remove excess starch.
- While potatoes soak, preheat your oven to 400°F (200°C). Line two baking sheets with parchment paper.
- Drain the potatoes and pat them thoroughly dry with paper towels. Removing all moisture is essential for crispiness.
- In a clean bowl, toss the dried potato slices with olive oil until lightly coated.
- Arrange the potato slices in a single layer on the prepared baking sheets, ensuring no overlap.
- Bake for 20-25 minutes, flipping halfway through, until golden brown and crispy. Baking time will depend on thickness and oven.
- Remove from the oven and immediately sprinkle with sea salt. Let cool slightly before serving.
Storage / Serving / Usage Note: Store in an airtight container for 2-3 days. Re-crisp in a dry skillet or toaster oven if they become soft.
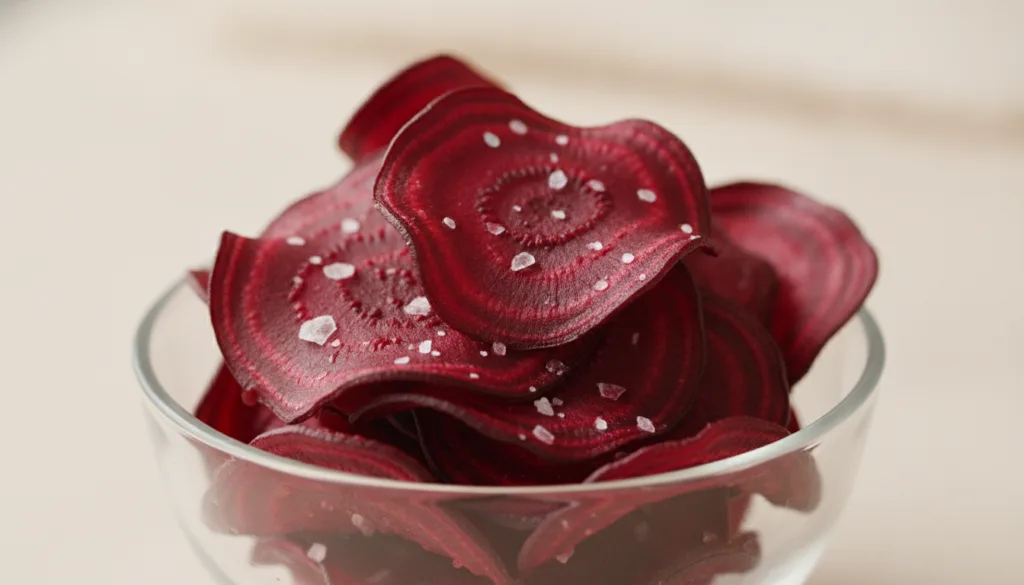
Recipe 7: Beetroot Chips with Sea Salt
Add a pop of vibrant color and earthy sweetness to your snack repertoire with these beautiful beetroot chips, simply seasoned with sea salt.
Servings: 4
Prep time: 15 minutes
Cook / chill / rest time: 25-30 minutes
Ingredients:
- 2 medium beetroots, peeled and very thinly sliced
- 1 tbsp olive oil
- ½ tsp sea salt
- Pinch of black pepper (optional)
Instructions:
- Preheat your oven to 375°F (190°C). Line two baking sheets with parchment paper.
- In a large bowl, toss the thinly sliced beetroots with olive oil, sea salt, and black pepper (if using) until evenly coated.
- Spread the beetroot slices in a single layer on the prepared baking sheets, making sure they do not overlap.
- Bake for 25-30 minutes, flipping halfway through, until the chips are crispy and slightly shriveled. Watch them closely, as they can burn quickly due to their natural sugar content.
- Remove from the oven and let cool completely on the baking sheet. They will crisp up further as they cool.
Storage / Serving / Usage Note: Store cooled chips in an airtight container for 2-3 days. Enjoy as a vibrant, healthy snack.
Simple Tips for Best Results
- Slice Thinly: For all chip recipes, consistency and thinness are key to achieving uniform crispiness. A mandoline slicer is highly recommended.
- Pat Dry: For vegetable and potato-based chips, thoroughly patting slices dry before seasoning and baking helps remove excess moisture, leading to crispier results.
- Single Layer: Always arrange chips in a single layer on the baking sheet. Overlapping causes steaming, not crisping. Use multiple sheets if needed.
- Watch Closely: Baking times are approximate and can vary by oven and chip thickness. Keep a close eye on your chips, especially during the last few minutes, to prevent burning.
- Cool Completely: Chips will continue to crisp up as they cool. Don’t rush this step!
- Experiment with Seasonings: Don’t be afraid to try different spice blends – chili powder, onion powder, nutritional yeast, or even a dash of cinnamon for sweet chips.
FAQ
How do I make my homemade chips extra crispy?
The secrets to extra crispy chips are thin, even slices, thoroughly patting them dry to remove moisture, arranging them in a single layer on the baking sheet, and allowing them to cool completely after baking.
Can I air fry these homemade chips?
Yes, most of these baked chip recipes can be adapted for an air fryer! Air fry in small batches at a slightly lower temperature (e.g., 350°F/175°C) for a shorter duration, shaking the basket frequently, until golden and crisp.
What’s the best way to store homemade chips?
Store cooled homemade chips in an airtight container at room temperature. For optimal crispiness, consume them within 2-3 days, as they can soften over time.
Final Thoughts
Making your own chips at home, including those fantastic Pringles-style potato chips, is a rewarding and delicious experience. Not only do you get to control the ingredients and flavors, but you also create a healthier alternative to many store-bought options. So, next time a snack craving hits, skip the store and head to your kitchen. With these recipes, you’re all set to create a variety of perfectly crispy, homemade snacks that everyone will love. Happy snacking!