Craving that distinctive soft, chewy texture of your favorite sub shop loaf? You’re in luck! Making delicious Homemade Subway Sandwich Bread is easier than you think. Forget store-bought and elevate your sandwich game with a fresh-baked loaf straight from your kitchen. This article will guide you through making classic Subway-style bread and explore other fantastic homemade bread recipes perfect for any sandwich creation.
Get ready to impress your family and friends with an array of soft, fluffy, and flavorful breads that are ideal for everything from classic subs to gourmet grilled cheeses. Let’s start baking!
Quick Overview
- Main topic: Homemade Sandwich Bread Recipes
- Best for: Home bakers, sandwich lovers, meal prep
- Number of recipes: 6
- Prep style: Baking, yeast dough
- Reader benefit: Fresh, soft, delicious homemade bread for sandwiches
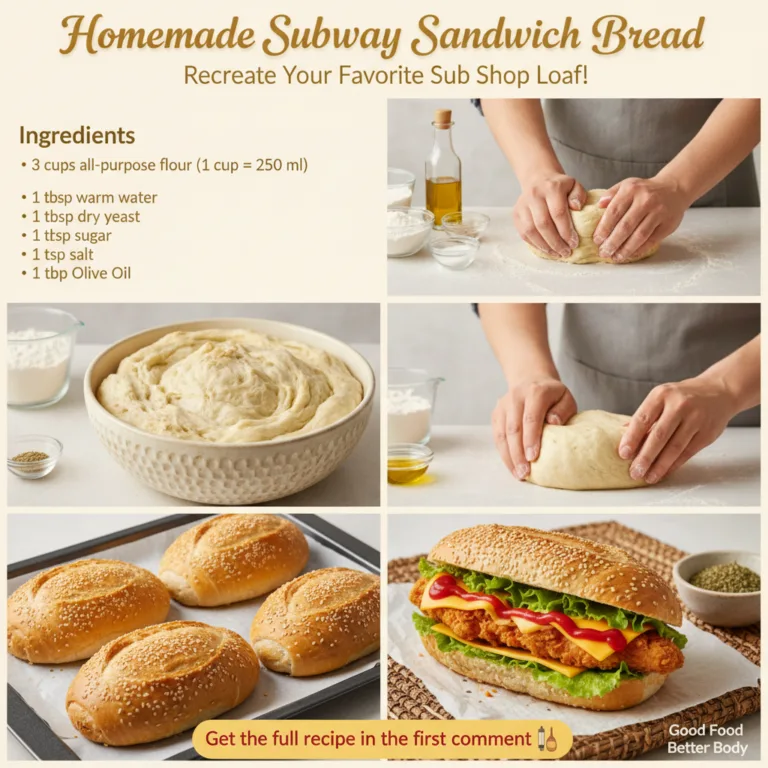
Recipe 1: Homemade Subway-Style Sandwich Bread
Achieve that signature soft, slightly sweet, and irresistibly airy texture you love from your favorite sub shop. This recipe is perfect for building epic sandwiches at home.
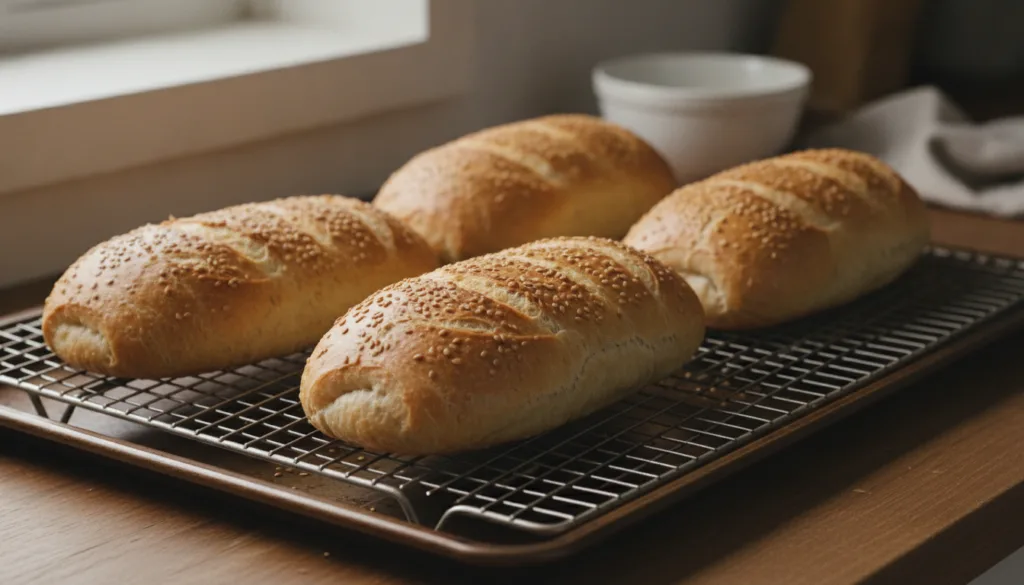
Servings: 4 loaves (6-inch equivalent)
Prep time: 25 minutes + 2 hours rise time
Cook / chill / rest time: 15-20 minutes
Ingredients:
- 2 ¼ teaspoons active dry yeast (1 standard packet)
- 1 cup warm water (105-115°F / 40-46°C)
- ¼ cup granulated sugar
- 2 tablespoons olive oil, plus more for greasing
- 1 teaspoon salt
- 3 ½ – 4 cups all-purpose flour, plus more for dusting
- Optional: 1 tablespoon sesame seeds, for topping
Instructions:
- In a large bowl, dissolve yeast and sugar in warm water. Let sit for 5-10 minutes until foamy.
- Stir in olive oil and salt. Gradually add 3 cups of flour, mixing until a shaggy dough forms.
- Turn the dough out onto a lightly floured surface. Knead for 8-10 minutes, gradually adding remaining flour as needed, until the dough is smooth and elastic.
- Lightly oil a clean bowl, place the dough in it, turning once to coat. Cover with plastic wrap and let rise in a warm place for 1-1.5 hours, or until doubled in size.
- Punch down the dough and divide it into 4 equal portions. Shape each portion into an elongated loaf, about 6-8 inches long.
- Place the loaves on a baking sheet lined with parchment paper, leaving space between them. Cover loosely with plastic wrap and let rise again for 30-45 minutes.
- Preheat oven to 375°F (190°C). If using, lightly brush the tops of the loaves with water and sprinkle with sesame seeds.
- Bake for 15-20 minutes, or until golden brown and cooked through.
- Transfer to a wire rack to cool completely before slicing and serving.
Storage / Serving / Usage Note: Store cooled loaves in an airtight container or bag at room temperature for up to 3 days. Perfect for hearty subs with your favorite fillings!
Recipe 2: Easy Classic White Sandwich Loaf
This timeless white sandwich loaf is incredibly versatile and a staple for everyday lunches. It bakes up soft, fluffy, and just slightly sweet.
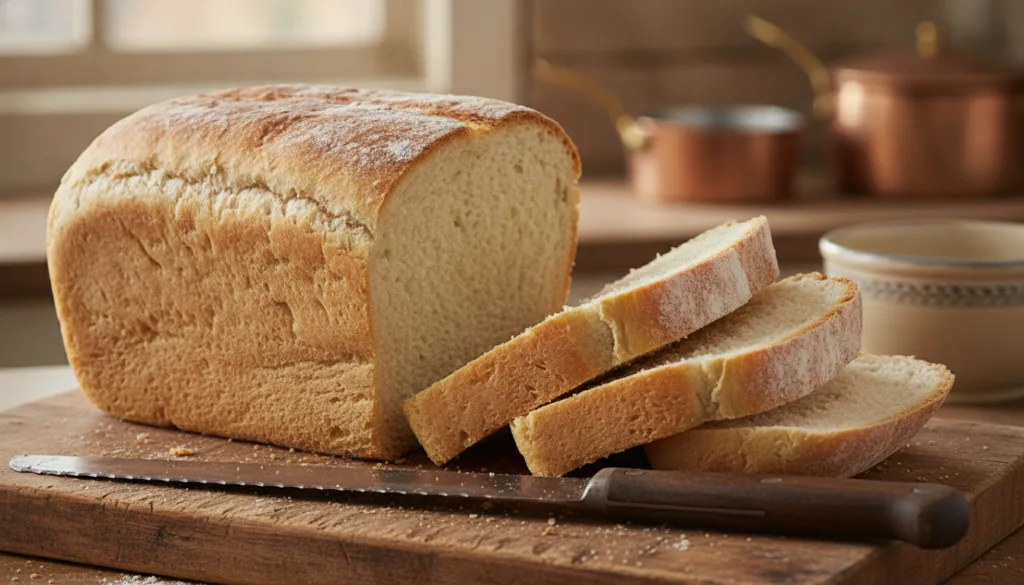
Servings: 1 large loaf
Prep time: 20 minutes + 1.5 hours rise time
Cook / chill / rest time: 30-35 minutes
Ingredients:
- 1 cup warm milk (105-115°F / 40-46°C)
- 2 ¼ teaspoons active dry yeast
- 2 tablespoons granulated sugar
- 1 teaspoon salt
- 3 tablespoons unsalted butter, melted
- 3 ½ – 4 cups all-purpose flour
Instructions:
- In a large bowl, combine warm milk, yeast, and sugar. Let sit for 5 minutes until foamy.
- Stir in salt and melted butter. Gradually add flour, 1 cup at a time, mixing until a soft dough forms.
- Turn onto a lightly floured surface and knead for 6-8 minutes until smooth and elastic.
- Place dough in a lightly oiled bowl, cover, and let rise in a warm place for 1 hour, or until doubled.
- Punch down dough and shape into a loaf. Place in a greased 9×5-inch loaf pan.
- Cover loosely and let rise for another 30 minutes, or until nearly doubled.
- Preheat oven to 375°F (190°C).
- Bake for 30-35 minutes, or until golden brown and loaf sounds hollow when tapped.
- Cool completely on a wire rack before slicing.
Storage / Serving / Usage Note: Keeps well in an airtight container at room temperature for up to 4 days. Fantastic for toast, grilled cheese, or packed lunches.
Recipe 3: Hearty Whole Wheat Sandwich Bread
For a healthier twist, this whole wheat sandwich bread offers a delicious nutty flavor and denser texture, while still being soft enough for perfect sandwiches.
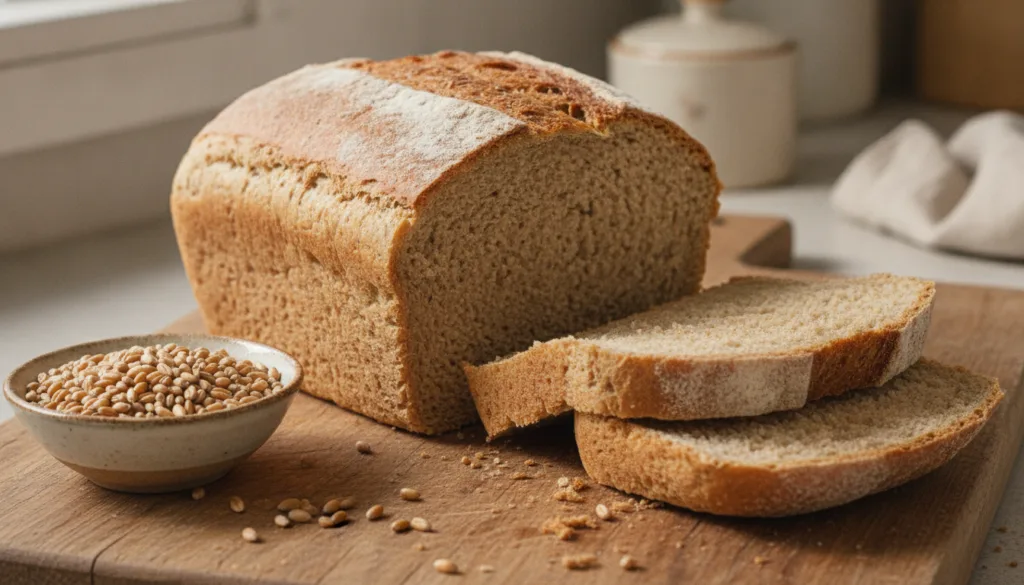
Servings: 1 large loaf
Prep time: 20 minutes + 1.5 hours rise time
Cook / chill / rest time: 35-40 minutes
Ingredients:
- 1 ½ cups warm water (105-115°F / 40-46°C)
- 2 ¼ teaspoons active dry yeast
- ¼ cup honey or brown sugar
- 3 tablespoons olive oil
- 1 teaspoon salt
- 2 ½ cups whole wheat flour
- 1 ½ – 2 cups all-purpose flour
Instructions:
- In a large bowl, combine warm water, yeast, and honey/brown sugar. Let sit for 5-10 minutes until foamy.
- Stir in olive oil and salt. Add whole wheat flour and 1 cup of all-purpose flour, mixing well.
- Gradually add remaining all-purpose flour until a sticky dough forms.
- Turn onto a lightly floured surface and knead for 8-10 minutes until smooth and elastic.
- Place dough in a lightly oiled bowl, cover, and let rise in a warm place for 1 hour, or until doubled.
- Punch down dough and shape into a loaf. Place in a greased 9×5-inch loaf pan.
- Cover loosely and let rise for another 30-45 minutes.
- Preheat oven to 375°F (190°C).
- Bake for 35-40 minutes, or until golden brown and cooked through.
- Cool completely on a wire rack before slicing.
Storage / Serving / Usage Note: Great for nutrient-packed sandwiches. Store at room temperature in an airtight container for up to 3-4 days.
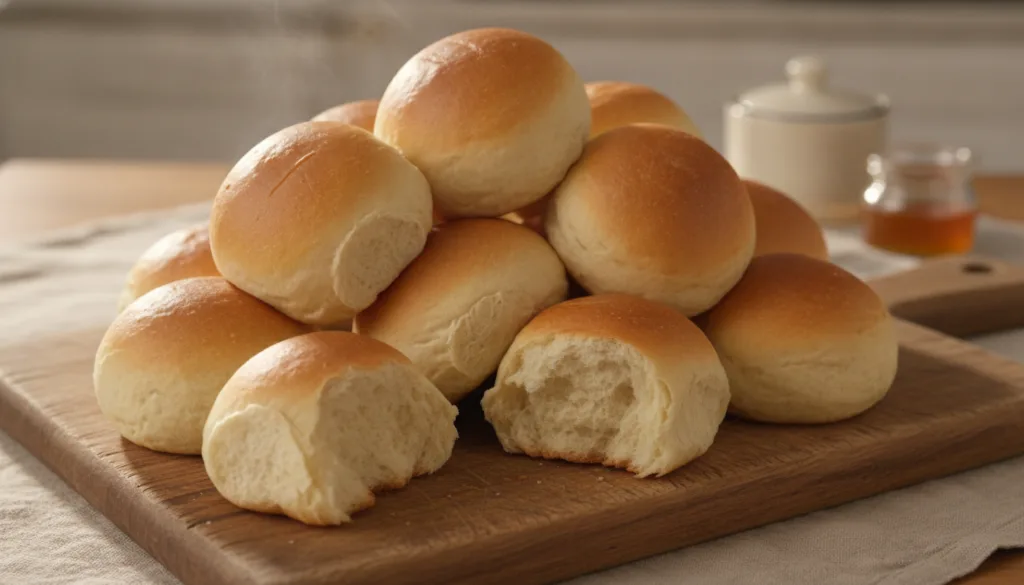
Recipe 4: Soft Milk Bread Rolls
These incredibly soft and fluffy milk bread rolls are perfect for sliders, dinner rolls, or small sandwich buns. The tangzhong method ensures an unbeatable texture.
Servings: 12 rolls
Prep time: 30 minutes + 2 hours rise time
Cook / chill / rest time: 15-18 minutes
Ingredients:
- For Tangzhong:
- 2 tablespoons all-purpose flour
- ¼ cup water
- ¼ cup milk
- For Dough:
- ½ cup warm milk (105-115°F / 40-46°C)
- 2 ¼ teaspoons active dry yeast
- ¼ cup granulated sugar
- 1 large egg, room temperature
- ½ teaspoon salt
- 3 cups all-purpose flour
- 2 tablespoons unsalted butter, softened
Instructions:
- Make Tangzhong: Whisk flour, water, and milk in a small saucepan until smooth. Cook over medium-low heat, stirring constantly, until thickened to a paste (about 1-2 minutes). Remove from heat and let cool completely.
- In a large bowl, combine warm milk, yeast, and a pinch of sugar. Let sit for 5 minutes until foamy.
- Add the cooled tangzhong, remaining sugar, egg, and salt to the yeast mixture. Mix well.
- Gradually add flour, mixing until a shaggy dough forms. Turn onto a lightly floured surface.
- Knead for 5 minutes, then add softened butter. Continue kneading for another 8-10 minutes until the dough is smooth and elastic.
- Place dough in a lightly oiled bowl, cover, and let rise in a warm place for 1-1.5 hours, or until doubled.
- Punch down dough and divide into 12 equal portions. Shape each into a smooth ball.
- Place rolls on a parchment-lined baking sheet, leaving space. Cover loosely and let rise for another 30-45 minutes.
- Preheat oven to 350°F (175°C).
- Bake for 15-18 minutes, or until golden brown.
- Brush with melted butter (optional) immediately after baking. Cool on a wire rack.
Storage / Serving / Usage Note: Store in an airtight container at room temperature for up to 2 days. Excellent for sliders, mini sandwiches, or as dinner rolls.
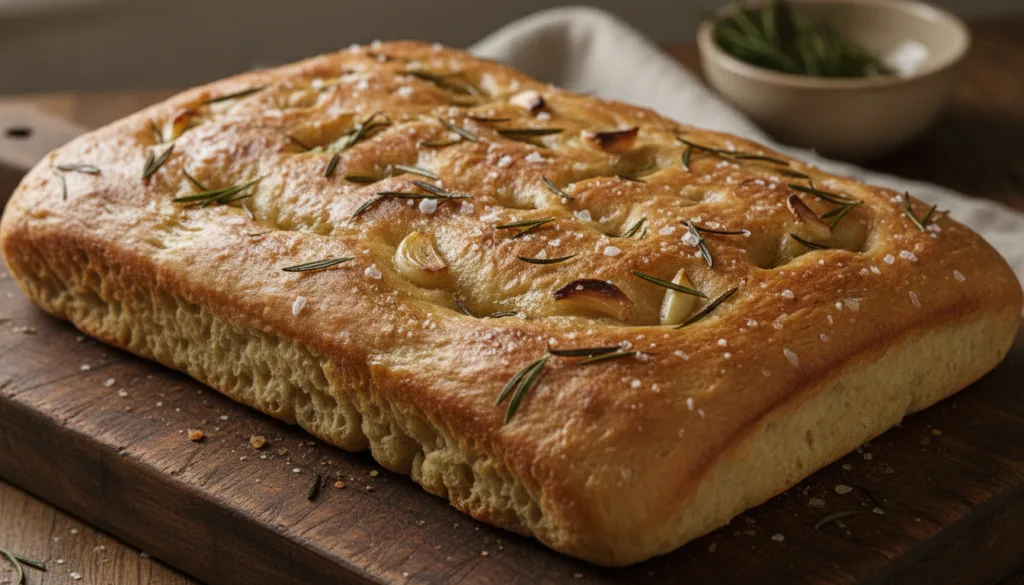
Recipe 5: Rustic Garlic Herb Focaccia
This flavorful focaccia bread is a fantastic, versatile base for sandwiches, pizzas, or simply enjoyed with olive oil. Its airy texture and savory herbs make it irresistible.
Servings: 8-10
Prep time: 20 minutes + 2 hours rise time
Cook / chill / rest time: 20-25 minutes
Ingredients:
- 1 ½ cups warm water (105-115°F / 40-46°C)
- 2 ¼ teaspoons active dry yeast
- 1 teaspoon granulated sugar
- 3 ½ cups all-purpose flour
- 1 teaspoon salt
- ¼ cup olive oil, plus more for drizzling
- 2 cloves garlic, minced
- 2 tablespoons fresh rosemary, chopped
- Flaky sea salt, for topping
Instructions:
- In a large bowl, combine warm water, yeast, and sugar. Let sit for 5-10 minutes until foamy.
- Stir in flour and salt until just combined and a shaggy dough forms. Do not knead extensively.
- Pour 2 tablespoons of olive oil into a 9×13-inch baking pan. Transfer the dough to the pan, turning to coat in oil.
- Cover with plastic wrap and let rise in a warm place for 1-1.5 hours, or until doubled in size and bubbly.
- Preheat oven to 400°F (200°C).
- Drizzle the top of the dough with the remaining 2 tablespoons of olive oil. Using your fingertips, gently dimple the surface of the dough.
- Sprinkle with minced garlic, chopped rosemary, and flaky sea salt.
- Bake for 20-25 minutes, or until golden brown.
- Cool slightly before slicing.
Storage / Serving / Usage Note: Best enjoyed fresh. Store leftovers in an airtight container at room temperature for up to 2 days. Fantastic for cutting into squares for sandwiches or serving with soup.
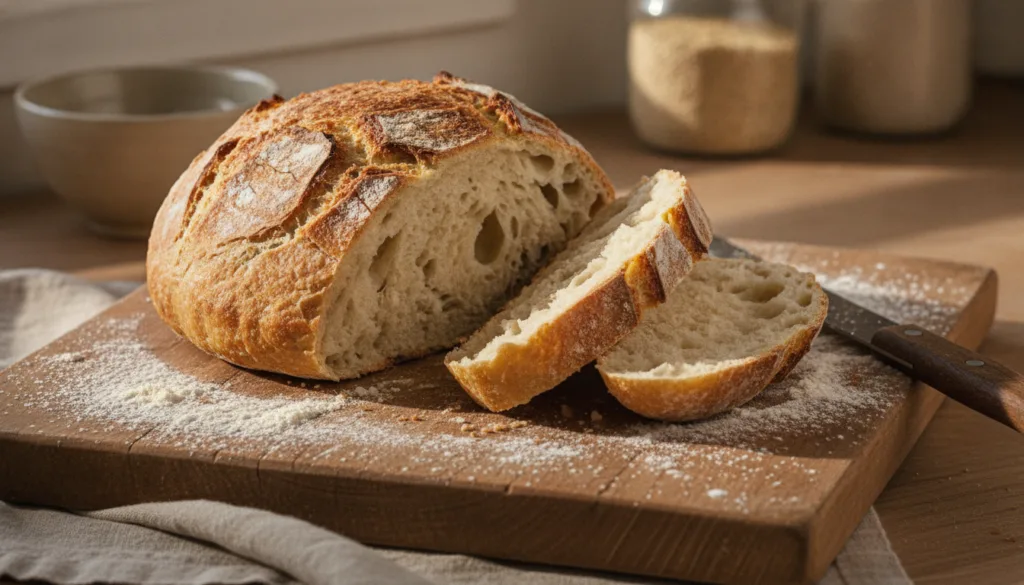
Recipe 6: Easy No-Knead Artisan Bread
For those who love homemade bread but prefer a hands-off approach, this no-knead artisan bread is a revelation. It produces a crusty exterior and a soft, airy interior perfect for slicing for sandwiches.
Servings: 1 large round loaf
Prep time: 10 minutes + 12-18 hours rise time
Cook / chill / rest time: 45-50 minutes
Ingredients:
- 3 cups all-purpose flour
- 1 ½ teaspoons salt
- ½ teaspoon instant yeast
- 1 ½ cups warm water
Instructions:
- In a large bowl, combine flour, salt, and instant yeast. Add warm water and mix with a wooden spoon or spatula until a shaggy, sticky dough forms. Do not knead.
- Cover the bowl tightly with plastic wrap and let sit at room temperature for 12-18 hours (or up to 24 hours). The dough should be bubbly and nearly doubled.
- When ready to bake, preheat your oven to 450°F (230°C) with a Dutch oven (or heavy pot with a lid) inside for 30 minutes.
- Lightly flour a work surface and scrape the dough onto it. Fold the dough over on itself a few times to create a rough ball. Do not overwork it.
- Carefully remove the hot Dutch oven from the oven. Place the dough seam-side up into the hot pot.
- Cover the Dutch oven and bake for 30 minutes.
- Remove the lid and bake for another 15-20 minutes, or until the crust is deeply golden brown.
- Carefully remove the bread from the Dutch oven and transfer to a wire rack to cool completely before slicing.
Storage / Serving / Usage Note: Store cooled bread in a paper bag or bread box at room temperature for up to 3 days. Wonderful for open-faced sandwiches, bruschetta, or alongside soups.
Simple Tips for Best Results
- Accurate Measurements: Especially for yeast and flour, precise measurements make a big difference. Use a kitchen scale for flour if possible.
- Proof Your Yeast: Always check that your yeast is active by letting it foam in warm liquid with a pinch of sugar. If it doesn’t foam, your yeast might be old.
- Don’t Rush Rising: Allow adequate time for the dough to rise. A warm, draft-free spot is ideal.
- High-Quality Ingredients: Good quality flour and fresh yeast will yield superior results.
- Cool Completely: Always let your bread cool fully on a wire rack before slicing. Slicing too early can lead to a gummy texture.
- Customize: Feel free to experiment with herbs, seeds, or different flours to personalize your homemade bread.
FAQ
How do I know when my bread is fully baked?
Most bread is fully baked when it has a deep golden-brown crust and sounds hollow when tapped on the bottom. An internal temperature of 190-200°F (88-93°C) is also a good indicator for most yeast breads.
Can I freeze homemade bread?
Yes! Once completely cooled, you can wrap loaves tightly in plastic wrap and then in aluminum foil, or place them in freezer-safe bags. They can be frozen for up to 2-3 months. Thaw at room temperature or gently warm in the oven.
What’s the best way to store homemade bread?
Store cooled bread in an airtight container, a bread box, or a paper bag at room temperature for 2-4 days, depending on the recipe and humidity. Avoid refrigerating most homemade bread, as it can dry out faster.
Final Thoughts
Making your own Homemade Subway Sandwich Bread and other versatile loaves is a truly rewarding experience. The aroma of freshly baked bread filling your home, the satisfaction of creating something delicious from scratch, and the ability to customize your sandwiches are unmatched. These recipes provide a fantastic starting point for your baking journey, ensuring you always have the perfect foundation for any sandwich craving. Happy baking!