Who knew the secret to youthful, glowing skin could be hiding right in your pantry? ✨ We’re diving into a viral DIY collagen cream that women everywhere are raving about for its amazing age-defying results! Forget expensive serums and complicated routines; with simple, everyday ingredients you likely already have, you can whip up your own nourishing blend to help reduce wrinkles and bring back that radiant glow.
Imagine creating a powerful anti-aging treatment right at home – it’s easier than you think! Ready to uncover the magic and give your skin the natural love it deserves?
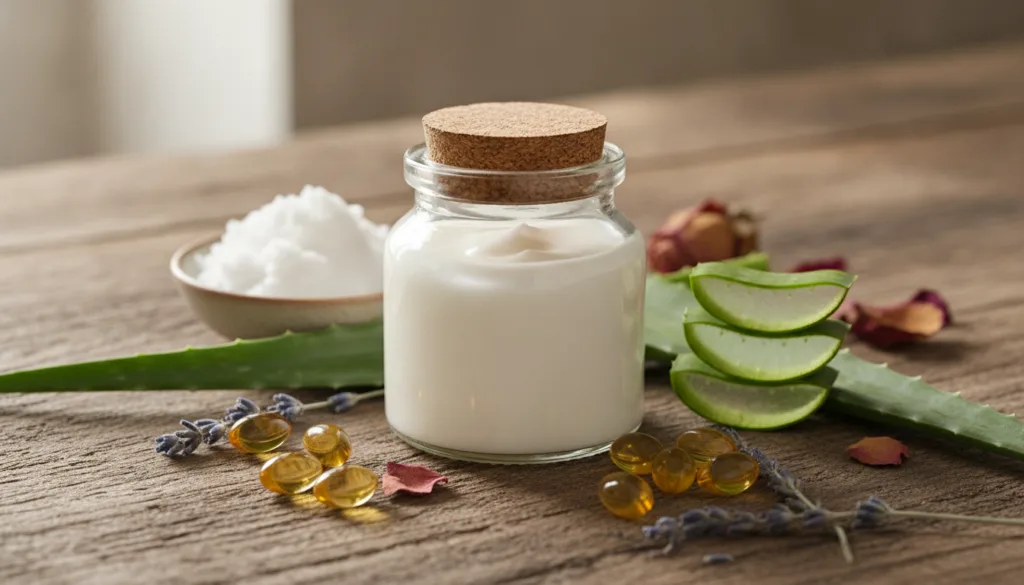
Why DIY Your Collagen Cream?
In a world full of beauty products promising miracles, it’s easy to feel overwhelmed and spend a fortune. But what if the best solution was simpler, more natural, and incredibly affordable? Crafting your own collagen cream gives you:
- Full Control: You know exactly what’s going into your skin, avoiding harsh chemicals, artificial fragrances, and preservatives.
- Cost-Effectiveness: Save your hard-earned money by using ingredients you might already have or can easily purchase for less than a single high-end cream.
- Freshness: Your homemade cream is made fresh, ensuring maximum potency of the natural ingredients.
- Empowerment: There’s a wonderful satisfaction in creating something beneficial for yourself with your own hands!
The Power of Natural Ingredients for Anti-Aging
Our skin naturally produces collagen, but as we age, this production slows down, leading to wrinkles, fine lines, and sagging. While you can’t add collagen molecules directly through topical creams, you can provide your skin with ingredients that support its natural collagen production, enhance elasticity, and offer deep hydration. Here’s a peek at the key players in our DIY recipe:
Aloe Vera Gel: The Soothing Base
Known for its healing and soothing properties, aloe vera is packed with vitamins, enzymes, and antioxidants. It deeply hydrates the skin, helps reduce inflammation, and can stimulate fibroblast cells, which are responsible for producing collagen and elastin.
Coconut Oil: The Moisturizing Marvel
This tropical staple is rich in fatty acids, providing intense moisture and acting as a protective barrier. Its antioxidant properties help fight free radical damage, contributing to a more youthful complexion.
Vitamin E Oil: The Anti-Aging Superstar
A powerful antioxidant, Vitamin E combats oxidative stress, which is a major culprit in premature aging. It also helps improve skin elasticity and reduces the appearance of fine lines and wrinkles, leaving your skin feeling soft and supple.
Almond Oil (or Jojoba Oil): The Nourishing Carrier
Lightweight and rich in vitamins A and E, almond oil deeply nourishes without clogging pores. It helps to improve skin tone and complexion. Jojoba oil is another excellent choice, closely mimicking the skin’s natural sebum, making it ideal for all skin types.
Your DIY Collagen Cream Recipe
Ready to create your own age-defying elixir? Let’s get mixing!
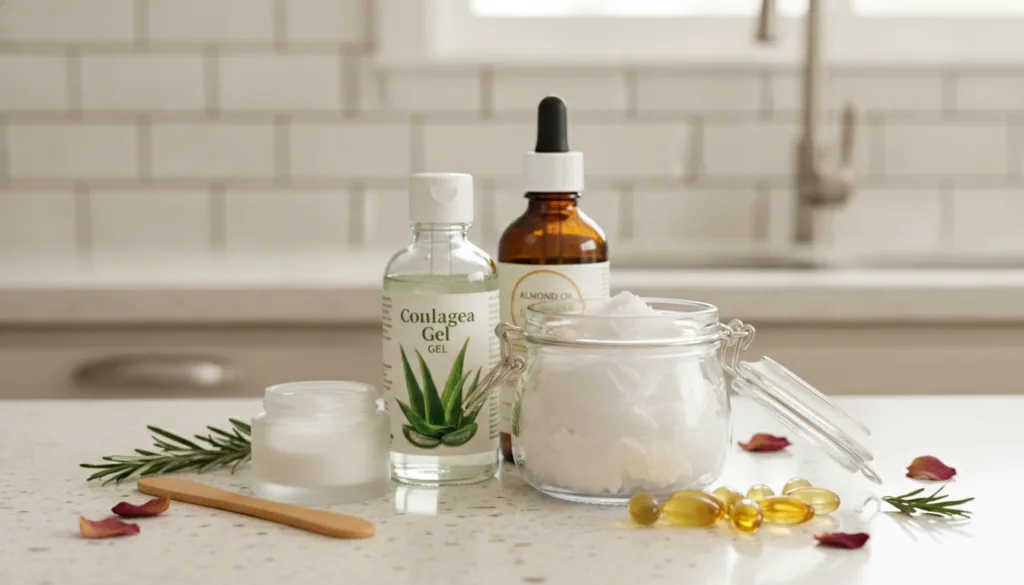
What You’ll Need:
- 2 tablespoons pure Aloe Vera Gel
- 1 tablespoon Organic Coconut Oil (melted)
- 1 teaspoon Vitamin E Oil (or contents of 2-3 Vitamin E capsules)
- 1 teaspoon Sweet Almond Oil (or Jojoba Oil)
- Small, clean, airtight container (like a dark glass jar)
- Small mixing bowl and spoon
Instructions:
- Melt Coconut Oil: If your coconut oil is solid, gently warm it in a microwave-safe bowl for a few seconds until it’s liquid. Let it cool slightly, but ensure it remains in liquid form.
- Combine Ingredients: In your small mixing bowl, add the melted coconut oil, aloe vera gel, vitamin E oil, and almond oil.
- Whisk Thoroughly: Stir all the ingredients together vigorously with a spoon or a small whisk until they are well combined and form a smooth, creamy consistency. It might take a few minutes to fully emulsify.
- Transfer to Container: Carefully spoon your freshly made collagen cream into your clean, airtight container.
- Store: Keep your DIY cream in a cool, dark place. For longer shelf life, you can store it in the refrigerator, especially if your home is warm.
How to Use Your DIY Collagen Cream
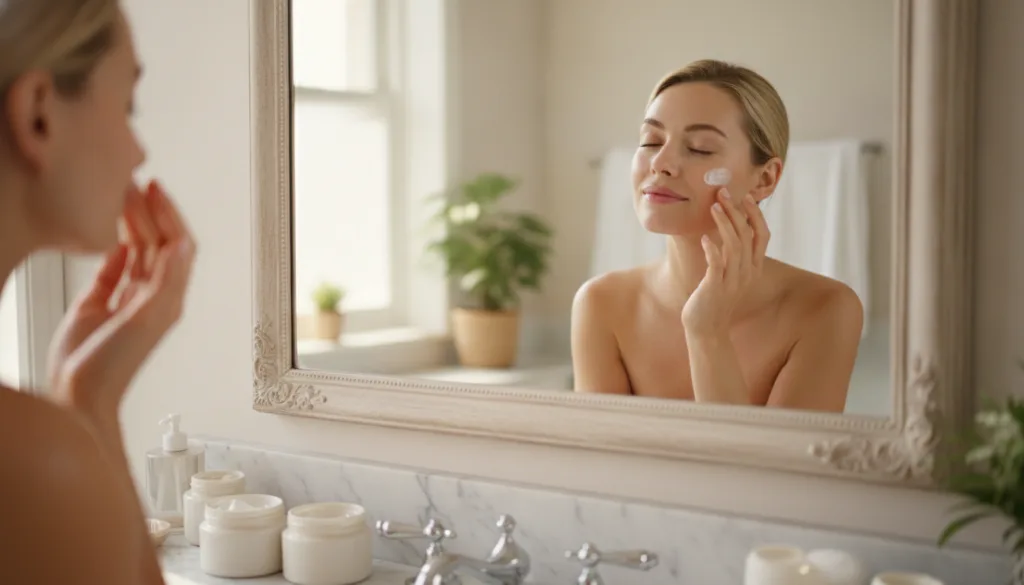
For best results, incorporate this cream into your nightly skincare routine:
- Cleanse: Start with a clean face. Gently wash away makeup and impurities with your favorite cleanser.
- Tone (Optional): Apply your preferred toner to balance your skin’s pH.
- Apply Cream: Take a pea-sized amount of your DIY collagen cream and gently massage it onto your face, neck, and décolletage using upward motions. Pay extra attention to areas prone to wrinkles and fine lines.
- Consistency is Key: Use this cream every night for a few weeks to start seeing noticeable improvements in your skin’s texture and radiance.
Tips for Best Results
- Patch Test: Always perform a patch test on a small area of your skin (like behind your ear or on your inner arm) before applying the cream all over your face, especially if you have sensitive skin.
- Freshness: Without preservatives, this cream is best used within 2-3 weeks, especially if stored at room temperature. Refrigeration can extend its life.
- Listen to Your Skin: If you notice any irritation, discontinue use.
- Hydration from Within: Remember that true glow also comes from within! Drink plenty of water and maintain a balanced diet.
Unlocking youthful, glowing skin doesn’t have to be complicated or expensive. With this simple DIY collagen cream, you’re embracing the power of natural ingredients to nurture your skin from within. You’ll love the feeling of truly caring for your skin with ingredients you trust.
Tell us in the comments if you’re excited to try this natural glow-up! We can’t wait to hear about your beautiful results.