Unlock Youthful Glow with Carrot Toner!
Hey, beauty besties! Ever dreamed of skin that radiates health and vibrancy, but felt overwhelmed by complicated routines or pricey products? Well, your dream is about to become a reality! Today, we’re spilling the beans on a super simple, incredibly effective, and utterly natural secret straight from your kitchen: the amazing homemade carrot toner!
This little gem is more than just a refreshing mist; it’s a powerhouse packed with natural antioxidants, making it a fantastic addition to your skincare arsenal. Imagine giving your skin a fresh, vibrant boost, helping it feel refreshed, look brighter, and achieve that gorgeous, youthful glow. It’s gentle, easy to make, and trust us, your skin will absolutely thank you!
Why Carrots Are Your Skin’s New Best Friend
You might know carrots are great for your eyes, but did you know they’re a superstar for your skin too? Carrots are bursting with beneficial nutrients:
- Beta-Carotene: This is the magic ingredient! Beta-carotene is a powerful antioxidant that your body converts into Vitamin A (retinol). Vitamin A is renowned for its ability to promote cell turnover, repair skin tissue, and protect against environmental damage. Hello, anti-aging benefits!
- Antioxidants: Beyond beta-carotene, carrots are rich in other antioxidants that fight off free radicals, which are responsible for premature aging and dullness. This helps keep your skin looking fresh and youthful.
- Vitamin C: A natural skin brightener, Vitamin C helps reduce the appearance of dark spots and promotes an even skin tone, giving you that radiant glow.
Regular use of carrot toner can help reduce the appearance of fine lines, improve skin elasticity, and give your complexion a beautiful, natural radiance.
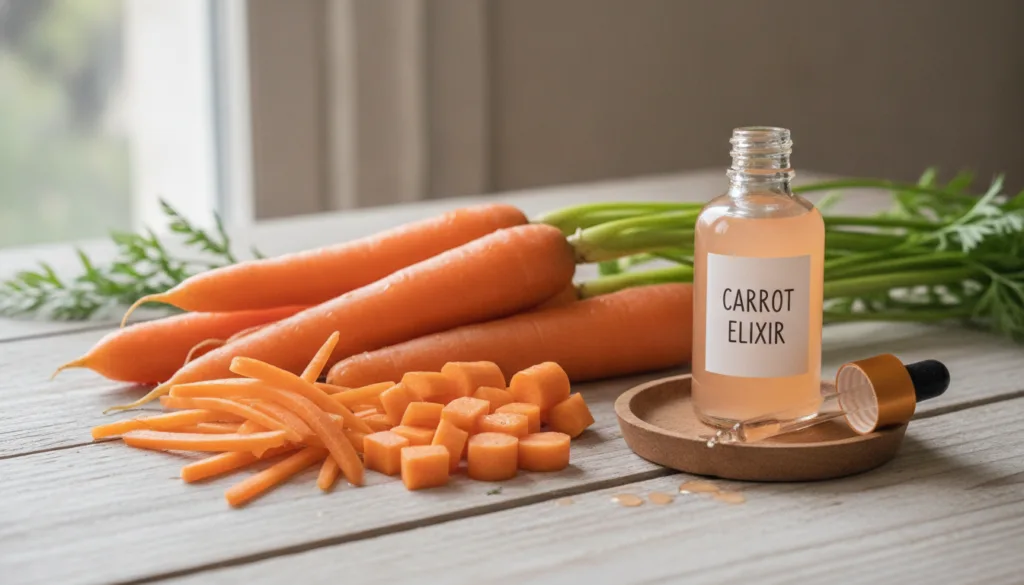
DIY Carrot Toner: Your Rejuvenating Skincare Secret
Ready to whip up this skin-loving potion? It’s incredibly simple!
What You’ll Need:
- 1-2 fresh organic carrots
- 1/2 cup distilled water (or filtered water)
- Optional: 1 teaspoon witch hazel (for oily/acne-prone skin), or 5 drops rosehip oil (for dry/mature skin)
- A small saucepan
- A fine-mesh sieve or cheesecloth
- A clean, airtight spray bottle or glass bottle
Step-by-Step Instructions:
- Prepare the Carrots: Wash and peel the carrots. Chop them into small pieces.
- Boil Them: Place the chopped carrots in a small saucepan and add the distilled water. Bring to a boil, then reduce heat and simmer for about 10-15 minutes, or until the carrots are very soft.
- Cool Down: Remove from heat and let the mixture cool completely.
- Blend (Optional): For maximum extraction, you can carefully blend the cooled carrots and water mixture into a smooth paste using a blender.
- Strain the Goodness: Pour the carrot mixture through a fine-mesh sieve or cheesecloth into a clean bowl. Press down firmly to extract as much liquid as possible. Discard the pulp.
- Add Extras (Optional): If you’re using witch hazel or rosehip oil, stir it into the carrot liquid now.
- Store It: Transfer your homemade carrot toner into a clean, airtight spray bottle or glass bottle.
How to Use Your Carrot Toner for Best Results
Incorporating this toner into your routine is a breeze:
- Cleanse: Start with a freshly cleansed face.
- Apply: Close your eyes and spritz the toner directly onto your face and neck, or apply it with a cotton pad.
- Pat In: Gently pat the toner into your skin until absorbed.
- Follow Up: Continue with your regular serum and moisturizer.
Use your carrot toner twice daily, in the morning and evening, for optimum benefits.
Tips for Your Beauty Bestie:
- Patch Test: Always do a patch test on a small area of your skin (like behind your ear or on your inner arm) before applying any new DIY product to your entire face, especially if you have sensitive skin.
- Storage: Store your homemade carrot toner in the refrigerator. Due to its natural ingredients, it will last for about 5-7 days. If you notice any unusual smell or discoloration, it’s time to make a fresh batch!
- Consistency is Key: Like with any skincare product, regular use will give you the best results. Stick with it, and you’ll see your skin transform!
- Sun Protection: While carrots offer some protective benefits, they don’t replace sunscreen. Always follow up with a broad-spectrum SPF during the day.
Embrace Your Natural Radiance!
There you have it, beauties! A simple, natural, and incredibly effective way to refresh your complexion and unlock that youthful, radiant glow you’ve been dreaming of. This homemade carrot toner is not just about skincare; it’s about embracing the power of nature and treating yourself to a little self-care ritual.
Give this DIY carrot toner a try and prepare to fall in love with your naturally glowing skin! We can’t wait to hear about your results in the comments below.