Hey beauty besties! ✨ Ready to unlock that radiant, youthful glow? We’ve got a little secret for you, and it doesn’t involve expensive spa treatments or tricky procedures. We’re talking about a homemade collagen-boosting cream that’s super easy to make right in your own kitchen! 🌱
Imagine waking up to fresh, bouncy, and visibly younger-looking skin every morning. This natural gem, crafted with simple ingredients, is designed to help revitalize your complexion and support your skin’s natural elasticity. It’s like a warm hug for your skin, gently guiding it back to its youthful best.
Ready to dive into the world of DIY anti-aging? Let’s get glowing!
Why Choose a Homemade Collagen Cream?
Our skin naturally produces collagen, the protein responsible for its firmness and elasticity. But as we age, this production slows down, leading to fine lines, wrinkles, and a loss of youthful bounce. While topical creams can’t directly add collagen to your skin, a homemade cream packed with nourishing, natural ingredients can:
- Support Collagen Production: Many natural oils and vitamins are known to help boost your skin’s natural collagen synthesis over time.
- Deeply Hydrate: Well-hydrated skin looks plumper, smoother, and more youthful. Natural butters and oils are superstars at locking in moisture.
- Nourish with Antioxidants: Ingredients like Vitamin E combat free radical damage, which contributes to premature aging.
- Be Gentle & Pure: You control what goes into your cream, avoiding harsh chemicals, artificial fragrances, and preservatives.
- Affordable & Fun: Making your own skincare is a rewarding and budget-friendly way to care for your skin!
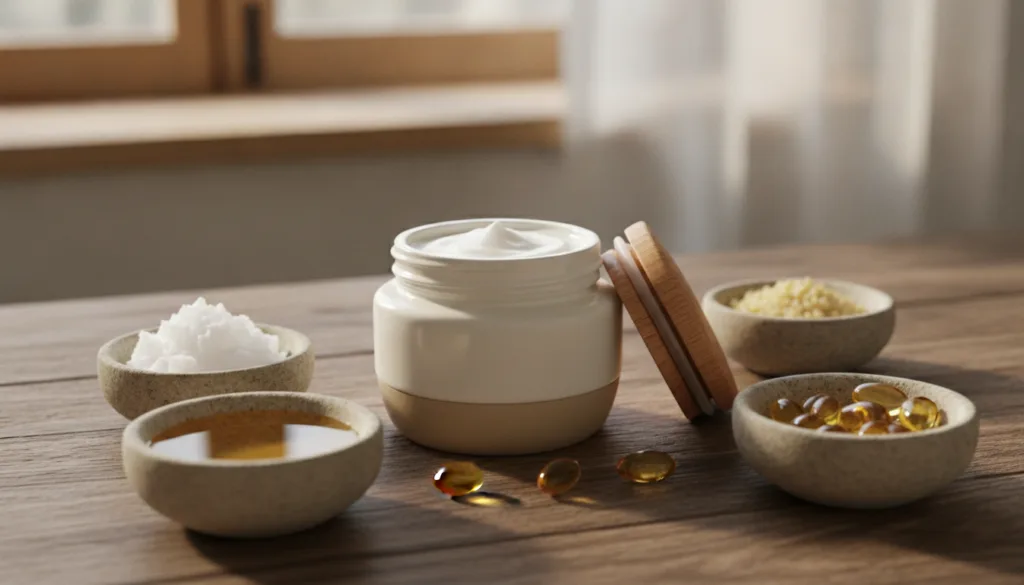
Your DIY Collagen-Boosting Cream Recipe
This recipe uses ingredients known for their moisturizing, nourishing, and skin-supporting properties, helping your skin feel and look its best.
What You’ll Need:
- 1/4 cup Virgin Coconut Oil (solid at room temperature)
- 1/4 cup Sweet Almond Oil
- 2 tablespoons Beeswax Pellets
- 1 teaspoon Vitamin E Oil (from capsules or liquid bottle)
- 5-10 drops Frankincense Essential Oil (optional, known for anti-aging benefits)
- Heat-safe glass jar or bowl
- Small saucepan
- Small, clean jar or container for your finished cream
Step-by-Step Instructions:
- Melt the Base: In your heat-safe glass jar or bowl, combine the coconut oil, sweet almond oil, and beeswax pellets.
- Create a Double Boiler: Place your glass jar into a small saucepan filled with about 1-2 inches of water. Heat the saucepan over low heat.
- Stir Until Melted: As the water heats, the ingredients in your glass jar will slowly melt. Stir gently with a spoon or small spatula until everything is completely liquid and well combined. This usually takes about 5-10 minutes.
- Remove from Heat: Once melted, carefully remove the glass jar from the saucepan (use oven mitts, it will be hot!).
- Add the Boosters: Let the mixture cool for a few minutes, but don’t let it solidify. Stir in the Vitamin E oil and, if using, the Frankincense essential oil. Mix thoroughly.
- Pour & Set: Carefully pour the liquid mixture into your clean, empty cream jar or container.
- Cool Completely: Allow the cream to cool and solidify at room temperature for several hours, or you can place it in the refrigerator for about an hour to speed up the process. Once solid, it will have a creamy, rich texture.
How to Use Your Homemade Cream
This cream is quite rich, so a little goes a long way!
- Cleanse First: Always apply to freshly cleansed and toned skin.
- Warm & Apply: Take a small pea-sized amount and warm it between your fingertips.
- Gentle Massage: Gently massage the cream onto your face and neck using upward strokes. Pay extra attention to areas prone to dryness or fine lines.
- Frequency: Use once or twice daily, depending on your skin type and needs. Many people prefer to use richer creams like this at night.
Tips for Best Results
- Consistency is Key: For best results, use your cream consistently every day. Remember, natural remedies take time to show their full effect.
- Patch Test: Before applying to your entire face, always do a patch test on a small area of your skin to ensure you don’t have any sensitivities, especially with essential oils.
- Sun Protection: While this cream is nourishing, it doesn’t replace sun protection. Always use a broad-spectrum SPF during the day.
- Healthy Lifestyle: Support your skin from within by staying hydrated, eating a balanced diet, and getting enough sleep.
Storage
Store your homemade collagen cream in a cool, dry place away from direct sunlight. Since it doesn’t contain commercial preservatives, it’s best to use it within 2-3 months. If you notice any changes in smell, color, or texture, it’s time to make a fresh batch!
There you have it, beauty bestie! A simple, natural way to give your skin some extra love and encourage that youthful radiance. Give this DIY collagen-boosting cream a try and tell us about your glowing results! You deserve to feel confident and beautiful in your own skin. ✨