Hey there, beauty besties! Are you dreaming of that fresh, glowing skin look but feeling overwhelmed by all the products out there? What if we told you that some of the most amazing skin toners can be whipped up right in your own kitchen? Yes, we’re talking about DIY natural skin toners!
Toners are often the unsung heroes of a skincare routine, playing a vital role in balancing your skin’s pH, minimizing pores, and prepping your skin for serums and moisturizers. But you don’t need fancy, expensive bottles to get these benefits. Nature has already provided us with incredible ingredients that can do wonders for your complexion.
Today, we’re diving into the wonderful world of natural toners, with a special spotlight on the soothing magic of rosewater. Get ready to embrace a radiant glow the natural way!
What Exactly is a Toner and Why Do You Need It?
Think of a toner as the refreshing pick-me-up for your skin after cleansing. Cleansing can sometimes strip your skin of its natural balance, making it feel a little tight or dry. A good toner steps in to:
- Restore pH Balance: Our skin has a natural pH of around 5.5. Many cleansers can temporarily alter this, and a toner helps bring it back to its optimal state, which is crucial for a healthy skin barrier.
- Minimize Pores: Toners can help tighten the appearance of pores, making your skin look smoother and more refined.
- Remove Residual Impurities: Even after cleansing, sometimes tiny traces of makeup, dirt, or oil can remain. A toner acts as a final sweep, ensuring your skin is truly clean.
- Hydrate and Prep: Many toners add a layer of hydration and prepare your skin to better absorb the active ingredients in your serums and moisturizers.
Why Go Natural with Your Toners?
Choosing natural DIY toners means you’re in control of what goes on your skin. Here’s why it’s a game-changer:
- No Harsh Chemicals: You avoid synthetic fragrances, alcohol, parabens, and other additives that can irritate sensitive skin.
- Fresh & Potent: You use fresh ingredients, ensuring maximum potency and beneficial properties.
- Cost-Effective: You can create effective toners for a fraction of the cost of store-bought alternatives.
- Customizable: You can tailor your toner to your specific skin concerns.
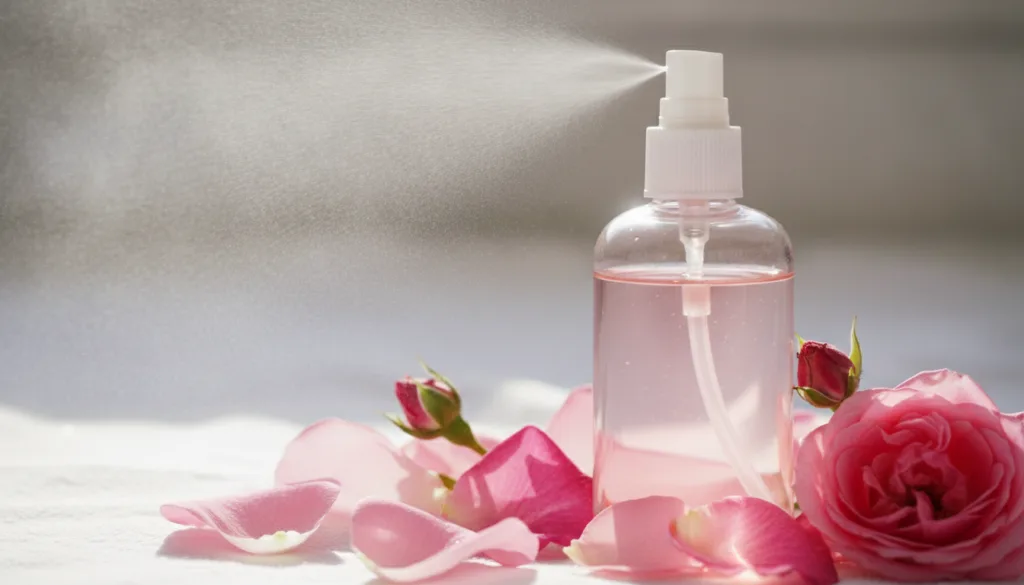
Featured Recipe: Natural Rosewater Facial Toner for Radiant, Balanced Skin
Rosewater is a classic beauty secret for a reason! It’s incredibly gentle, hydrating, and smells absolutely divine. It’s perfect for almost all skin types, especially sensitive or dry skin.
Ingredients You’ll Need:
- 1/2 cup fresh, organic rose petals (about 1-2 medium roses, pesticide-free is key!)
- 1.5 cups distilled water (or filtered water)
- A clean, heat-proof pot with a lid
- A fine-mesh sieve or cheesecloth
- A clean, sterilized glass spray bottle or airtight container
Step-by-Step Instructions:
- Clean the Petals: Gently rinse your rose petals under cool water to remove any dirt or tiny critters.
- Prepare for Steeping: Place the clean rose petals in your pot. Pour the distilled water over the petals, ensuring they are fully submerged.
- Simmer Gently: Cover the pot with the lid and bring the water to a gentle simmer over low heat. Do NOT boil, as this can destroy the delicate properties of the roses. Let it simmer for about 15-20 minutes, or until the petals lose their color and the water takes on a rosy hue.
- Cool Down: Remove the pot from the heat and let it cool completely with the lid still on. This helps to trap the beneficial rose essential oils.
- Strain the Magic: Once cooled, use your fine-mesh sieve or cheesecloth to strain the rosewater into your sterilized glass bottle or container. Gently press the petals to extract all the liquid goodness.
- Store & Enjoy: Your fresh rosewater toner is ready! Store it in the refrigerator to keep it fresh for up to 1-2 weeks.
Benefits of Rosewater Toner:
- Soothes & Calms: Excellent for reducing redness and irritation, perfect for sensitive skin.
- Hydrates: Provides a gentle boost of moisture, leaving your skin feeling soft.
- Balances pH: Helps to restore your skin’s natural balance.
- Antioxidant Power: Contains antioxidants that help protect skin cells from damage.
- Aromatherapy: The beautiful scent of roses is a natural mood booster!
Other Amazing DIY Natural Toners to Try
Want to explore more? Here are a couple of other super simple and effective DIY toners:
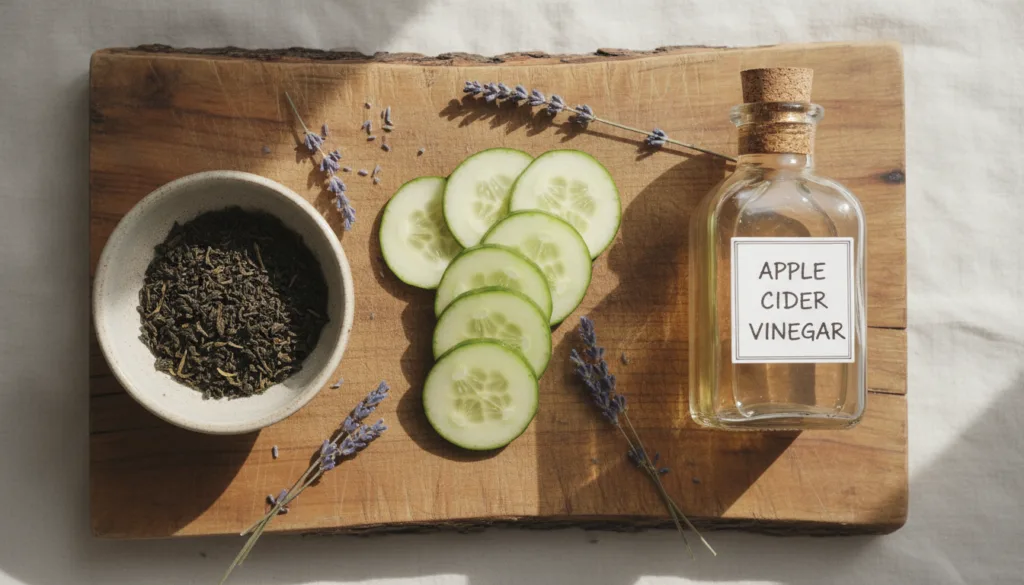
1. Apple Cider Vinegar (ACV) Toner
ACV is a powerhouse for balancing oily or acne-prone skin. It’s a natural astringent and helps with pH balance.
- Recipe: Mix 1 part organic, raw apple cider vinegar with 4 parts distilled water. Adjust the ratio (more water) if your skin is sensitive.
- Benefits: Balances skin pH, tightens pores, helps combat acne-causing bacteria, gently exfoliates.
2. Green Tea Toner
Green tea is packed with antioxidants, making it fantastic for anti-aging and protecting your skin from environmental damage.
- Recipe: Brew a cup of green tea (using one tea bag or a teaspoon of loose-leaf green tea) and let it cool completely.
- Benefits: Rich in antioxidants, anti-inflammatory, soothes irritated skin, can help reduce puffiness.
3. Cucumber Toner
Cucumber is wonderfully refreshing and hydrating, perfect for tired or sun-exposed skin.
- Recipe: Blend half a cucumber with a splash of distilled water until smooth. Strain the liquid through a fine-mesh sieve.
- Benefits: Hydrating, soothing, reduces puffiness, gives a fresh glow.
Tips for Using Your DIY Toner
- Application: After cleansing, either spray the toner directly onto your face (with eyes closed!) or apply it to a cotton pad and gently swipe over your face and neck.
- Frequency: Use once or twice daily, depending on your skin type and needs.
- Storage: Always store natural toners in the refrigerator to prolong their shelf life. As they don’t contain preservatives, freshness is key!
- Patch Test: Before applying any new DIY toner to your entire face, always do a patch test on a small area of your skin (like behind your ear or on your inner arm) to check for any reactions.
When to Be Cautious or Avoid DIY Toners
- Allergies: If you have known allergies to any ingredients, avoid using them.
- Sensitive Skin: Always start with very diluted versions, especially for ingredients like ACV, and monitor your skin closely.
- Open Wounds/Active Breakouts: Avoid applying strong toners to broken skin.
- Freshness is Key: Discard any DIY toner that starts to smell off, changes color, or develops any visible mold. When in doubt, throw it out!
Embracing DIY natural skin toners is a beautiful way to connect with your skincare routine and give your skin the pure, gentle care it deserves. It’s affordable, effective, and deeply satisfying to create something wonderful for yourself!
Have you tried making your own toner before? Share your favorite recipes and tips in the comments below! We’d love to hear from you!