Who among us doesn’t dream of skin that feels hydrated, looks plump, and carries that youthful glow? While time marches on, the good news is that supporting our skin’s vitality can be a joyful, natural journey, and it doesn’t always require expensive products. Today, we’re diving into a beloved DIY secret: creating your very own ‘collagen-boosting’ cream right in your kitchen!
Many of us are looking for ways to nourish our skin with ingredients we trust, and that’s where homemade beauty solutions shine. This special cream focuses on natural ingredients known for their hydrating, antioxidant, and skin-supporting properties, which can help your skin appear smoother and more radiant.
What Exactly is ‘Collagen-Boosting’ in DIY Beauty?
When we talk about ‘collagen-boosting’ in a DIY context, we’re focusing on ingredients that help support your skin’s natural functions and maintain its healthy appearance. Collagen is a vital protein that provides structure and elasticity to our skin, helping it look firm and supple. As we age, our natural collagen production can slow down, leading to the appearance of fine lines and a loss of firmness.
While applying collagen directly to the skin might not magically replace lost collagen, using ingredients rich in antioxidants, vitamins, and deep moisturizers can significantly improve the *look* and *feel* of your skin. These ingredients support skin health, hydration, and can help your complexion appear smoother, firmer, and more youthful.
Why Go Homemade for Your Skin Cream?
There are so many wonderful reasons to venture into the world of DIY skincare:
- Natural Ingredients: You have complete control over what goes into your cream, avoiding synthetic fragrances, harsh chemicals, and unnecessary preservatives.
- Cost-Effective: High-quality skincare can be pricey. Making your own often saves you money while still delivering fantastic results.
- Customizable: You can tailor the ingredients to your specific skin needs and preferences, experimenting with different oils and scents.
- Empowering: There’s a real sense of accomplishment and connection when you create something beautiful and beneficial for yourself.
Your DIY ‘Collagen-Boosting’ Face Cream Recipe
This recipe is designed to be simple, using ingredients commonly found in natural beauty aisles or health food stores. It focuses on deep hydration and nutrient delivery to help your skin look its best.
What You’ll Need:
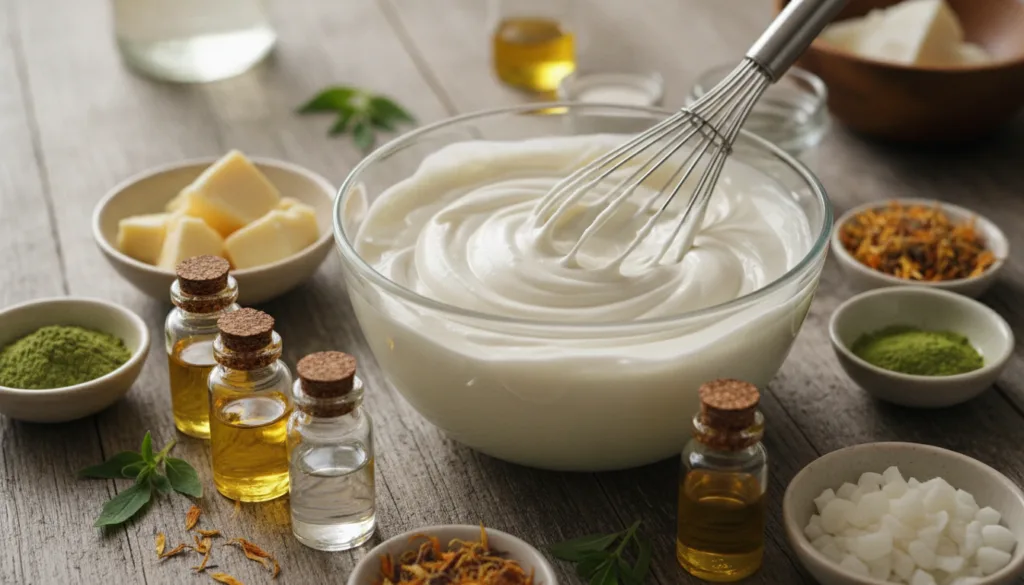
- 1/2 cup Organic Shea Butter (deeply moisturizing, rich in vitamins)
- 1/4 cup Organic Coconut Oil or Sweet Almond Oil (nourishing and emollient)
- 2 tablespoons Aloe Vera Gel (soothing, hydrating, and cooling)
- 1 teaspoon Vitamin E Oil (a powerful antioxidant that supports skin health)
- 10-15 drops Rosehip Oil (known for supporting skin regeneration and appearance of even skin tone)
- Optional: 5-10 drops of a skin-friendly essential oil like Frankincense (often used for its perceived benefits for mature skin) or Lavender (calming).
- A double boiler or a heat-safe bowl over a pot of simmering water
- An electric mixer (handheld or stand mixer)
- A clean, airtight glass jar for storage
Step-by-Step Instructions:
- Melt the Butters & Oils: In your double boiler (or heat-safe bowl over simmering water), gently melt the shea butter and coconut oil (or sweet almond oil) until they are fully liquid and combined. Remove from heat.
- Cool Slightly: Let the mixture cool down to room temperature. You can place the bowl in the refrigerator for about 15-20 minutes to speed this up, but don’t let it solidify completely. It should be opaque and slightly firm but still soft enough to whip.
- Add Remaining Ingredients: Once cooled, add the aloe vera gel, vitamin E oil, rosehip oil, and any optional essential oils to the mixture.
- Whip It Up: Using an electric mixer, begin whipping the mixture on medium-high speed. Continue to whip for 5-10 minutes until the cream becomes light, fluffy, and has a consistency similar to whipped frosting.
- Transfer to Jar: Carefully spoon your freshly whipped ‘collagen-boosting’ cream into your clean, airtight glass jar.
How to Use Your Homemade Cream
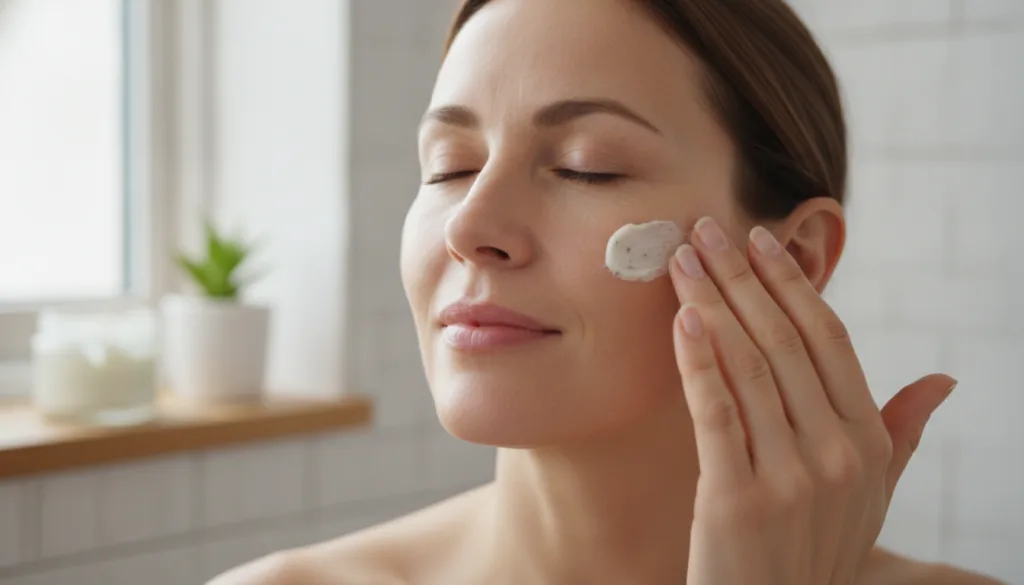
Apply a small amount of this rich cream to your cleansed face and neck morning and night. Gently massage it into your skin using upward strokes. A little goes a long way!
Important Considerations Before You Try This
- Patch Test: Always perform a patch test on a small area of your skin (like your inner arm) 24 hours before applying any new product, especially a homemade one, to ensure you don’t have any sensitivities.
- Storage: Store your cream in a cool, dark place. Because it contains water-based ingredients (aloe vera gel) and no synthetic preservatives, it’s best used within 2-3 weeks. If you notice any changes in smell, color, or texture, it’s time to discard it.
- No Medical Claims: While these ingredients are wonderful for skin health and hydration, remember that this DIY cream is not intended to cure or treat any medical conditions, nor does it guarantee permanent wrinkle removal or reverse aging. It’s designed to nourish and support healthy-looking skin.
Embrace Your Natural Glow
Creating your own skincare is a beautiful way to connect with natural ingredients and give your skin the love it deserves. This ‘collagen-boosting’ cream offers a luxurious, hydrating experience that can help your skin look visibly smoother, plumper, and more radiant. Give it a try and embrace the glow of healthy, naturally supported skin!
Have you tried making your own creams? Share your favorite ingredients and tips in the comments below!