Tired of store-bought brownie mixes that promise much but deliver little? It’s time to elevate your baking game with homemade brownie mix! This simple, make-ahead solution is your secret weapon for baking rich, fudgy brownies that truly taste better than anything from a box. Prepping this mix takes mere minutes, and it stays fresh for months in your pantry, making spontaneous baking sessions a breeze.
Beyond the classic fudgy delight, imagine effortlessly whipping up chewy variations, gluten-free treats, or even venturing into homemade cookie and blondie mixes. We’ve gathered a collection of our favorite homemade mixes and brownie recipes that will transform your kitchen into a bakery of convenience and deliciousness. Get ready to impress your taste buds and loved ones with these incredibly easy and satisfying homemade baking solutions.
Quick Overview
- Main topic: Homemade baking mixes for brownies and other treats.
- Best for: Home bakers, busy individuals, gift-giving, clean eating, quick desserts.
- Number of recipes: 6
- Prep style: Make-ahead dry mixes, fresh baking.
- Reader benefit: Convenience, superior flavor, control over ingredients, easy baking.
Recipe 1: Homemade Fudgy Brownie Mix (and How to Bake Them)
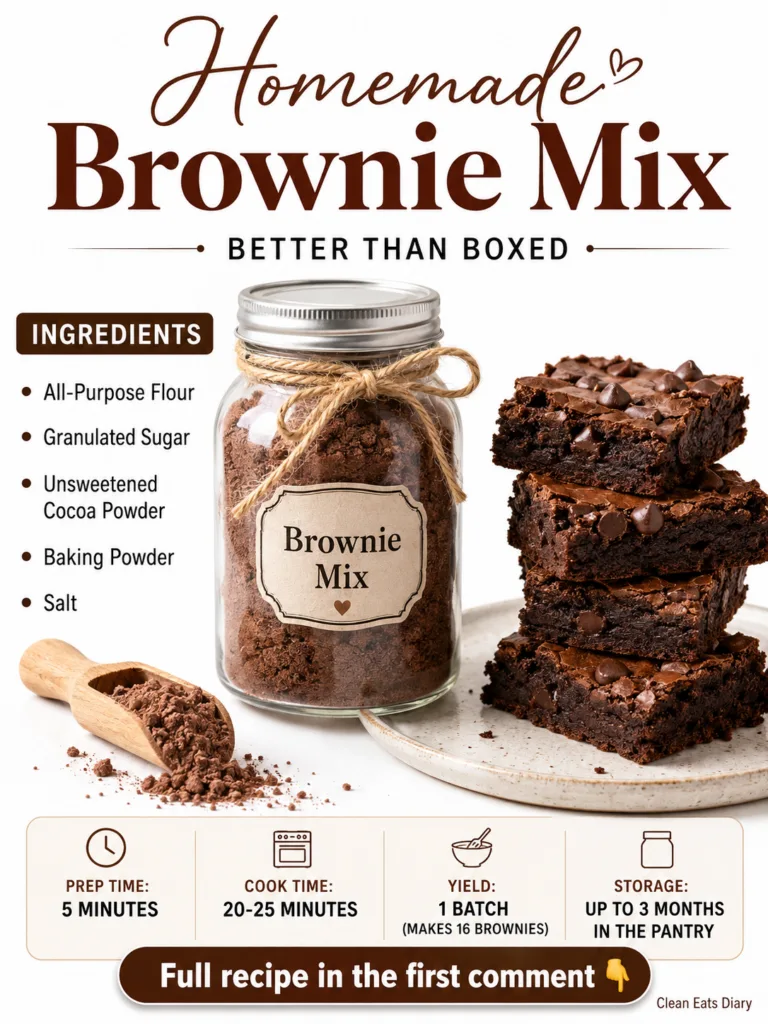
Say goodbye to boxed mixes! This is the core recipe from our image, designed for ultimate fudgy brownies that are easy to whip up anytime. Prepare the mix in advance, and when a craving strikes, just add wet ingredients and bake!
Servings: 1 batch of mix (yields 16 brownies)
Prep time: 5 minutes (for the mix)
Cook / chill / rest time: 20-25 minutes (for baking brownies)
Ingredients:
For the Dry Mix:
- 1 ½ cups All-Purpose Flour
- 2 cups Granulated Sugar
- ¾ cup Unsweetened Cocoa Powder
- 1 teaspoon Baking Powder
- ½ teaspoon Salt
To Bake Brownies (per batch of mix):
- 1 batch Homemade Fudgy Brownie Mix
- 2 Large Eggs
- ½ cup Vegetable Oil (or melted unsalted butter)
- ¼ cup Water
- 1 teaspoon Vanilla Extract
- ½ cup Chocolate Chips (optional, for mixing in or topping)
Instructions:
To Make the Brownie Mix:
- In a large bowl, whisk together the all-purpose flour, granulated sugar, unsweetened cocoa powder, baking powder, and salt until all ingredients are well combined and no lumps remain.
- Carefully transfer the mix into an airtight container or a clean mason jar.
- Store your homemade mix in a cool, dry place like your pantry for up to 3 months.
To Bake Fudgy Brownies:
- Preheat your oven to 350°F (175°C). Grease and flour an 8×8 inch or 9×9 inch baking pan, or line with parchment paper.
- In a large bowl, combine the entire batch of homemade brownie mix with the eggs, vegetable oil, water, and vanilla extract.
- Mix with a spoon or spatula until just combined. Be careful not to overmix. If using, fold in the optional chocolate chips.
- Spread the batter evenly into your prepared baking pan.
- Bake for 20-25 minutes, or until a toothpick inserted into the center comes out with moist crumbs (not wet batter).
- Let the brownies cool completely in the pan before cutting into 16 squares and serving.
Storage / Serving / Usage Note:
Store baked brownies in an airtight container at room temperature for up to 3-4 days. The dry mix can be stored in the pantry for up to 3 months.
Recipe 2: Homemade Chewy Brownie Mix
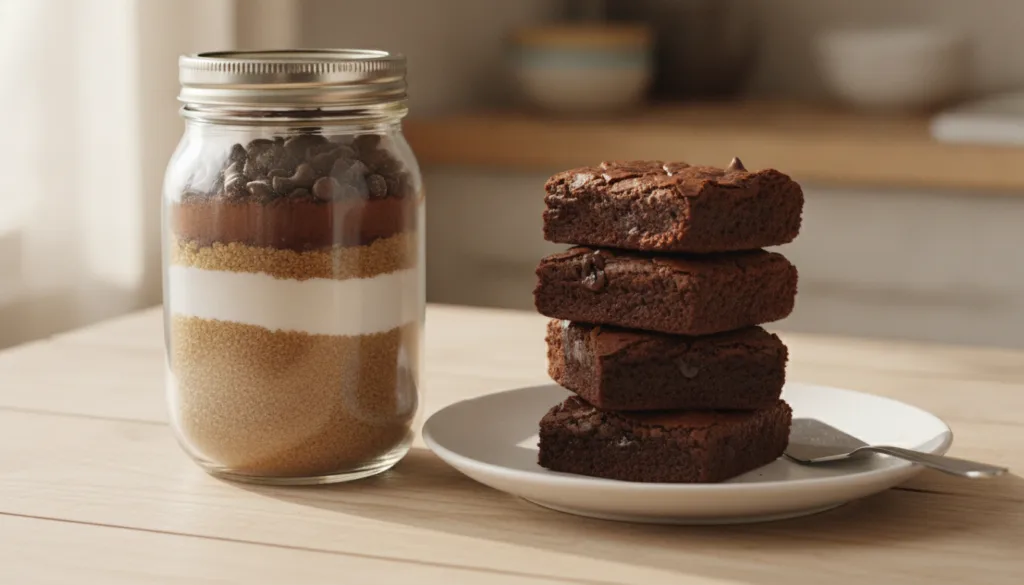
Craving a brownie with a bit more chew? This mix, with a balanced blend of white and brown sugar, delivers that perfect texture every time. Just like our fudgy mix, it’s designed for convenience and delicious results.
Servings: 1 batch of mix (yields 16 brownies)
Prep time: 5 minutes (for the mix)
Cook / chill / rest time: 25-30 minutes (for baking brownies)
Ingredients:
For the Dry Mix:
- 1 ½ cups All-Purpose Flour
- 1 ½ cups Granulated Sugar
- ½ cup Packed Light Brown Sugar
- ¾ cup Unsweetened Cocoa Powder
- 1 teaspoon Baking Powder
- ½ teaspoon Salt
To Bake Chewy Brownies (per batch of mix):
- 1 batch Homemade Chewy Brownie Mix
- 2 Large Eggs
- ½ cup Melted Unsalted Butter
- 2 tablespoons Milk (any kind)
- 1 teaspoon Vanilla Extract
Instructions:
To Make the Chewy Brownie Mix:
- In a large bowl, whisk together all dry ingredients: all-purpose flour, granulated sugar, light brown sugar, unsweetened cocoa powder, baking powder, and salt until well combined. Break up any brown sugar lumps.
- Transfer the mix to an airtight container or mason jar.
- Store in a cool, dry place for up to 3 months.
To Bake Chewy Brownies:
- Preheat oven to 350°F (175°C). Grease and flour an 8×8 inch or 9×9 inch baking pan.
- In a large bowl, combine the entire batch of homemade chewy brownie mix with the eggs, melted butter, milk, and vanilla extract.
- Mix until just combined.
- Spread batter evenly into the prepared pan.
- Bake for 25-30 minutes, or until edges are set and a toothpick inserted comes out with moist crumbs.
- Cool completely before slicing and serving.
Storage / Serving / Usage Note:
Baked chewy brownies stay fresh in an airtight container at room temperature for 3-4 days. The dry mix is good for 3 months.
Recipe 3: Homemade Gluten-Free Brownie Mix
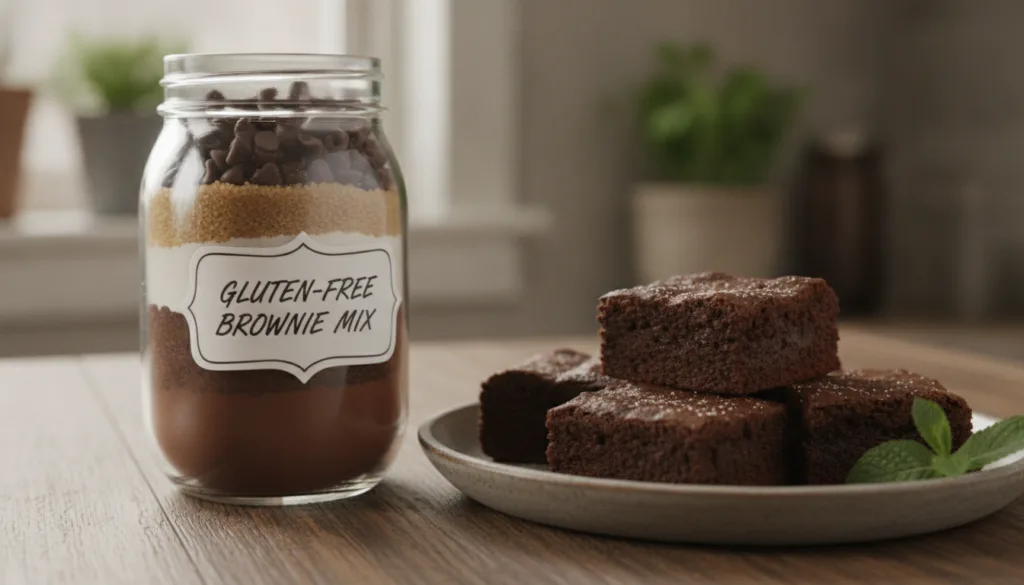
Don’t let dietary restrictions hold you back from delicious brownies! This gluten-free mix uses a reliable GF flour blend, ensuring everyone can enjoy a warm, chocolatey treat from scratch.
Servings: 1 batch of mix (yields 16 brownies)
Prep time: 5 minutes (for the mix)
Cook / chill / rest time: 25-30 minutes (for baking brownies)
Ingredients:
For the Dry Mix:
- 1 ¾ cups Gluten-Free All-Purpose Flour Blend (with xanthan gum)
- 2 cups Granulated Sugar
- ¾ cup Unsweetened Cocoa Powder
- 1 teaspoon Baking Powder
- ½ teaspoon Salt
To Bake Gluten-Free Brownies (per batch of mix):
- 1 batch Homemade Gluten-Free Brownie Mix
- 2 Large Eggs
- ½ cup Vegetable Oil (or melted unsalted butter)
- ¼ cup Water
- 1 teaspoon Vanilla Extract
Instructions:
To Make the Gluten-Free Brownie Mix:
- In a large bowl, whisk together the gluten-free flour blend, granulated sugar, unsweetened cocoa powder, baking powder, and salt until thoroughly combined. Ensure no lumps.
- Transfer the mix to an airtight container.
- Store in a cool, dry pantry for up to 3 months.
To Bake Gluten-Free Brownies:
- Preheat oven to 350°F (175°C). Prepare an 8×8 inch or 9×9 inch baking pan by greasing and flouring (with GF flour) or lining with parchment paper.
- In a large bowl, combine the gluten-free brownie mix with the eggs, vegetable oil, water, and vanilla extract.
- Mix until just combined.
- Spread the batter evenly into the prepared pan.
- Bake for 25-30 minutes, or until the edges are set and a toothpick comes out with moist crumbs.
- Allow to cool completely before cutting.
Storage / Serving / Usage Note:
Store baked gluten-free brownies in an airtight container at room temperature for up to 3-4 days. The dry mix can be stored for 3 months.
Recipe 4: Homemade Vegan Brownie Mix
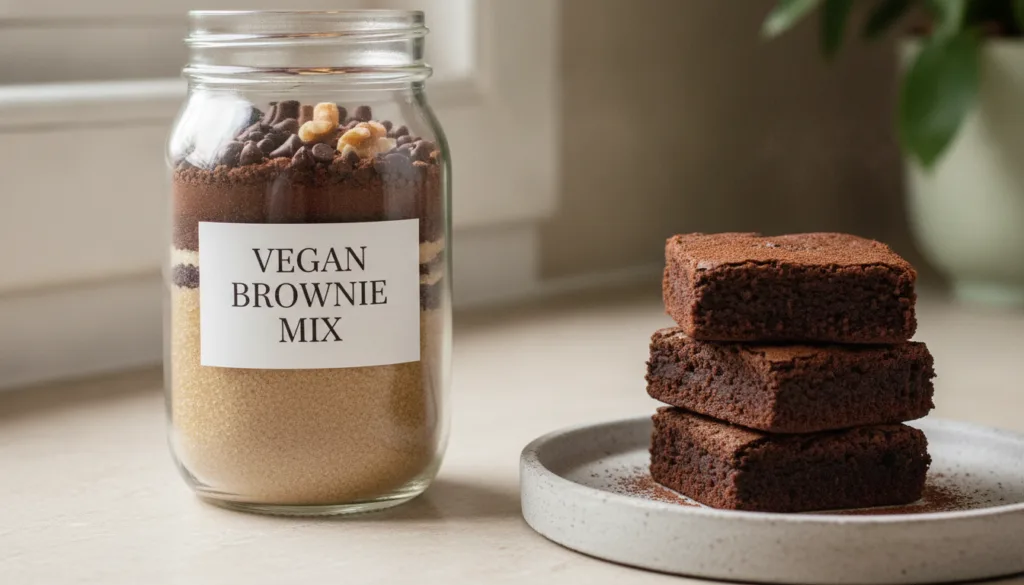
This vegan brownie mix ensures everyone can enjoy a decadent chocolate treat! When it’s baking time, you’ll simply add your favorite plant-based wet ingredients for a truly guilt-free indulgence.
Servings: 1 batch of mix (yields 16 brownies)
Prep time: 5 minutes (for the mix)
Cook / chill / rest time: 25-30 minutes (for baking brownies)
Ingredients:
For the Dry Mix:
- 1 ½ cups All-Purpose Flour
- 2 cups Granulated Sugar
- ¾ cup Unsweetened Cocoa Powder
- 1 teaspoon Baking Powder
- ½ teaspoon Salt
To Bake Vegan Brownies (per batch of mix):
- 1 batch Homemade Vegan Brownie Mix
- ½ cup Unsweetened Applesauce (or 2 mashed ripe bananas)
- ½ cup Vegetable Oil
- ¼ cup Plant-Based Milk (such as almond or oat)
- 1 teaspoon Vanilla Extract
- ½ cup Vegan Chocolate Chips (optional)
Instructions:
To Make the Vegan Brownie Mix:
- In a large bowl, whisk together the all-purpose flour, granulated sugar, unsweetened cocoa powder, baking powder, and salt until well combined.
- Transfer the mix to an airtight container.
- Store in your pantry for up to 3 months.
To Bake Vegan Brownies:
- Preheat oven to 350°F (175°C). Prepare an 8×8 inch or 9×9 inch baking pan by greasing with vegan butter or oil, or lining with parchment paper.
- In a large bowl, combine the entire batch of homemade vegan brownie mix with the applesauce (or mashed bananas), vegetable oil, plant-based milk, and vanilla extract.
- Mix until just combined. If using, fold in vegan chocolate chips.
- Spread batter evenly into the prepared pan.
- Bake for 25-30 minutes, or until a toothpick inserted comes out with moist crumbs.
- Cool completely before slicing and serving.
Storage / Serving / Usage Note:
Store baked vegan brownies in an airtight container at room temperature for 3-4 days. The dry mix is good for 3 months.
Recipe 5: Homemade Chocolate Chip Cookie Mix
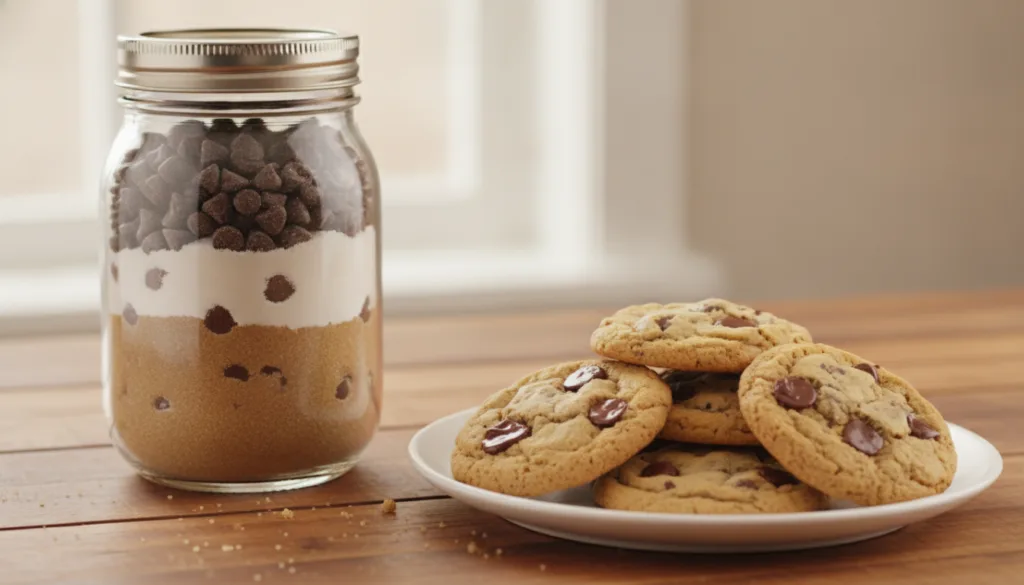
Not just for brownies! This homemade mix allows you to quickly bake a batch of classic, chewy chocolate chip cookies. It’s perfect for last-minute treats or a sweet surprise.
Servings: 1 batch of mix (yields about 2 dozen cookies)
Prep time: 5 minutes (for the mix)
Cook / chill / rest time: 8-12 minutes (for baking cookies)
Ingredients:
For the Dry Mix:
- 2 cups All-Purpose Flour
- ¾ cup Granulated Sugar
- ¾ cup Packed Light Brown Sugar
- 1 teaspoon Baking Soda
- ½ teaspoon Salt
- 1 ½ cups Chocolate Chips
To Bake Chocolate Chip Cookies (per batch of mix):
- 1 batch Homemade Chocolate Chip Cookie Mix
- 1 Large Egg
- ½ cup (1 stick) Unsalted Butter, melted and slightly cooled
- 1 teaspoon Vanilla Extract
Instructions:
To Make the Chocolate Chip Cookie Mix:
- In a large bowl, whisk together the all-purpose flour, granulated sugar, light brown sugar (breaking up any lumps), baking soda, and salt.
- Stir in the chocolate chips until evenly distributed.
- Transfer the mix to an airtight container or mason jar.
- Store in a cool, dry place for up to 3 months.
To Bake Chocolate Chip Cookies:
- Preheat oven to 375°F (190°C). Line a baking sheet with parchment paper.
- In a large bowl, combine the entire batch of homemade cookie mix with the egg, melted butter, and vanilla extract.
- Mix until just combined.
- Drop rounded tablespoons of dough onto the prepared baking sheet, spacing them about 2 inches apart.
- Bake for 8-12 minutes, or until the edges are golden brown and the centers are set.
- Let cool on the baking sheet for a few minutes before transferring to a wire rack to cool completely.
Storage / Serving / Usage Note:
Store baked cookies in an airtight container at room temperature for up to 5 days. The dry mix is good for 3 months.
Recipe 6: Homemade Blondie Mix
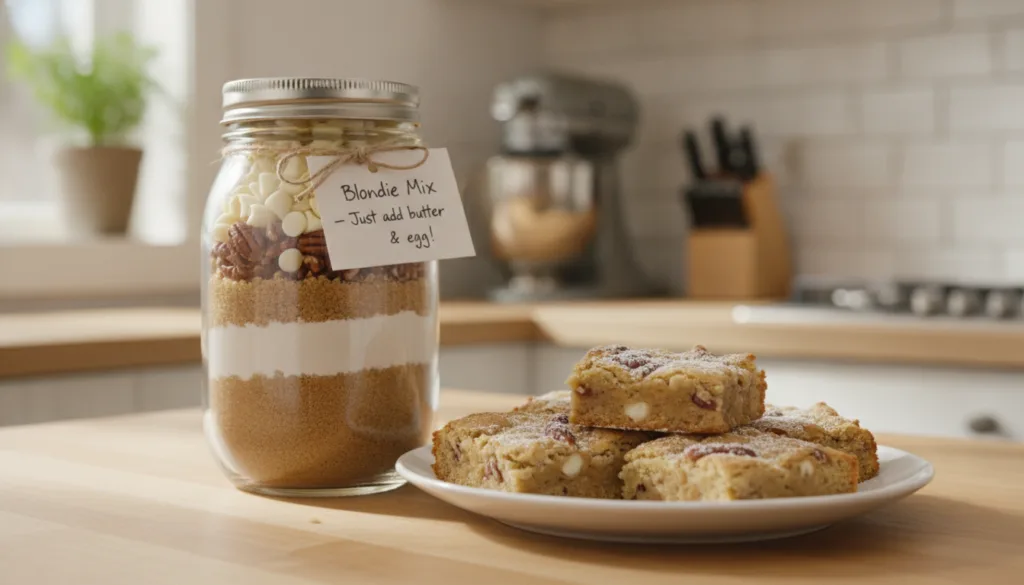
Sometimes you want a rich, buttery treat that’s not chocolate. This homemade blondie mix is packed with brown sugar and vanilla flavor, ready to be baked into delightful bars that everyone will love.
Servings: 1 batch of mix (yields 16 blondies)
Prep time: 5 minutes (for the mix)
Cook / chill / rest time: 20-25 minutes (for baking blondies)
Ingredients:
For the Dry Mix:
- 1 ½ cups All-Purpose Flour
- 1 ½ cups Packed Light Brown Sugar
- ½ cup Granulated Sugar
- 1 teaspoon Baking Powder
- ½ teaspoon Salt
To Bake Blondies (per batch of mix):
- 1 batch Homemade Blondie Mix
- 2 Large Eggs
- ½ cup (1 stick) Unsalted Butter, melted and slightly cooled
- 2 teaspoons Vanilla Extract
- ¾ cup White Chocolate Chips or Chopped Nuts (optional)
Instructions:
To Make the Blondie Mix:
- In a large bowl, whisk together the all-purpose flour, light brown sugar (breaking up any lumps), granulated sugar, baking powder, and salt until well combined.
- Transfer the mix to an airtight container or mason jar.
- Store in a cool, dry place for up to 3 months.
To Bake Blondies:
- Preheat oven to 350°F (175°C). Grease and flour an 8×8 inch or 9×9 inch baking pan.
- In a large bowl, combine the entire batch of homemade blondie mix with the eggs, melted butter, and vanilla extract.
- Mix until just combined. If using, fold in white chocolate chips or chopped nuts.
- Spread the batter evenly into the prepared pan.
- Bake for 20-25 minutes, or until the edges are golden brown and a toothpick inserted into the center comes out with moist crumbs.
- Cool completely in the pan before cutting into squares.
Storage / Serving / Usage Note:
Store baked blondies in an airtight container at room temperature for up to 3-4 days. The dry mix is good for 3 months.
Simple Tips for Best Results
- Proper Storage: Always use airtight containers for your dry mixes to prevent moisture and maintain freshness. Mason jars are excellent choices.
- Accurate Measurements: For baking, especially with dry ingredients, use proper measuring techniques (e.g., spooning flour into a measuring cup and leveling) for consistent results.
- Quality Ingredients: The better your base ingredients (cocoa, flour, sugar), the better your final baked goods will taste.
- Don’t Overmix: When adding wet ingredients to your dry mix, mix only until just combined. Overmixing can lead to tough brownies or cookies.
- Cool Completely: For clean slices and the best texture, always allow brownies and blondies to cool completely before cutting.
- Personalize: Feel free to add your favorite extras like nuts, different types of chocolate chips, or even dried fruit to your baked goods.
FAQ
What are the benefits of making your own brownie mix?
Making your own brownie mix gives you control over the ingredients, often resulting in a richer, more customizable flavor than store-bought options. It’s also a great way to avoid artificial additives and can be more cost-effective in the long run.
How long do homemade baking mixes last?
Homemade dry baking mixes, when stored in an airtight container in a cool, dry pantry, typically last up to 3 months. The shelf life depends on the freshness of your dry ingredients.
Can I give these homemade mixes as gifts?
Absolutely! Homemade baking mixes make fantastic gifts. Layer the dry ingredients in an attractive mason jar, tie with a ribbon, and attach a tag with the wet ingredients needed and baking instructions. It’s a thoughtful and practical present!
Final Thoughts
Stepping away from boxed baking and embracing the world of homemade brownie mix and other easy dry mixes is a game-changer for any home baker. Not only do you get to enjoy superior flavor and texture, but you also gain the convenience of having delicious treats ready to bake at a moment’s notice. These mixes are a testament to the fact that homemade can be both simple and extraordinary. So, stock your pantry with these versatile mixes and get ready to enjoy the rich rewards of homemade perfection!