Imagine biting into a juicy, sun-ripened tomato, picked fresh from your own garden. What if we told you that achieving this garden dream could start with something as simple as a single slice of a tomato you already have in your kitchen? It sounds like magic, but growing tomatoes from a slice is a surprisingly easy and rewarding way to expand your garden, even if you’re a beginner!
This ingenious method taps into the natural power of tomato seeds embedded within the fruit. Instead of buying expensive seeds or seedlings, you can give a second life to a store-bought (or homegrown!) tomato, turning one slice into the potential for many new plants. Ready to discover the secret to an abundant tomato harvest?
The Magic Behind the Method: How It Works
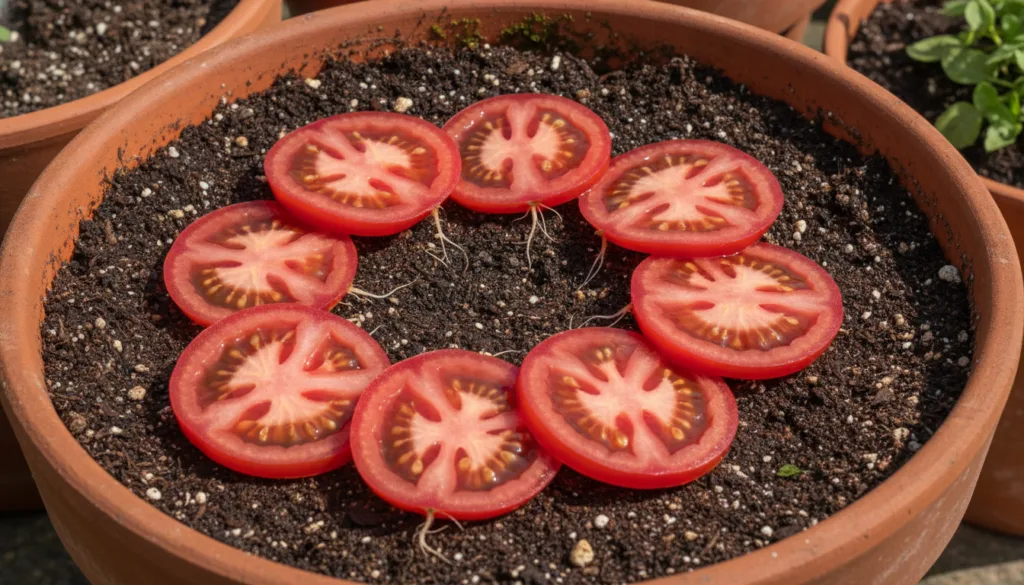
Tomatoes are packed with tiny seeds, each containing the potential for a new plant. When you plant a tomato slice, you’re essentially planting multiple seeds at once, surrounded by the organic matter of the fruit which can even provide initial nutrients. As the slice decomposes, it releases the seeds into the soil, and with the right conditions, they germinate and grow into vigorous seedlings. It’s nature’s own planting kit, simplified!
What You’ll Need
- A ripe, healthy tomato (heirloom varieties often work best, but any good tomato will do!)
- A small pot or seed tray (with drainage holes)
- Quality potting mix
- A sharp knife
- Watering can or spray bottle
- A warm, sunny spot
Step-by-Step Guide: Grow Your Own Tomatoes From a Slice
Step 1: Choose Your Tomato Wisely
For the best results, select a ripe, healthy tomato. Heirloom varieties are often preferred because their seeds will grow true to type, meaning the tomatoes you harvest will be just like the one you planted. Hybrid tomatoes might produce plants, but their fruit may not be consistent with the parent plant.
Step 2: Slice It Up
Using a sharp knife, cut your tomato into slices about 1/4 to 1/2 inch thick. Each slice will contain numerous seeds, giving you plenty of chances for germination.
Step 3: Prepare Your Pot and Soil
Fill your pot or seed tray with a good quality potting mix. Make sure the container has drainage holes to prevent waterlogging. Gently moisten the soil before placing your tomato slices.
Step 4: Planting Your Slices
Lay the tomato slices flat on top of the moistened potting mix. You can place several slices in a single pot, leaving a little space between them.
Step 5: Cover and Water
Lightly cover the tomato slices with a thin layer (about 1/4 to 1/2 inch) of potting mix. Gently water again, either with a fine spray bottle or a watering can with a gentle shower head, to settle the soil without disturbing the slices.
Step 6: Wait for Sprouts!
Place your pot in a warm spot that receives plenty of indirect sunlight. Keep the soil consistently moist but not soggy. In about 7-14 days, you should start seeing tiny green sprouts emerging!
Step 7: Thinning Seedlings
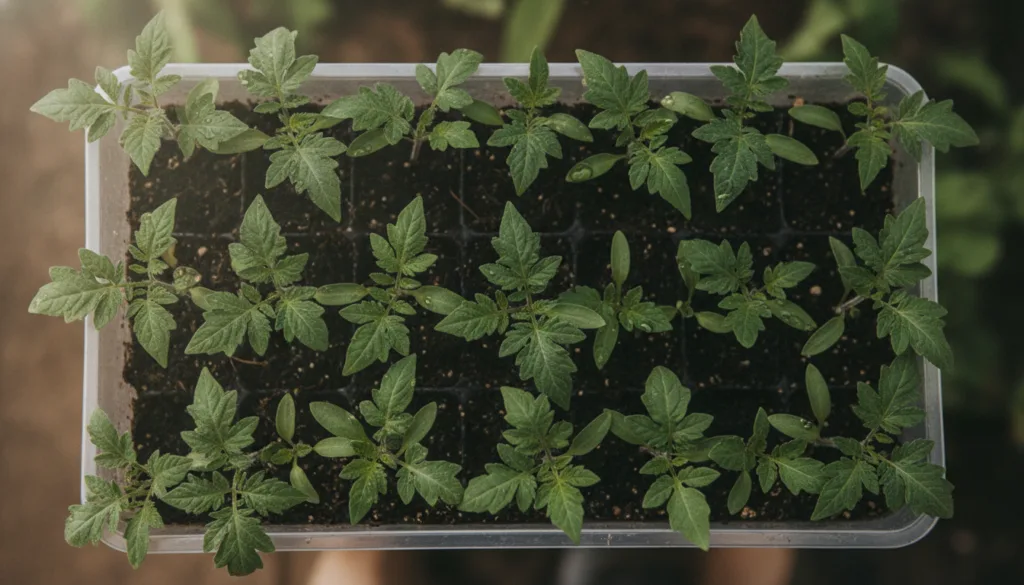
Once your seedlings have grown a few sets of true leaves (the second set of leaves that appear after the initial seed leaves), it’s time to thin them. Select the strongest, healthiest seedlings and gently snip off the weaker ones at the soil line. Aim for 2-3 strong plants per slice area, or space them out if you have many sprouts from a single slice.
Step 8: Transplanting
When your seedlings are about 6-8 inches tall and the danger of frost has passed, they are ready to be transplanted into larger pots or directly into your garden. Remember to harden them off first by gradually exposing them to outdoor conditions over a week or two.
Tips for Success
- Sunlight is Key: Tomatoes are sun-lovers! Ensure your growing plants receive at least 6-8 hours of direct sunlight per day.
- Consistent Watering: Keep the soil consistently moist, especially during fruiting, but avoid overwatering, which can lead to root rot.
- Rich Soil: Tomatoes thrive in well-draining, nutrient-rich soil. Amend your garden beds with compost before planting.
- Provide Support: As your tomato plants grow, they will need support. Use stakes, cages, or trellises to keep them upright and prevent them from sprawling.
- Fertilize Regularly: Once plants start producing flowers and fruit, feed them with a balanced organic fertilizer every few weeks.
- Watch for Pests: Regularly inspect your plants for signs of pests or diseases and address them promptly using organic gardening methods.
Why Grow Tomatoes From a Slice?
- Cost-Effective: You’re using something you already have, saving money on seeds.
- Educational & Fun: It’s a fantastic project for gardeners of all ages, offering a hands-on lesson in plant propagation.
- Sustainable: Reduces waste by giving a new purpose to a fruit that might otherwise just be eaten or discarded.
- Rewarding: There’s immense satisfaction in growing food from such a simple beginning.
Ready to Harvest Your Own Homegrown Goodness?
Growing tomatoes from a slice is an exciting and accessible way to kickstart your gardening journey or add to your existing collection. It’s a testament to the incredible life cycle of plants and the simple joys of nurturing something from tiny beginnings to a bountiful harvest. Give it a try, and soon you might be enjoying the freshest, most delicious tomatoes you’ve ever tasted!