Are you ready to discover a secret to radiant, youthful skin that’s probably already in your kitchen? ✨ We’re talking about the incredible power of a homemade carrot toner! Packed with potent beta-carotene, this natural elixir is your new best friend for reducing wrinkles, boosting collagen, and achieving that coveted healthy glow. Imagine turning back the clock with just a few simple, affordable steps!
We know how important it is to find natural, effective, and budget-friendly beauty solutions. That’s why we’re so excited to share this DIY carrot toner recipe with you. It’s incredibly easy to make and a fantastic addition to any natural skincare routine.
The Magic of Carrots for Your Skin
Carrots aren’t just good for your eyes; they’re a powerhouse for your skin too! Their vibrant orange color comes from beta-carotene, a type of carotenoid that your body converts into Vitamin A (retinol). And as many beauty enthusiasts know, retinol is a superstar ingredient in anti-aging skincare.
- Powerful Antioxidant: Beta-carotene is a strong antioxidant, meaning it fights off free radicals that cause oxidative stress and premature aging. This helps protect your skin from environmental damage, like pollution and UV rays.
- Collagen Booster: Vitamin A plays a crucial role in collagen production. Collagen is the protein responsible for keeping your skin firm, plump, and wrinkle-free. By boosting collagen, carrot toner can help diminish the appearance of fine lines and wrinkles.
- Skin Renewal: The Vitamin A content also aids in cell turnover, promoting the growth of new, healthy skin cells and shedding old, damaged ones. This leads to a smoother, more even complexion.
- Natural Glow: With regular use, the nutrients in carrots can give your skin a natural, healthy radiance, helping to fade dark spots and hyperpigmentation.
Benefits of Incorporating Carrot Toner into Your Routine
Adding this simple DIY carrot toner to your daily regimen can bring a multitude of benefits:
- Reduces Fine Lines and Wrinkles: Thanks to its collagen-boosting properties and antioxidant power.
- Evens Skin Tone: Helps to lighten dark spots, acne scars, and hyperpigmentation for a more uniform complexion.
- Boosts Natural Radiance: Gives your skin a healthy, vibrant, and youthful glow.
- Hydrates and Refreshes: A quick spritz can instantly refresh and hydrate your skin throughout the day.
- Affordable and Natural: Made with ingredients you trust, without the harsh chemicals found in many commercial products.
Your Easy DIY Carrot Toner Recipe
Ready to make your own anti-aging elixir? Here’s how!
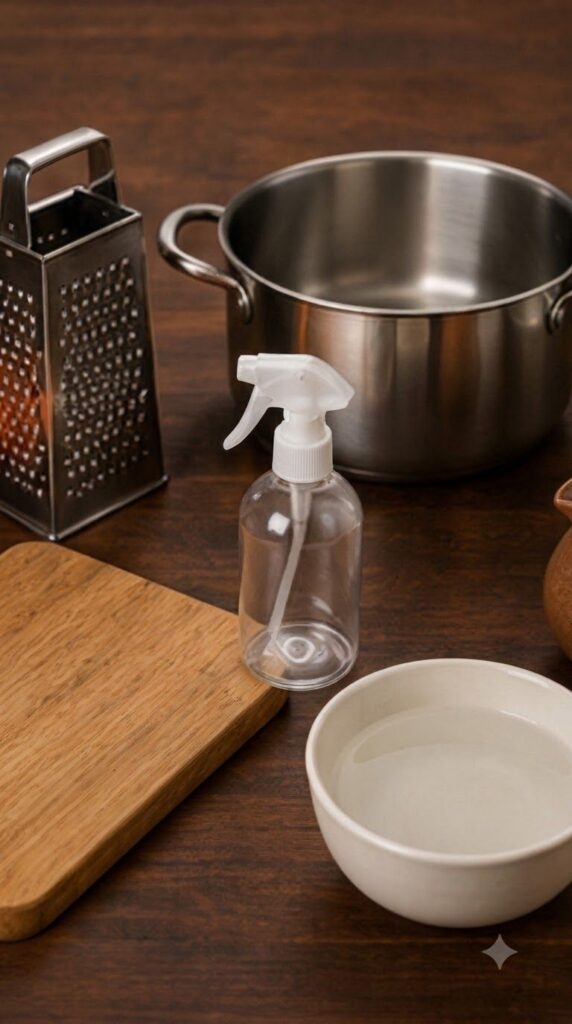
What You’ll Need:
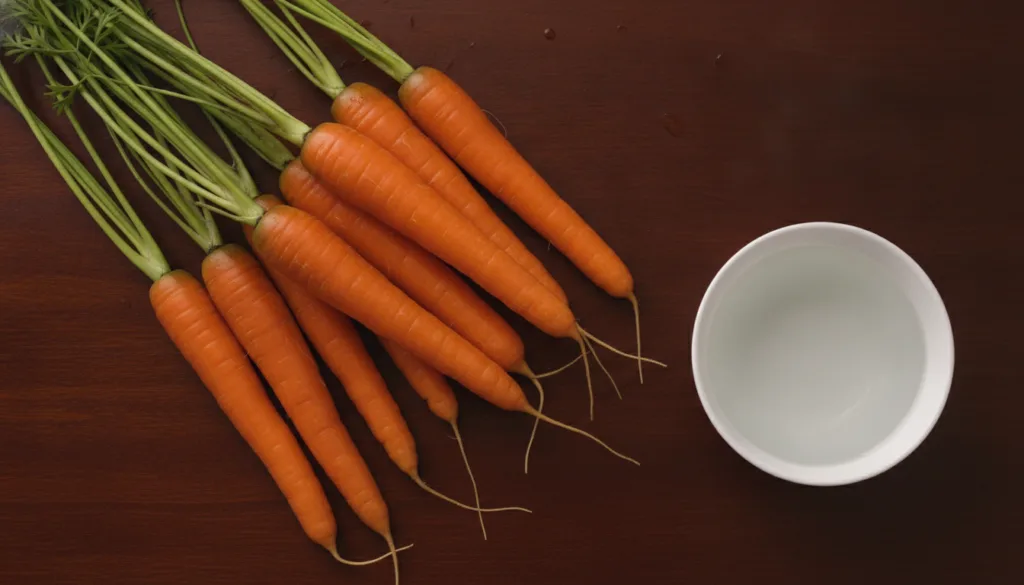
- 1 fresh, organic carrot
- 1 cup of pure water (distilled or filtered is best)
- Small cooking pot
- Fine mesh strainer
- Clean glass spray bottle (dark glass is preferable to protect nutrients from light)
- Grater
Step-by-Step Instructions:
- Prepare Your Carrot: Take one fresh, organic carrot. Wash it thoroughly under running water to remove any dirt or impurities.
- Grate the Carrot: Using a small grater, finely shred the entire carrot. Grating helps to release its natural beta-carotene and other beneficial nutrients more effectively.
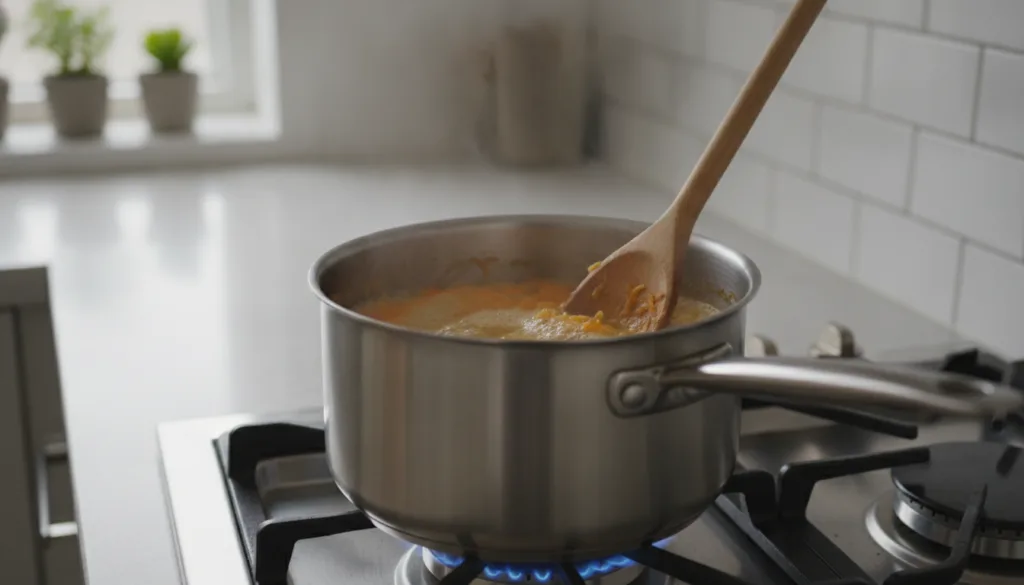
- Simmer on the Stove: Transfer the grated carrot shreds into a small steel cooking pot. Pour one cup of pure water over the carrots.
- Boil Gently: Place the pot on a stove and bring the mixture to a gentle boil. Once boiling, reduce the heat and let it simmer for about 5 minutes. This process helps to extract the essential nutrients from the carrot into the water.
- Cool Down: Remove the pot from the heat and let the mixture cool down completely. It’s crucial that it’s fully cooled before the next step.
- Strain the Toner: Once cool, carefully pour the carrot mixture through a fine wire mesh strainer into a clean bowl or directly into your glass spray bottle. Press the solids lightly with a spoon to extract all the liquid. Discard the leftover carrot pulp.
- Bottle and Store: Transfer the golden liquid into your clean glass spray bottle. Label it “Carrot Toner” so you don’t confuse it with other products.
How to Use Your Carrot Toner
Using your homemade carrot toner is simple and effective:
- Daily Application: After cleansing your face, close your eyes and spray the toner generously over your face and neck. You can do this every morning and night.
- Pat It In: Gently pat the toner into your skin with clean hands until it’s fully absorbed. Follow up with your favorite serum and moisturizer.
- Refreshing Boost: You can also use it as a refreshing mist throughout the day, especially on hot days or when your skin feels dull.
- Storage: Store your carrot toner in the refrigerator. This keeps it fresh and adds a wonderfully cooling sensation when applied. It typically lasts for up to 1-2 weeks. Always check for any changes in smell or appearance; if it looks or smells off, it’s time to make a new batch.

Why Choose DIY Toners?
Beyond the amazing benefits for your skin, making your own toners offers several advantages:
- Cost-Effective: Carrots are inexpensive, making this a very budget-friendly beauty solution compared to high-end toners.
- Natural Ingredients: You know exactly what’s going into your product – no mysterious chemicals, fragrances, or preservatives.
- Empowering: There’s a wonderful satisfaction in creating something beneficial for yourself with your own hands.
- Customizable: Once you get the hang of it, you can experiment with adding other skin-loving ingredients like a drop of essential oil (if you’re careful and dilute properly) or other botanical extracts.
Embrace Your Natural Beauty Journey
This DIY carrot toner is more than just a beauty hack; it’s an invitation to embrace a more natural, mindful approach to skincare. It’s about nourishing your skin with the goodness of nature and feeling confident in your own glowing complexion.
Have you ever tried making your own toners or other DIY beauty products? We’d love to hear your experiences and favorite natural beauty ingredients in the comments below! Share this secret with your friends and let’s all glow together!