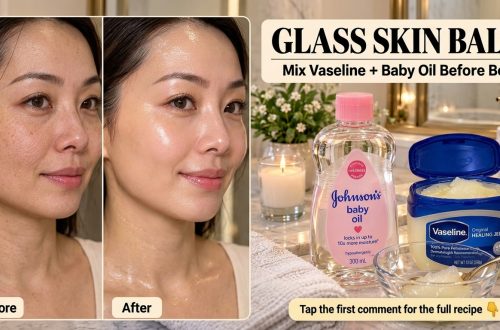
Create your own nourishing skin balm at home using common items like Vaseline, baby oil, and vitamin capsules. This simple DIY blend can help support a smoother, more radiant-looking complexion and enhance your skin’s natural glow.
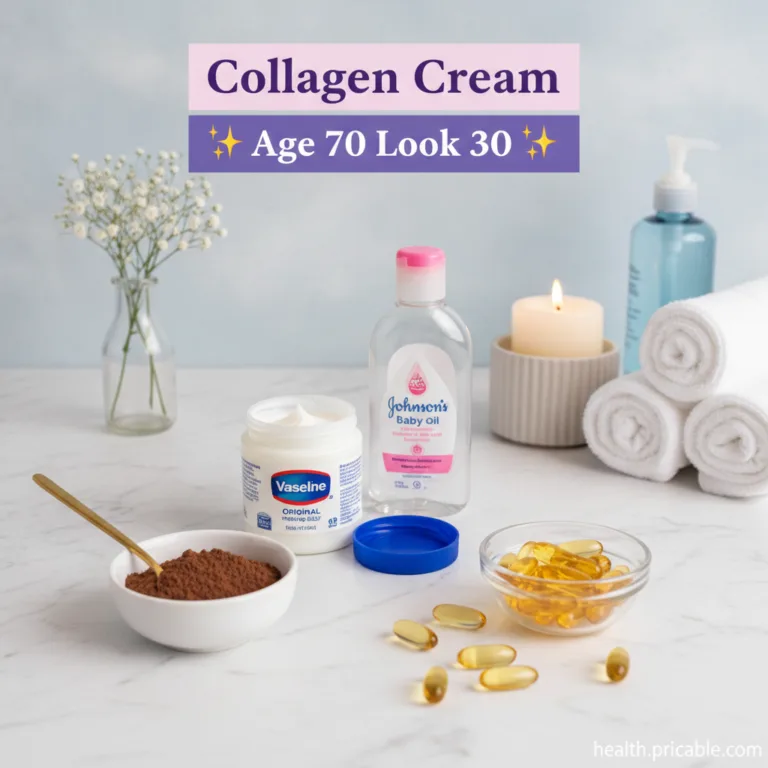
Quick Recipe
Prep time: 5 minutes
Best for: Supporting skin hydration, smoothness, and a radiant appearance
Use type: Balm/Cream
Main ingredients:
- Petroleum Jelly (Vaseline)
- Baby Oil
- Vitamin Capsules (e.g., Vitamin E)
Ingredients
- 2 tablespoons petroleum jelly (such as Vaseline)
- 1 teaspoon baby oil (fragrance-free if preferred)
- 2 nourishing vitamin capsules (e.g., Vitamin E, pricked open)
- A small, clean, airtight container
How to Make It
- Prepare the Base: In a small, microwave-safe bowl, place the petroleum jelly.
- Melt Gently: Microwave the petroleum jelly for 10-15 seconds, or until it has softened into a semi-liquid state. Be careful not to overheat it. Alternatively, you can use a double boiler method for gentle melting.
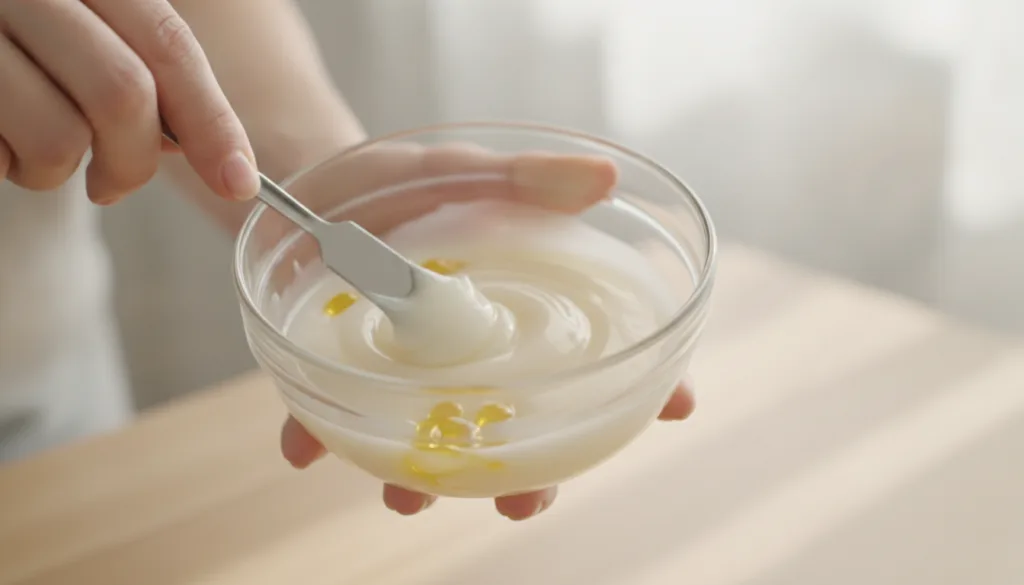
- Combine Ingredients: Once softened, add the baby oil to the bowl. Carefully snip off the end of each vitamin capsule and squeeze the contents into the mixture.
- Mix Thoroughly: Stir all ingredients together very well until they are fully combined and smooth.
- Transfer and Set: Pour the mixture into your clean, airtight container. Allow it to cool and solidify completely at room temperature or in the refrigerator for about 30 minutes.
How to Use It
- Cleanse Skin: Start with clean, dry skin.
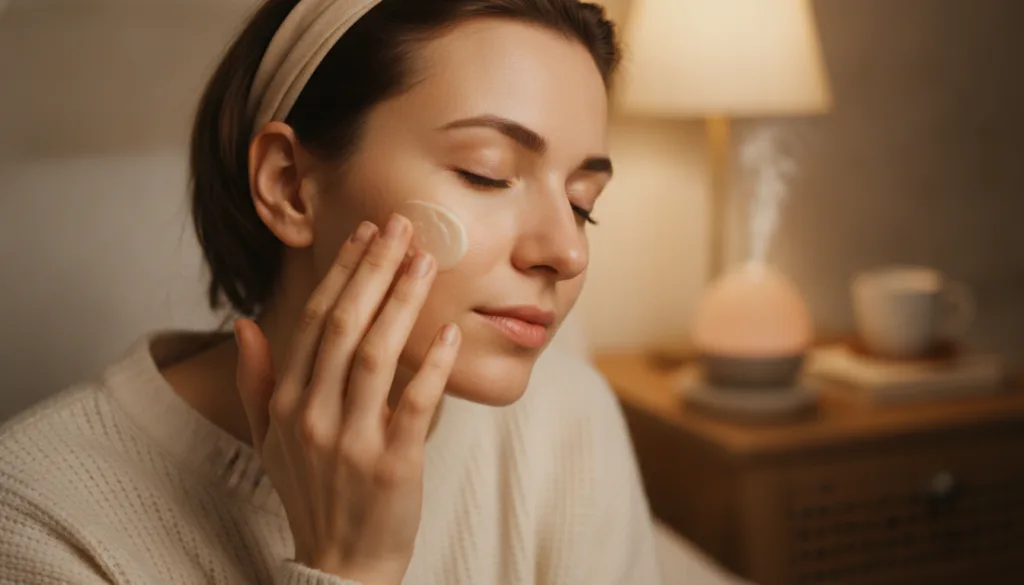
- Apply a Small Amount: Scoop out a very small amount of the balm with clean fingertips.
- Warm and Massage: Gently warm the balm between your fingertips and then delicately massage it onto your face, neck, or any other dry areas of your body. Use upward motions.
- Nighttime Use: This balm is quite rich, so it’s often best used as a nighttime treatment to allow it to deeply nourish your skin while you sleep.
How Often to Use It
Start by using this balm 2-3 times a week, especially in the evening. If your skin tolerates it well and you desire more hydration, you can adjust to daily use. Always observe how your skin responds.
Why These Ingredients Are Used
Petroleum Jelly (Vaseline)
Petroleum jelly is an occlusive ingredient, meaning it forms a protective barrier on the skin’s surface. This barrier helps to lock in moisture, prevent water loss, and create an optimal environment for skin healing and hydration. It can help skin feel incredibly soft and smooth.
Baby Oil
Often mineral oil-based, baby oil is a lightweight emollient that helps to soften and condition the skin. It can assist in distributing other ingredients evenly and contributes to a smooth, supple skin feel without feeling overly greasy when used in moderation.
Nourishing Vitamin Capsules
Many vitamin capsules, such as Vitamin E, are rich in antioxidants. When applied topically, they are traditionally believed to help protect the skin from environmental stressors and support overall skin health, contributing to a more vibrant and youthful-looking appearance.
What Results to Expect
With consistent use, this DIY skin balm may help your skin feel intensely hydrated and look noticeably smoother. The blend of occlusive and emollient ingredients can support a more radiant and supple complexion, helping to diminish the appearance of dry patches and fine lines, and contributing to a fresher, more youthful-looking glow.
Safety Notes
- Patch test first: Always apply a small amount of the balm to a discreet area of your skin (like behind the ear or inner forearm) and wait 24 hours to check for any irritation or allergic reaction before applying it to your face.
- Use gently: Apply the balm with clean hands and use gentle motions.
- Avoid irritated or broken skin: Do not use this balm on skin that is irritated, broken, or has active breakouts.
- Stop if discomfort occurs: If you experience any redness, itching, burning, or discomfort, discontinue use immediately.
- Pore clogging potential: Due to the heavy nature of petroleum jelly and oils, this balm might not be suitable for all skin types, especially those prone to acne or very oily skin, as it could potentially contribute to clogged pores.
- Storage: Store your homemade balm in a cool, dry place away from direct sunlight to maintain its consistency and freshness.
FAQ
Can I use other types of vitamin capsules?
While Vitamin E is commonly used for skin benefits, you could potentially experiment with other oil-soluble vitamins meant for topical use, such as Vitamin C serum from a capsule, though always perform a patch test first. Ensure the vitamin capsule content is suitable for direct skin application.
Is this balm suitable for oily skin?
This balm is quite rich and occlusive, which might be too heavy for very oily or acne-prone skin. It is generally better suited for dry to normal skin types that need intense hydration and barrier support. Those with oily skin might find it can exacerbate oiliness or contribute to breakouts.
How long can I store this homemade balm?
Since this balm contains no preservatives, it’s best to use it within 2-4 weeks. Always store it in a clean, airtight container in a cool, dry place. If you notice any change in smell, color, or texture, discard it.
Final Thoughts
Embrace the simplicity of this DIY skin balm to nurture your complexion. With just a few accessible ingredients, you can create a rich blend that helps your skin feel soft, look radiant, and support a visibly smoother appearance. Give it a try and share your experience with us!