Tired of looking at dull, grimy floors that just don’t seem to sparkle, no matter what you use? Many commercial floor cleaners can be expensive and contain harsh chemicals that you might prefer to avoid. The good news is, you can achieve visibly cleaner, fresher floors with a simple, effective, and budget-friendly DIY solution using ingredients you likely already have at home. This homemade cleaner is designed to tackle everyday dirt and leave your floors looking refreshed.
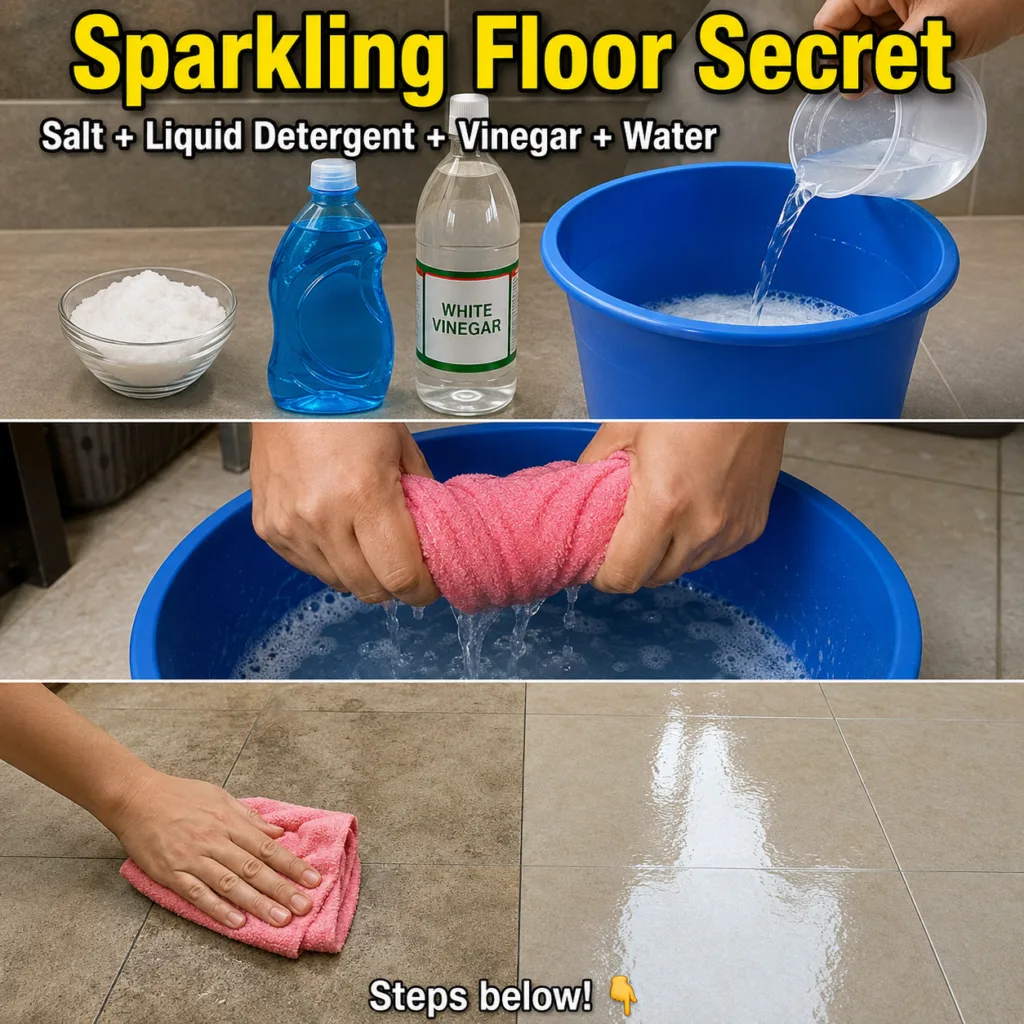 See how easy it is to mix up this effective floor cleaner.
What You’ll Need
Ingredients:
- 1 gallon warm water (enough to fill a standard bucket)
- 1 cup white vinegar
- 1/4 cup liquid dish soap (a good squirt)
- 1 tablespoon salt
Tools:
- A bucket
- Microfiber cloth or mop
Why This DIY Can Be Useful
This simple combination of household staples works together to lift dirt and leave your floors clean. White vinegar is a mild acid that helps to cut through grease and grime, making it an excellent natural deodorizer and cleaning agent. Liquid dish soap acts as a surfactant, breaking down dirt and allowing it to be easily wiped away. The salt, while a small amount, can assist in dissolving tough spots and potentially boosts the cleaning action of the other ingredients.
How to Make It
- Fill your bucket with approximately one gallon of warm water. Using warm water can help dissolve the ingredients more effectively and also aids in lifting dirt from surfaces.
- Carefully add the white vinegar, liquid dish soap, and salt to the warm water in the bucket.
- Stir the mixture gently until the salt has dissolved completely and all the ingredients are well combined into a uniform solution.
How to Use It
- Dip your microfiber cloth or mop into the prepared cleaning solution.
- Wring out the cloth or mop thoroughly until it is just damp, not dripping wet. This prevents oversaturating your floors and helps them dry faster.
- Wipe down your floors in sections, ensuring even coverage. For areas with more stubborn dirt, you might need to apply a little more pressure.
- Allow your floors to air dry completely. This method is generally designed to leave a clean, streak-free finish without requiring a separate rinse.
What to Expect
After using this DIY solution, you can expect your floors to be visibly cleaner, with a noticeable reduction in dirt and grime. The vinegar also contributes to a fresh, clean scent as it dries. While it may not remove deep-seated stains that require specialized treatments, it is very effective for routine cleaning and maintaining sparkling floors.
Helpful Tips
- For extra tough spots or dried-on grime, you can let the damp cloth sit on the area for a minute or two before wiping to allow the solution to penetrate and loosen the dirt.
- If you notice the cleaning water becoming excessively dirty, it’s a good idea to empty the bucket and prepare a fresh batch of solution to avoid spreading dirt around.
- For an extra shine on certain types of flooring, after the floor has air-dried, you can buff it with a clean, dry microfiber cloth.
Important Notes / Safety
- Always patch test: Before applying this solution to your entire floor, test it on a small, inconspicuous area first. This is crucial, especially for delicate or unfamiliar flooring materials, to ensure there are no adverse reactions or discoloration.
- Surface compatibility: While generally safe for many sealed floor types like ceramic tile, linoleum, and laminate, vinegar can potentially etch or damage unsealed natural stone (like marble or granite) and certain types of hardwood finishes over time. Use with caution or avoid on these surfaces.
- Ventilation: Ensure good ventilation in the room while cleaning, especially with vinegar, to allow odors to dissipate quickly.