Are you tired of stubborn kitchen grime and dull surfaces that just won’t shine? You’re not alone. Grease, food spills, and everyday buildup can make your kitchen look less than inviting. But what if we told you there’s a simple, homemade solution that can tackle tough grime and leave your kitchen sparkling, just like grandad used to make?
This DIY cleaning mixture uses common, affordable household ingredients to create a powerful yet effective cleaner. It’s an easy way to achieve a clean and bright kitchen without relying on harsh chemicals, making it a practical option for any home.
What You’ll Need
Ingredients
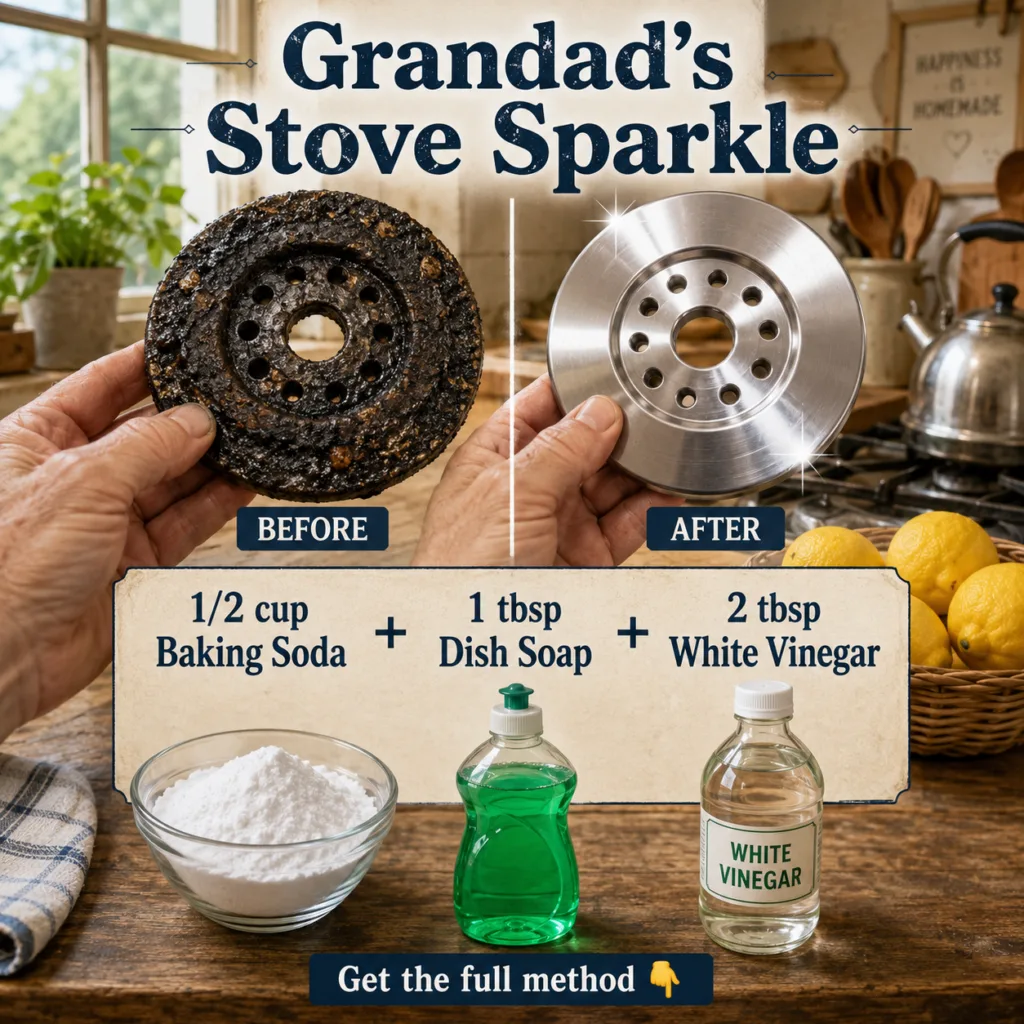
- 1 cup baking soda
- 1 cup white vinegar
- 1 tablespoon liquid dish soap
Tools
- Medium mixing bowl
- Measuring cup
- Sponge
- Scrubbing brush
Why This DIY Can Be Useful
The magic behind this cleaner lies in the combination of its simple ingredients:
- Baking Soda: This humble powder acts as a mild abrasive, helping to scrub away stuck-on grime without scratching surfaces. It also works as a natural deodorizer, neutralizing odors.
- White Vinegar: Known for its acetic acid content, vinegar is excellent at cutting through grease, dissolving mineral deposits, and providing a mild disinfecting action.
- Liquid Dish Soap: A powerful degreaser on its own, dish soap helps to break down oily residues and lift dirt, creating a sudsy lather that carries away grime.
When combined, these ingredients create a fizzy, hardworking mixture that lifts dirt, tackles grease, and leaves surfaces noticeably cleaner.
How to Make It
Creating your homemade kitchen cleaner is quick and easy:
- In your mixing bowl, combine the 1 cup of baking soda and 1 tablespoon of liquid dish soap.
- Slowly add the 1 cup of white vinegar to the mixture. Be prepared for a fizzing reaction! Stir gently as you add the vinegar to form a thick, spreadable paste. If it’s too thick, add a tiny bit more vinegar; if too thin, add a sprinkle more baking soda.
How to Use It
This cleaner is versatile and effective for various kitchen surfaces:
- Application: Apply a small amount of the paste directly onto dirty kitchen countertops, sinks, stovetops, tiled backsplashes, or appliance exteriors.
- Spread and Wait: Use your sponge or scrubbing brush to spread a thin, even layer over the problem areas. For tougher spots, allow the paste to sit for 5-10 minutes to let the ingredients work their magic.
- Scrub and Rinse: After the waiting time, gently scrub the surface with your sponge or brush. You’ll notice the grime lifting away. Finally, wipe the area clean with a damp cloth, rinsing the cloth frequently, until all residue is removed and the surface shines.
What to Expect
With this homemade cleaner, you can expect to see a noticeable reduction in grease, food buildup, and superficial stains. Your kitchen surfaces should look brighter, feel smoother, and have a fresh, clean smell. While it’s powerful against common grime, remember that deep-set stains or etched surfaces may require more specialized treatments.
Helpful Tips
- Adjust Consistency: If you prefer a thicker scrubbing paste, add a little extra baking soda. For a slightly thinner liquid cleaner, gradually add a bit more vinegar.
- Warm Water for Rinsing: Using warm water with your damp cloth for the final wipe-down can help dissolve any remaining grease and ensure a streak-free finish.
- Regular Cleaning: Using this mixture regularly can help prevent heavy buildup, making future cleaning tasks even easier.
Important Notes / Safety
- Ventilation: Always ensure good ventilation when cleaning, especially when working with vinegar, as its fumes can be strong.
- Patch Test: Before applying the cleaner to a large area, always test it on an inconspicuous spot of the surface to ensure no discoloration or damage occurs. This is especially important for natural stone surfaces like marble or granite, as vinegar’s acidity can be a concern.
- Avoid Mixing: Never mix vinegar-based solutions with bleach, as this can create dangerous chlorine gas.
- Storage: While best used fresh, any leftover paste can be stored in an airtight container for a few days, though it may lose some of its fizzing power.