Discover how to create your own homemade clove gel designed to support firmer-looking skin and help promote a radiant complexion. This simple DIY recipe is a great addition to your nightly beauty routine.
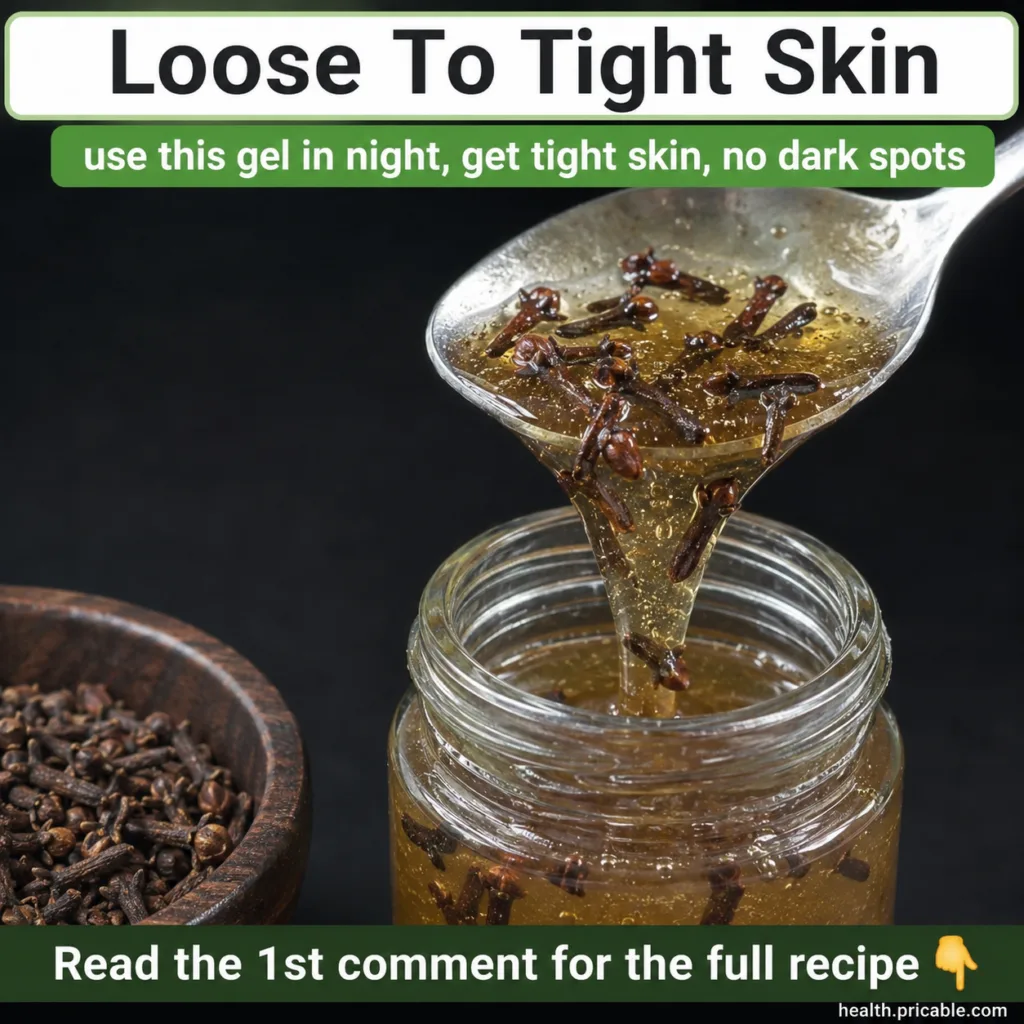
Quick Recipe
Prep time: 15 minutes (plus cooling time)
Best for: Addressing the appearance of loose skin, uneven tone, and dark spots
Use type: Topical gel
Main ingredients:
- Whole cloves
- Distilled water
- Pure aloe vera gel
Ingredients
- 2 tablespoons whole cloves
- 1 cup distilled water
- 1/2 cup pure aloe vera gel (ensure it’s 99-100% pure, unscented)
- Optional: 2-3 drops of a skin-friendly essential oil like lavender or frankincense (ensure it’s diluted and suitable for topical use)
How to Make It
- Prepare Clove Infusion: In a small saucepan, combine the whole cloves and distilled water. Bring to a gentle boil, then reduce heat and simmer for 10-15 minutes, or until the water turns a light amber color and smells fragrant. This creates a potent clove ‘tea’.
- Cool and Strain: Remove the saucepan from heat and let the clove infusion cool completely. Once cool, strain the liquid through a fine-mesh sieve or cheesecloth to remove all clove solids. You should be left with a clear, fragrant clove water. Discard the cloves.
- Mix the Gel: In a clean, airtight container (like a glass jar), combine the strained clove infusion with the pure aloe vera gel. If using essential oils, add them now.
- Whisk to Combine: Use a small whisk or spoon to thoroughly mix the ingredients until you have a smooth, consistent gel.
- Store: Secure the lid and store your homemade clove gel in the refrigerator. This helps preserve its freshness and provides a cooling sensation upon application.
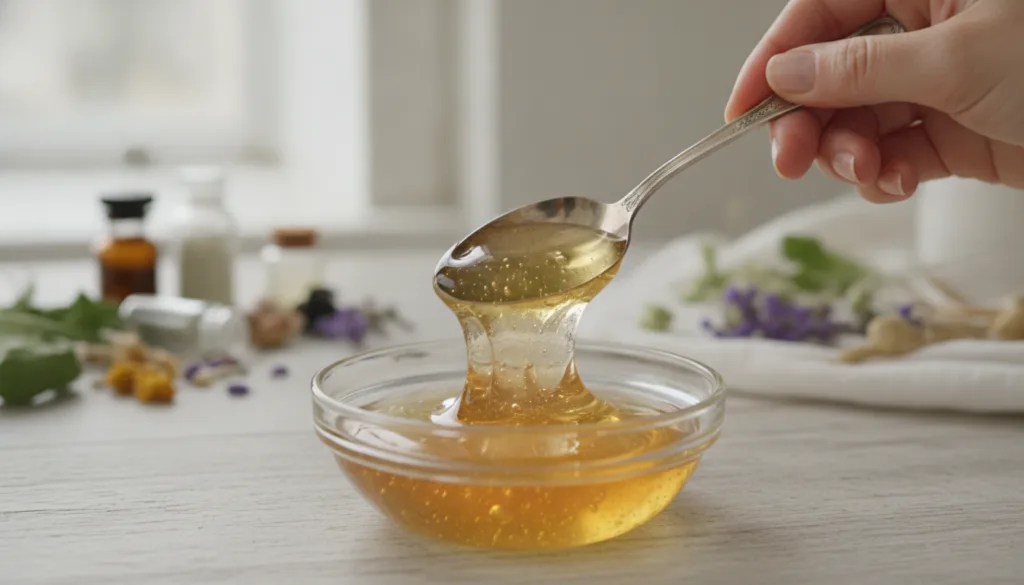
How to Use It
- Cleanse Your Skin: Before applying the gel, thoroughly cleanse your face and neck to remove any makeup, dirt, or impurities. Pat your skin dry.
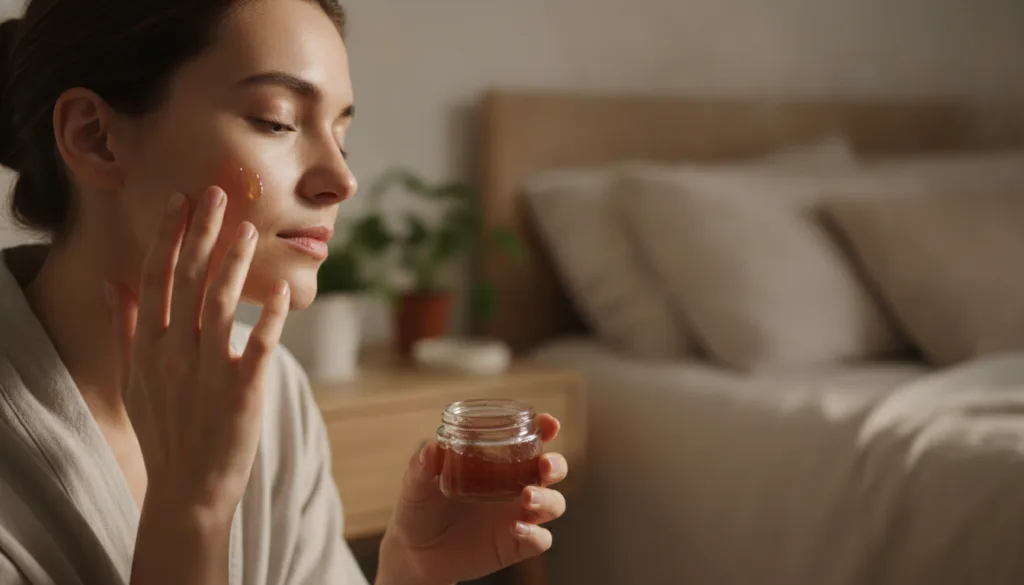
- Apply a Small Amount: Take a pea-sized amount of the chilled clove gel and gently massage it onto your face and neck using upward strokes. Focus on areas where you desire a firmer appearance or wish to address the look of dark spots.
- Overnight Treatment: Allow the gel to absorb into your skin. This recipe is designed to be an overnight treatment, so leave it on while you sleep.
- Rinse in the Morning: In the morning, rinse your face with lukewarm water and continue with your regular skincare routine.
How Often to Use It
For best results, you can use this clove gel nightly as part of your evening skincare routine. Consistency is key with natural remedies.
Why These Ingredients Are Used
Cloves
Cloves are traditionally revered for their rich antioxidant content. In home beauty routines, clove extract is often used for its potential to help purify the skin and support an even-looking complexion. It’s believed to contribute to a fresher, more vibrant skin appearance.
Aloe Vera Gel
Aloe vera gel is a popular base for many DIY beauty remedies due to its soothing and hydrating properties. It helps to deliver other ingredients to the skin while providing a refreshing and moisturizing feel. It can support skin’s natural elasticity and a smoother texture.
What Results to Expect
With consistent nightly use, this clove gel may help your skin appear firmer and more toned over time. It can also support a more even complexion and help to diminish the visible appearance of dark spots, contributing to a brighter, more radiant glow. Results can vary, and natural remedies often take time to show their full potential.
Safety Notes
- Patch test first: Always perform a patch test on a small, inconspicuous area of your skin (like behind the ear or on the inner forearm) at least 24 hours before applying the gel to your face.
- Use gently: Apply the gel with gentle, upward motions. Avoid harsh rubbing.
- Avoid irritated or broken skin: Do not apply the gel to skin that is irritated, broken, or has open wounds.
- Stop using if discomfort occurs: If you experience any redness, itching, burning, or irritation, discontinue use immediately and rinse your skin thoroughly.
- Allergy alert: If you have known allergies to cloves or aloe vera, do not use this recipe.
- Storage: Store the gel in the refrigerator to maintain its freshness and inhibit bacterial growth. Discard if you notice any changes in smell, color, or consistency.
FAQ
How long can I store this homemade clove gel?
When stored in an airtight container in the refrigerator, this homemade clove gel should last for about 1-2 weeks. Always check for any changes in smell or appearance before use.
Can I use clove essential oil instead of whole cloves?
Clove essential oil is very potent and should be used with extreme caution, always diluted properly. For this recipe, an infusion from whole cloves is recommended as it’s generally milder and less likely to cause irritation for sensitive facial skin.
Will this gel really make my skin firmer?
The ingredients in this gel are traditionally known for supporting skin health. While it may help improve the appearance of skin firmness and texture over time, individual results vary. Consistent use is key, and it’s a supportive part of a holistic skincare routine.
Final Thoughts
Embracing natural ingredients like cloves and aloe vera in your beauty regimen can be a rewarding experience. This DIY clove gel offers a simple, accessible way to support your skin’s natural glow and firmness. Give it a try and see how this homemade remedy can enhance your nightly routine. Share your experiences in the comments below!