Tired of relying on store-bought options for your favorite snacks? Discovering how to make homemade samosa sheets is a game-changer for anyone looking to enjoy a healthier, fresher, and more satisfying snacking experience. Crafting these perfectly thin, strong, and crisp sheets right in your own kitchen is simpler than you might think, and it elevates your homemade samosas to a whole new level.
This comprehensive guide will walk you through every step, from mixing the dough to cooking and separating your sheets, ensuring you achieve professional-quality results. Get ready to transform your snack time with this easy DIY recipe!
Why Choose Homemade Samosa Sheets?
Opting for homemade over store-bought offers several compelling benefits. When you make your own samosa sheets, you have complete control over the ingredients, avoiding unwanted preservatives, artificial additives, and excessive oils often found in commercial products. This makes for a noticeably fresher taste and a lighter, healthier snack that you can feel good about sharing with your family.
Beyond health benefits, there’s an undeniable satisfaction in creating something delicious from scratch. The texture and crispness of freshly made sheets are unparalleled, leading to samosas that are truly superior in flavor and crunch.
Essential Ingredients for Perfect Samosa Sheets
The beauty of homemade samosa sheets lies in their simplicity. You only need a few basic pantry staples to create these versatile wrappers.
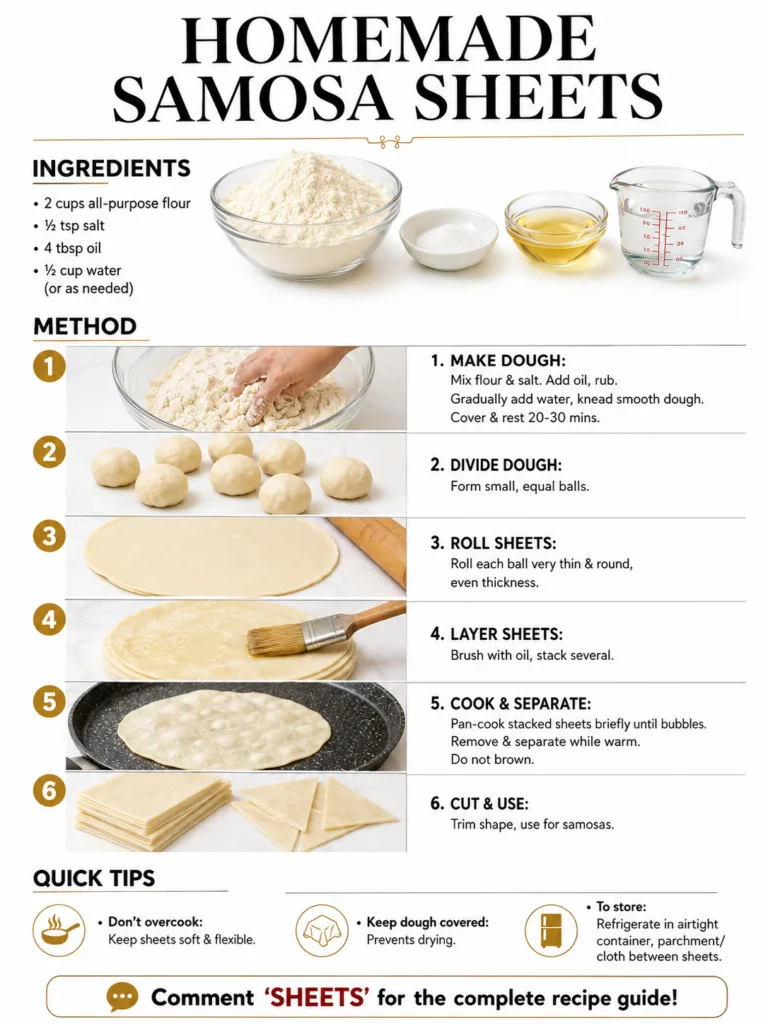
- All-Purpose Flour: 2 cups
- Salt: ½ teaspoon
- Oil: 4 tablespoons (any neutral cooking oil like vegetable, canola, or sunflower oil works well)
- Water: ½ cup (plus more as needed)
These quantities are perfect for making a batch of approximately 12-16 medium-sized samosa sheets.
Step-by-Step Guide to Crafting Your Own Samosa Sheets
Follow these detailed steps to create thin, strong, and flexible samosa sheets ready for your favorite fillings.
Prep Time: 25-30 minutes | Chill Time: 20-30 minutes | Cook Time: 10-15 minutes
1. Make the Dough
- In a large mixing bowl, combine the all-purpose flour and salt. Whisk them together briefly to ensure the salt is evenly distributed.
- Add the 4 tablespoons of oil to the flour mixture. Using your fingertips, rub the oil into the flour until the mixture resembles coarse breadcrumbs or is crumbly. This step is crucial for achieving a tender and flaky texture.
- Gradually add ½ cup of water, a little at a time, mixing it into the flour. Continue to knead the mixture by hand until it comes together to form a smooth, pliable dough. If the dough feels too dry, add water in very small increments (e.g., ½ teaspoon at a time) until it reaches the right consistency – not sticky, but firm and elastic.
- Once kneaded, cover the dough with a damp cloth or plastic wrap and let it rest at room temperature for 20-30 minutes. This resting period allows the gluten to relax, making the dough easier to roll and more elastic.
2. Divide the Dough
- After the dough has rested, gently knead it once more for a minute.
- Divide the dough into small, equal-sized balls. The exact number will depend on how large you want your sheets, but for standard samosas, aim for about 8-10 balls.
3. Roll the Sheets Very Thin
- Take one dough ball and flatten it slightly. On a lightly floured surface, use a rolling pin to roll out the dough as thinly and as round as possible. The key is to achieve an even thickness throughout the sheet; this ensures even cooking and crispness. Aim for a diameter of about 6-8 inches.
- Repeat with the remaining dough balls.
4. Layer the Sheets
- Once you have several thinly rolled sheets, lightly brush one side of each sheet with oil. This oil layer prevents them from sticking together during cooking and helps them separate easily afterward.
- Stack several oiled sheets on top of each other. Typically, stacking 3-4 sheets at a time works best.
5. Cook and Separate
- Heat a dry, non-stick pan or griddle over medium heat. Do not add any oil to the pan.
- Carefully place a stack of layered sheets onto the hot, dry pan. Cook for only a few seconds on each side, just until small bubbles begin to form on the surface. The sheets should remain pale and soft; they should not brown or become crispy at this stage.
- Remove the stack from the pan and immediately, while still warm, carefully separate the individual sheets. The light oiling will help them peel apart easily.
6. Cut and Use
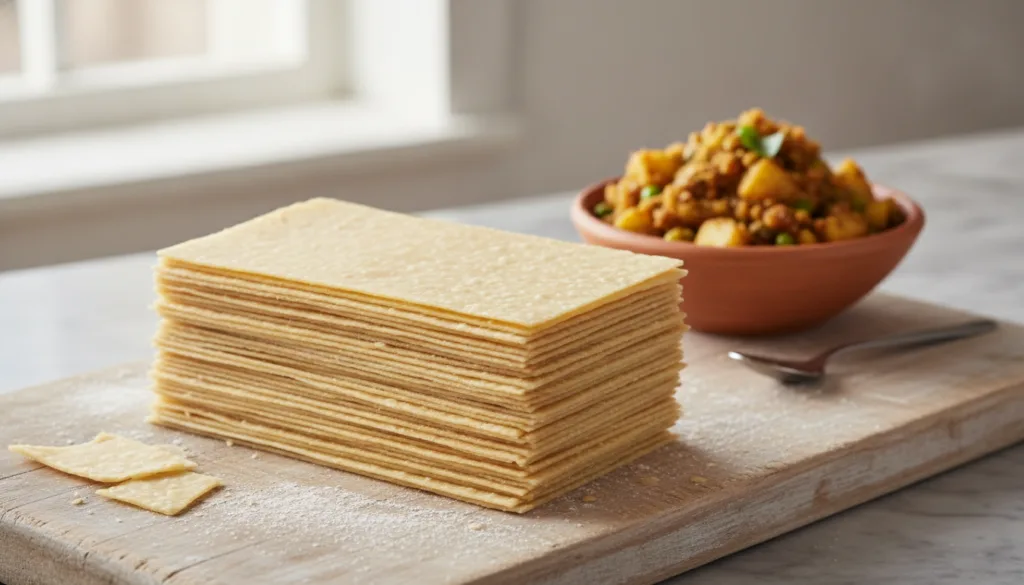
- Once separated, you’ll have perfectly cooked, flexible samosa sheets. Trim them into your desired shape for samosas, typically long rectangles or squares.
- Your homemade sheets are now ready to be filled and folded into delicious samosas!
Quick Tips for Samosa Sheet Success
-
Don’t Overcook: The most crucial tip is to avoid overcooking the stacked sheets. They should remain soft and flexible, not crispy or browned. Overcooking will make them brittle and difficult to separate and fold later.
-
Keep Dough Covered: Always keep any unused dough balls or rolled sheets covered with a damp cloth or plastic wrap to prevent them from drying out. Dried-out dough becomes difficult to roll and can crack.
-
For Easier Separation: If you find the sheets hard to separate, try rolling them a tiny bit thinner or ensuring you’ve brushed enough oil between layers. Separating them while still warm is also key.
Storing Your Homemade Samosa Sheets
Homemade samosa sheets are fantastic for meal prep. If you’re not using them immediately, proper storage will keep them fresh for days.
To store: refrigerate the separated sheets. Place a piece of parchment paper or a clean cloth between each sheet to prevent sticking. Stack them neatly in an airtight container or a resealable bag. They can be stored in the refrigerator for up to 3-4 days. For longer storage, you can freeze them for up to 2-3 months, similarly layered with parchment paper. Thaw them in the refrigerator before use.
Final Thoughts
Making your own homemade samosa sheets is a rewarding process that unlocks a world of fresher, healthier snacking possibilities. It’s a simple upgrade that transforms your culinary creations and gives you full control over what goes into your food. With this guide, you’re now equipped to create perfectly thin, strong, and crisp sheets every time. So go ahead, get rolling, and enjoy the delicious difference!