Are you looking for a simple, eco-friendly way to boost your garden’s health and reduce household waste? Look no further than your kitchen scraps! Composting is a magical process that turns everyday organic waste into nutrient-rich ‘black gold’ for your plants. It’s like nature’s very own recycle bin, and it’s easier than you think!
What is Composting, Anyway?
At its heart, composting is the natural process of recycling organic matter, like leaves and food scraps, into a valuable fertilizer that enriches soil and plants. Microorganisms, worms, and fungi do the hard work, breaking down materials into a dark, crumbly, earthy-smelling substance called compost. This compost is a powerful soil amendment, packed with essential nutrients that plants adore.
Why Should You Start Composting?
The benefits of composting extend far beyond just your garden:
- Supercharge Your Soil: Compost improves soil structure, aeration, and drainage, making it easier for plant roots to grow.
- Feed Your Plants Naturally: It provides a slow-release source of nutrients, reducing the need for chemical fertilizers.
- Retain Moisture: Compost helps soil hold onto water, meaning less frequent watering for your thirsty plants.
- Reduce Waste: Divert food scraps and yard waste from landfills, lessening your environmental footprint.
- Suppress Plant Diseases: Healthy, compost-rich soil can help plants resist pests and diseases more effectively.
- Save Money: Produce your own high-quality fertilizer for free!
Your Simple Guide to Transforming Kitchen Scraps into Garden Gold
Ready to turn your kitchen scraps into a valuable resource for your garden? Here’s a straightforward guide to get you started:
1. Choose Your Composting Method
There are many ways to compost, from simple piles to sophisticated tumblers. For beginners, a basic compost bin (store-bought or DIY) or even a simple pile in a secluded corner of your garden works wonderfully. You can even start small with a worm bin indoors!
2. Gather Your Ingredients: “Greens” and “Browns”
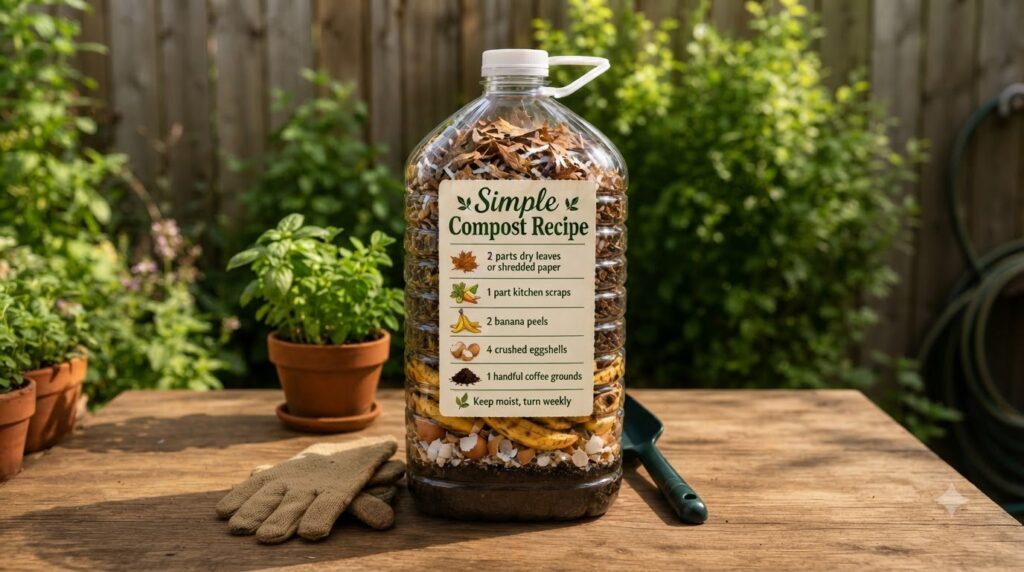
Composting thrives on a balanced diet of nitrogen-rich materials (greens) and carbon-rich materials (browns). A good rule of thumb is to aim for roughly an equal amount of greens and browns by volume, though browns usually make up more of the bulk.
“Green” Materials (Nitrogen-Rich):
- Fruit and vegetable scraps (banana peels, apple cores, leftover veggies)
- Coffee grounds and tea bags
- Fresh grass clippings (in moderation)
- Garden plant trimmings (non-diseased)
- Crushed eggshells
“Brown” Materials (Carbon-Rich):
- Dry leaves
- Shredded newspaper and cardboard (non-glossy, non-colored ink)
- Straw or hay
- Wood chips or sawdust (untreated wood only)
- Twigs and small branches
What NOT to Compost: Avoid meat, dairy, oily foods, pet waste, diseased plants, and chemically treated wood, as these can attract pests, create odors, or harm your compost.
3. Build Your Compost Pile: The Layering Technique
- Start with a Base: Lay down a few inches of coarse brown materials (like small twigs or straw) at the bottom of your bin. This helps with aeration and drainage.
- Layer It Up: Alternate layers of green and brown materials. A common recommendation is 2-3 parts brown to 1 part green.
- Add a Touch of Soil: Occasionally sprinkle a thin layer of garden soil or finished compost between your organic layers. This introduces beneficial microorganisms that kickstart the decomposition process.
- Moisten: After adding layers, lightly water the pile. It should feel like a wrung-out sponge – damp, but not soaking wet.
- Continue Adding: Keep adding new green and brown materials as you collect them.
4. Maintain Your Compost: Aerate and Moisten
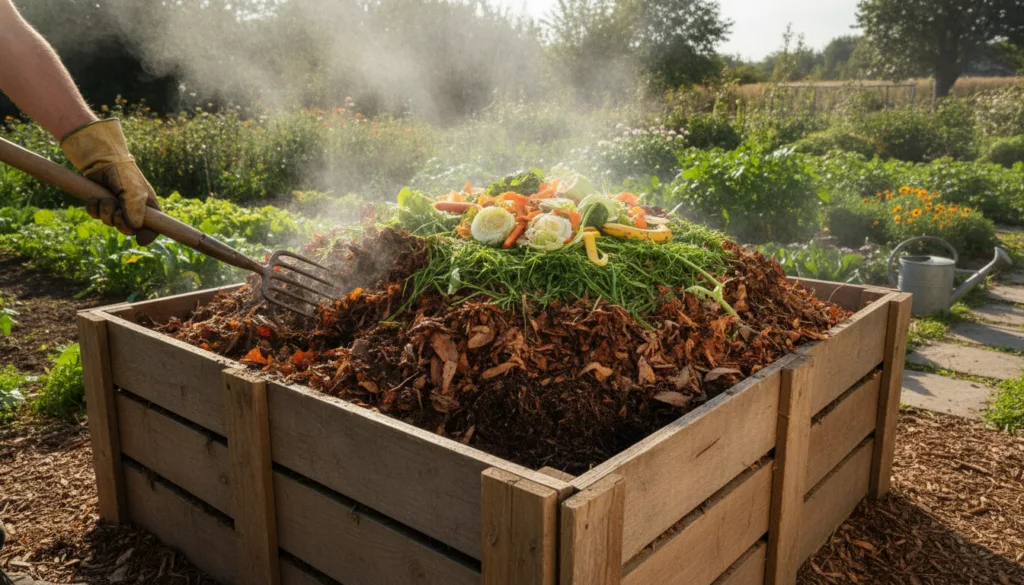
- Turn Regularly: Aim to turn your compost pile every week or two with a pitchfork. This introduces oxygen, which is vital for the microorganisms and speeds up decomposition.
- Keep It Moist: Check the moisture level regularly. If it’s too dry, decomposition will slow down. Add a little water if needed. If it’s too wet and smells foul, add more brown materials and turn it.
- Patience is Key: Composting takes time. Depending on the materials, temperature, and turning frequency, it can take anywhere from a few weeks to several months for your compost to be ready.
When is Your Compost Ready?
You’ll know your compost is ready when it looks like rich, dark-brown soil, smells earthy and pleasant, and has a crumbly texture. Most of the original materials should be unrecognizable.
Start Your Composting Journey Today!
Composting is a rewarding process that connects you more deeply with nature’s cycles. By turning your kitchen scraps into nutrient-rich compost, you’re not just enhancing your garden; you’re contributing to a more sustainable lifestyle. It’s an easy and impactful way to make a difference, one banana peel at a time! Happy composting, garden friends!