Unlock a smoother, brighter-looking complexion with this simple homemade rice and clove gel. This DIY remedy is a favorite for those seeking a radiant, natural glow that mimics the coveted ‘glass skin’ appearance, often reducing the need for heavy makeup.
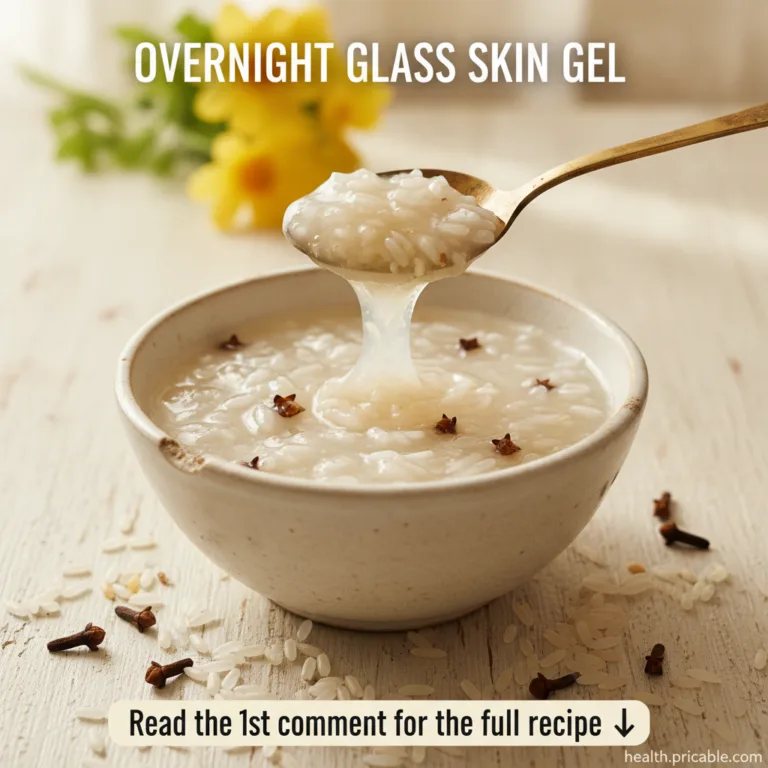
Quick Recipe
Prep time: 20 minutes (plus cooling/infusion time)
Best for: Dull skin, uneven tone, promoting a smoother-looking complexion
Use type: Face gel/Mask
Main ingredients:
- Rice
- Cloves
- Water
Ingredients
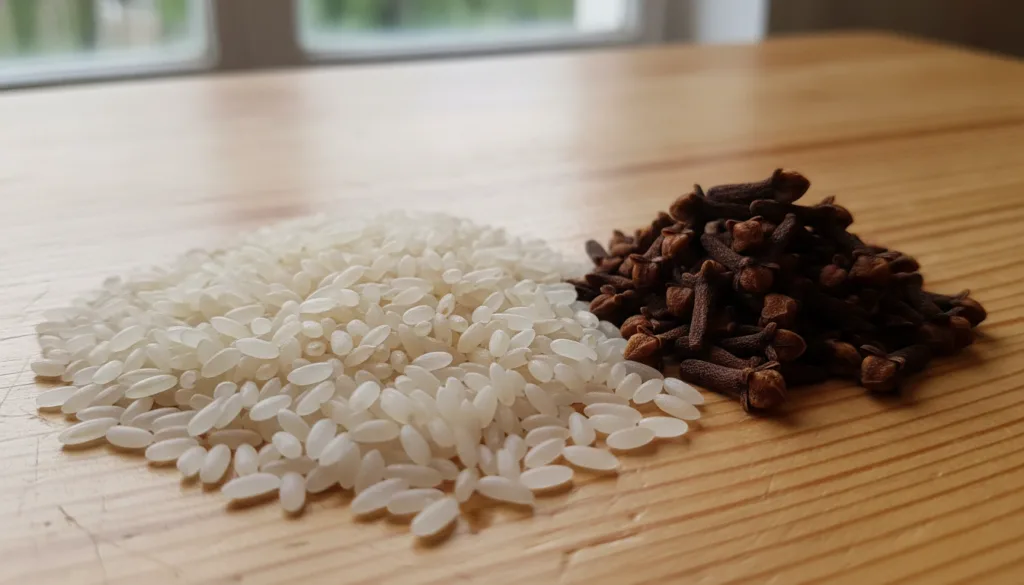
- 1/4 cup uncooked white rice (such as jasmine or basmati)
- 1 cup filtered water
- 5-7 whole cloves
How to Make It
- Rinse the Rice: Place the 1/4 cup of rice in a fine-mesh sieve and rinse it thoroughly under cold running water until the water runs clear. This removes excess starch and impurities.
- Soak and Infuse: Transfer the rinsed rice to a small saucepan. Add 1 cup of filtered water and the 5-7 whole cloves. Let it soak for at least 30 minutes, or even a few hours, to allow the rice to soften and the cloves to infuse.
- Boil Gently: Bring the rice, cloves, and water mixture to a gentle boil over medium heat. Once boiling, reduce the heat to low, cover the saucepan, and simmer for about 15-20 minutes, or until the rice is very soft and most of the water has been absorbed, forming a thick, starchy liquid.
- Cool and Strain: Remove the saucepan from the heat and let the mixture cool completely. Once cool, strain the mixture through a fine-mesh sieve or cheesecloth into a clean bowl. Press down on the rice and cloves to extract as much of the starchy liquid/gel as possible. Discard the solids.
- Store the Gel: You should be left with a milky, slightly gel-like liquid. Transfer this DIY rice and clove gel into a clean, airtight glass jar or container.

How to Use It
- Cleanse Your Skin: Start with a freshly cleansed face, ensuring all makeup and impurities are removed.
- Apply the Gel: Take a small amount of the rice and clove gel on your fingertips and gently apply it evenly across your face and neck. Avoid direct contact with your eyes.
- Leave On: Allow the gel to sit on your skin for 15-20 minutes. For an intensive treatment, some prefer to leave it on overnight.
- Rinse (Optional for Overnight Use): If you leave it on for 15-20 minutes, rinse your face thoroughly with lukewarm water. If you use it as an overnight treatment, cleanse your face as usual in the morning.
- Follow Up: Pat your skin dry and continue with your regular skincare routine, such as applying a moisturizer.
How Often to Use It
You can use this DIY rice and clove gel 2-3 times a week for best results. Consistent, gentle use is key to supporting a radiant complexion.
Why These Ingredients Are Used
Rice
Rice water, derived from soaking or boiling rice, is a time-honored beauty secret in many cultures, particularly in Asia. It’s rich in vitamins, minerals, and amino acids. It’s often praised for its potential to help skin look smoother, brighter, and more even in tone. It can also help to soothe and hydrate the skin, contributing to that coveted ‘glass skin’ appearance.
Cloves
Cloves are known for their potent aromatic and traditional properties. In beauty, cloves are sometimes used in diluted forms for their cleansing and invigorating qualities. When infused into a gel, they can help support a revitalized and clearer-looking complexion. Their subtle aroma also adds a pleasant sensory experience to your beauty routine.
What Results to Expect
With regular use of this rice and clove gel, you may notice your skin feeling softer and appearing more hydrated. It can help to support a brighter, more luminous complexion and contribute to a smoother, more even-toned appearance, reminiscent of the ‘glass skin’ look. Individual results may vary, but many users enjoy the natural glow this remedy provides.
Safety Notes
- Patch Test First: Always perform a patch test on a small, inconspicuous area of your skin (like behind your ear or on your inner arm) 24 hours before applying the gel to your face to check for any allergic reactions or sensitivities, especially due to cloves.
- Use Gently: Apply the gel with clean hands and a gentle touch.
- Avoid Irritated or Broken Skin: Do not apply the gel to skin that is irritated, broken, or has active breakouts.
- Stop Using If Discomfort Occurs: If you experience any redness, itching, burning, or discomfort, rinse the gel off immediately and discontinue use.
- Storage: Store the gel in the refrigerator for up to one week. If you notice any changes in smell, color, or consistency, discard it.
FAQ
Can I use brown rice instead of white rice?
Yes, you can use brown rice, but it might produce a slightly different gel consistency and color. White rice is traditionally used for its higher starch content, which contributes to the gel-like texture.
How long does the DIY rice and clove gel last?
When stored in an airtight container in the refrigerator, this homemade gel typically lasts for up to one week. Always check for any signs of spoilage before use.
Is this gel suitable for all skin types?
While natural ingredients are generally well-tolerated, individual skin reactions can vary. The patch test is crucial, especially if you have sensitive skin, as cloves can be potent.
Final Thoughts
Embracing a radiant, ‘no makeup needed’ glow can be simpler than you think with this natural DIY rice and clove gel. By incorporating this ancient beauty secret into your routine, you’re choosing a gentle, accessible way to support a luminous and smoother-looking complexion. Give it a try and share your glowing results with us!