Discover how to make a simple, natural gel using common ingredients that may help your skin appear smoother and more radiant. This easy-to-follow recipe combines the goodness of cloves, the moisturizing properties of baby oil, and the brightening touch of lemon to create a unique blend for your home beauty routine.
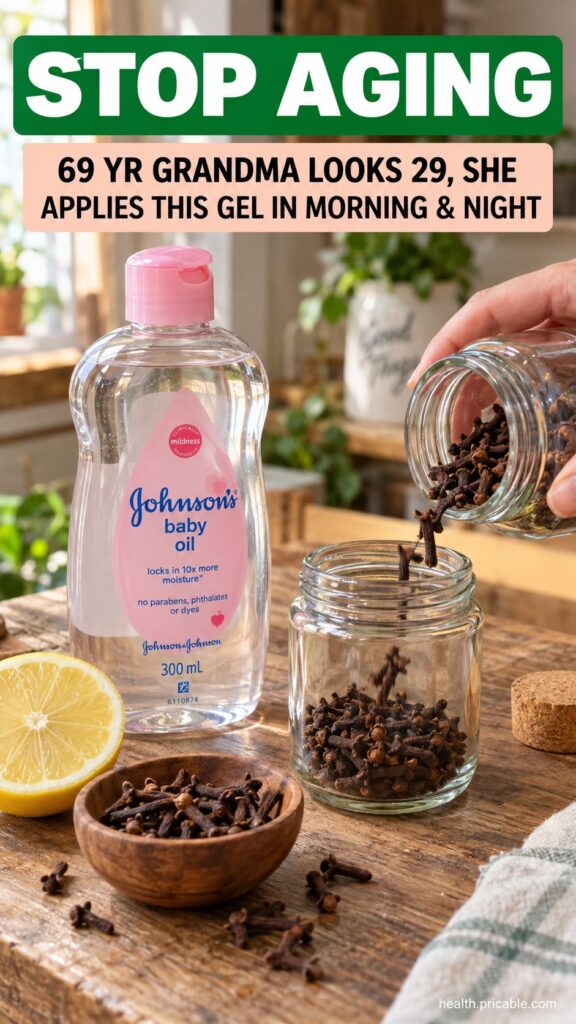
Quick Recipe
Prep time: 20 minutes
Best for: Dull skin, supporting elasticity, improving skin texture
Use type: Gel
Main ingredients:
- Cloves
- Baby oil
- Fresh lemon juice
- Cornstarch
Ingredients
- 1 tablespoon whole cloves
- 1 cup water
- 1 tablespoon baby oil (or sweet almond oil for a natural alternative)
- 1 teaspoon fresh lemon juice
- 1 teaspoon cornstarch
How to Make It
- Prepare Clove Infusion: In a small saucepan, combine 1 tablespoon of whole cloves with 1 cup of water. Bring to a boil, then reduce heat and simmer for 10-15 minutes until the water turns a light brown color and smells aromatic.
- Strain and Cool: Strain the clove water into a clean bowl, discarding the cloves. Allow the infusion to cool completely to room temperature.
- Mix Gel Base: In a separate small bowl, dissolve 1 teaspoon of cornstarch in 2 tablespoons of the cooled clove infusion, mixing until smooth and no lumps remain. This will be your thickening agent.
- Combine Ingredients: Add the remaining cooled clove infusion, 1 tablespoon of baby oil (or sweet almond oil), and 1 teaspoon of fresh lemon juice to the cornstarch mixture. Whisk well to ensure all ingredients are thoroughly combined.
- Thicken the Gel: Pour the mixture back into the saucepan. Heat over low heat, stirring constantly, until the mixture thickens into a gel-like consistency. This usually takes 2-5 minutes. Do not boil.
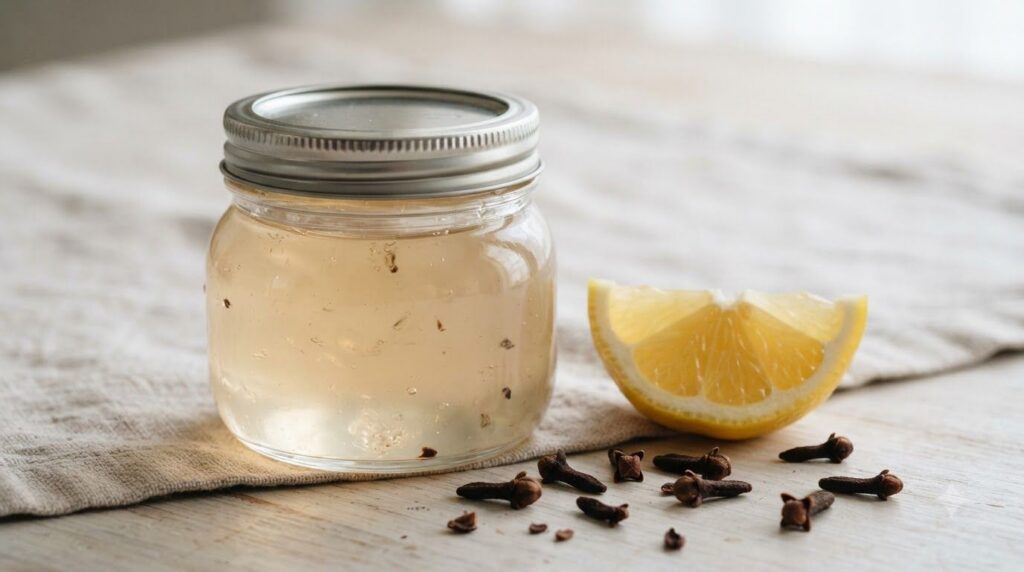
- Store: Remove from heat and let the gel cool completely. Once cool, transfer the gel to a clean, airtight container or jar. Store in the refrigerator.
How to Use It
- Cleanse Skin: Start with a clean, dry face.
- Apply Gel: Take a small amount of the gel and gently apply it to your face and neck, avoiding the eye area.
- Massage: Lightly massage the gel into your skin using upward circular motions until absorbed.
- Leave On: Allow the gel to remain on your skin. If you find it too sticky, you can rinse it off after 30 minutes, but for maximum benefits, leave it on overnight.
How Often to Use It
For best results, use this DIY gel 2-3 times a week, preferably in the evening due to the lemon juice content. Consistency is key for seeing potential improvements in your skin’s appearance.
Why These Ingredients Are Used
Cloves
Cloves are known for their antioxidant properties, which can help protect the skin from environmental stressors. In traditional beauty practices, cloves are often associated with supporting a clearer, more revitalized complexion.
Baby Oil
Baby oil is an excellent emollient, meaning it helps to lock moisture into the skin, keeping it feeling soft and supple. It can help improve the skin’s barrier function, contributing to a smoother, more hydrated appearance.
Fresh Lemon Juice
Lemon juice contains Vitamin C and alpha-hydroxy acids (AHAs), which may help gently exfoliate the skin and support a brighter, more even-looking skin tone. It’s often used in home remedies for its refreshing qualities, but requires careful usage due to its acidity and photosensitivity.
What Results to Expect
Regular use of this DIY anti-aging gel may help your skin feel softer, look smoother, and appear more hydrated. While individual results vary, the natural ingredients aim to support a more radiant and youthful-looking complexion over time, helping to diminish the appearance of dryness and dullness.
Safety Notes
- Patch Test First: Always perform a patch test on a small, inconspicuous area of your skin (like behind the ear or on your inner arm) 24 hours before full application to check for any allergic reactions or irritation.
- Photosensitivity: Lemon juice can increase skin’s sensitivity to the sun. It is highly recommended to use this gel in the evening and apply a broad-spectrum sunscreen daily, especially when using lemon-based remedies.
- Use Gently: Apply the gel with gentle hands. Avoid harsh rubbing, especially on delicate facial skin.
- Avoid Irritated or Broken Skin: Do not apply the gel to skin that is irritated, broken, sunburnt, or has open wounds.
- Stop Use if Discomfort Occurs: If you experience any redness, itching, burning, or discomfort, discontinue use immediately and rinse your skin thoroughly with cool water.
- Storage: Store the gel in the refrigerator to maintain freshness and prevent bacterial growth, as it contains fresh ingredients. Discard after one week.
FAQ
Can I substitute baby oil with another oil?
Yes, you can substitute baby oil with a natural carrier oil like sweet almond oil, jojoba oil, or grapeseed oil, depending on your skin type and preferences. These oils also offer moisturizing benefits.
How long does this DIY gel last?
Because it contains fresh ingredients and no strong preservatives, it’s best to store this gel in the refrigerator and use it within 5-7 days for optimal freshness and safety.
Will this gel make my skin lighter?
While lemon juice is sometimes used for its perceived brightening effects, its primary benefit in this context is mild exfoliation and promoting a more even-looking tone. Any lightening effect would be subtle and gradual, not a dramatic change.
Final Thoughts
Embrace the power of natural ingredients with this simple DIY anti-aging gel. By incorporating this homemade remedy into your routine, you can support a smoother, more radiant-looking complexion. Remember to always prioritize skin safety with patch testing and sun protection. Share your experiences in the comments below!