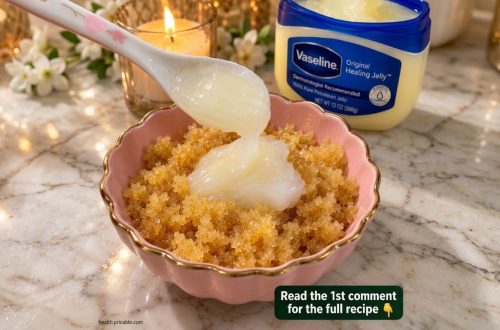
Hey, beauty besties! Are you tired of dull, dry skin that just won’t cooperate? What if I told you that one of your skin’s best-kept secrets might already be sitting in your medicine cabinet? Yes, we’re talking about humble Vaseline! It’s not just for chapped lips or minor scrapes; it’s a super versatile, affordable ingredient that can transform your skin when used creatively. Today, we’re going to dive into how you can whip up your very own DIY Vaseline Healing Balm for unbelievably soft, hydrated skin!
Why Vaseline is Your Skin’s Everyday Hero
Before we jump into the DIY magic, let’s chat about why Vaseline (100% pure petroleum jelly) is so amazing. It’s an occlusive, which means it forms a protective barrier on your skin. This barrier does two wonderful things:
- Seals in Moisture: It locks in your skin’s natural moisture, preventing water loss, which is key to keeping your skin plump and hydrated.
- Protects and Heals: It shields your skin from harsh environmental factors and supports the natural healing process, perfect for irritated or dry patches.
It’s non-comedogenic (won’t clog pores for most people) and hypoallergenic, making it a gentle option even for sensitive skin.
Your DIY Vaseline Healing Balm: The Secret Recipe!
Ready to upgrade your skincare game? This healing balm is super easy to make, uses simple ingredients, and will leave your skin feeling incredibly soft and nourished. Think of it as a supercharged moisturizer tailored by YOU!
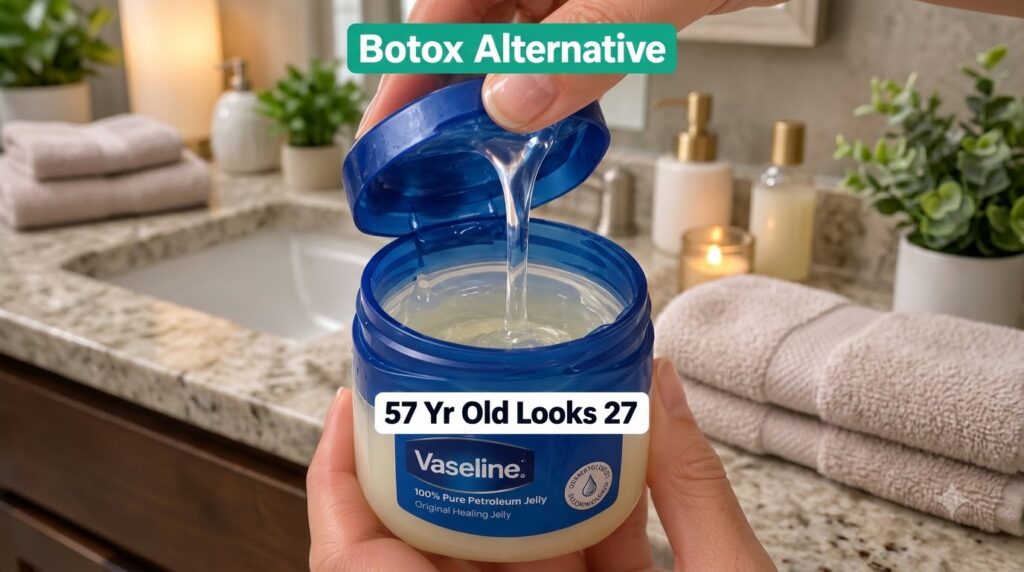
What You’ll Need:
- 2 tablespoons of Vaseline (100% Pure Petroleum Jelly): The star of our show!
- 1 teaspoon of Vitamin E Oil: A powerful antioxidant that helps with skin repair and moisture. You can get this from breaking open a Vitamin E capsule!
- ½ teaspoon of Aloe Vera Gel (optional): For extra soothing and hydration. Make sure it’s 100% pure aloe vera.
- 2-3 drops of Lavender Essential Oil (optional, for scent and calming properties): Always do a patch test if using essential oils, and skip if you have sensitive skin.
- A small, clean, airtight container (like a repurposed lip balm jar or a small tin).
- A small bowl and spoon for mixing.
Step-by-Step Instructions:
- Melt the Vaseline: Scoop the Vaseline into your small bowl. You can gently melt it in a microwave for 10-15 seconds (be careful not to overheat) or use a double boiler method until it’s soft and easy to mix.
- Add Your Goodies: Once the Vaseline is softened, add the Vitamin E oil, aloe vera gel (if using), and your essential oil drops (if using).
- Mix Well: Stir all the ingredients together thoroughly until you have a smooth, consistent balm.
- Transfer: Carefully spoon your freshly made healing balm into your clean, airtight container.
- Set and Store: Let the balm cool and solidify at room temperature or pop it into the fridge for about 30 minutes to speed up the process. Once solid, it’s ready to use!
How to Use Your DIY Healing Balm
This balm is a multi-tasker! Here are a few ways to incorporate it into your routine:
- Luscious Lips: Apply a small amount to chapped lips for instant relief and a protective barrier.
- Smooth Elbows and Knees: Rub into rough, dry patches on your elbows and knees for silky smooth skin.
- Happy Cuticles: Massage into your cuticles to soften them and promote healthy nail growth.
- Cracked Heel Saver: Apply generously to cracked heels before bed, then put on some socks for an intense overnight treatment.
- Under-Eye Hydrator: A tiny dab under your eyes can help lock in moisture, especially overnight.
- After-Sun Soother: If you’ve had a little too much sun, a thin layer can help soothe and protect the skin (once it’s cooled down).
Pro Tips for Best Results
- Patch Test: Always do a patch test on a small area of skin before applying new products, especially if you’re using essential oils.
- Clean Hands: Ensure your hands are clean when making and applying the balm to keep it hygienic.
- Consistency is Key: For best results, use your healing balm regularly, especially on areas prone to dryness.
- Store Properly: Keep your balm in a cool, dry place away from direct sunlight to maintain its consistency and shelf life.
Embrace Your Natural Glow!
See? Achieving soft, hydrated, and glowing skin doesn’t have to be complicated or expensive! With this simple DIY Vaseline Healing Balm, you’re giving your skin a little extra love and protection with ingredients you trust. It’s truly a self-care ritual that your skin will thank you for.
Give this recipe a try and let us know your favorite ways to use your homemade healing balm in the comments below! Share this secret with your friends who are looking for simple, effective beauty hacks!