Are you battling stubborn grease and grime that seems impossible to remove? From splattered stovetops to sticky oven interiors, built-up residue can make your kitchen feel less than sparkling. Before you reach for harsh chemicals, consider a powerful, yet simple, DIY solution that might already be in your cleaning cabinet.
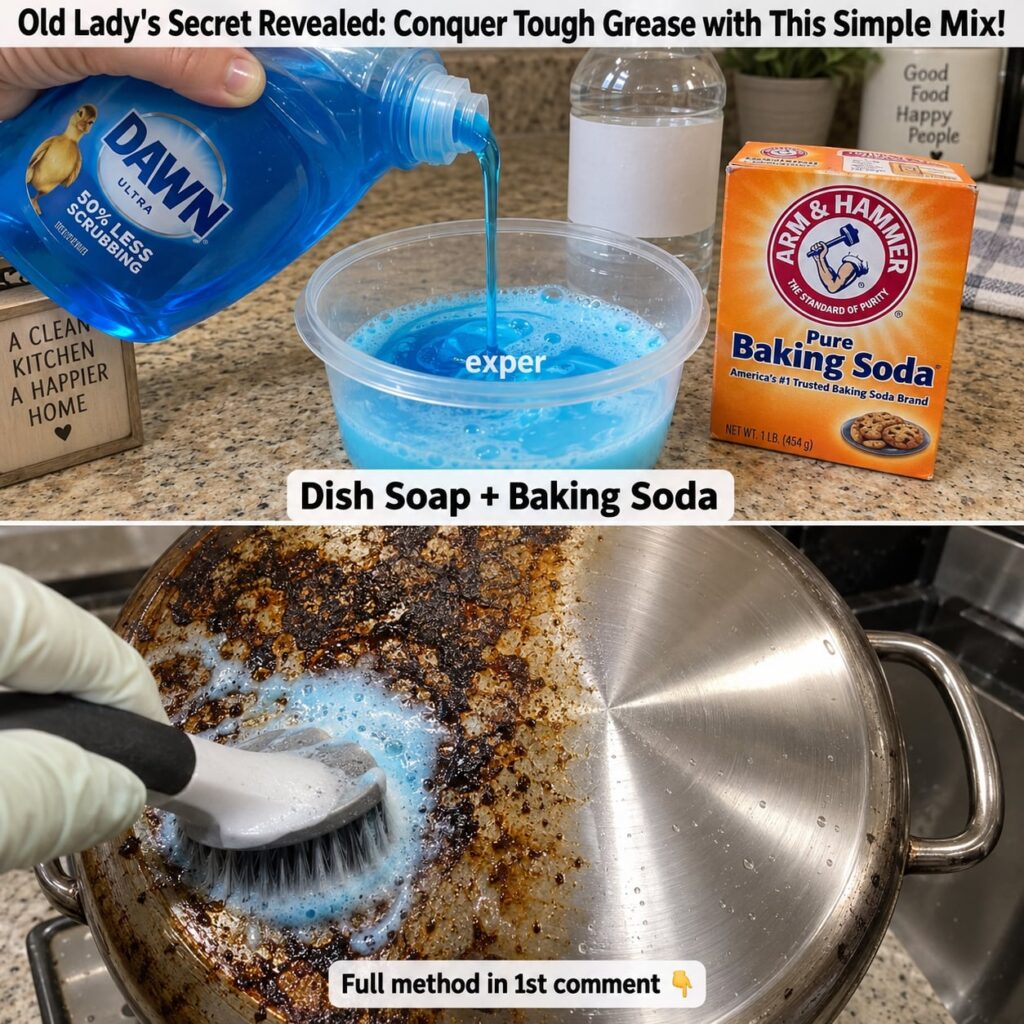
This homemade mix, combining liquid detergent and baking soda, creates a potent paste designed to cut through even the most entrenched grease and dirt. It’s an effective, practical way to restore shine to your surfaces without a major overhaul, making your cleaning routine a little easier and often more affordable.
What You’ll Need
Ingredients
- 1/2 cup baking soda
- 1/4 to 1/3 cup liquid dish soap or all-purpose liquid detergent (adjust as needed)
Tools
- Small mixing bowl
- Spoon or spatula for mixing
- Non-abrasive scrubbing brush, sponge, or old toothbrush
- Clean cloth or paper towels
- Gloves (optional, but recommended for hand protection)
Why This DIY Can Be Useful
This DIY cleaner leverages the strengths of two common household products:
- Baking Soda: Known for its mild abrasive qualities, baking soda helps to gently scrub away stuck-on grime without scratching surfaces. It’s also a natural deodorizer.
- Liquid Detergent: Designed to break down fats and oils, liquid detergent is a powerful degreaser. It helps lift and dissolve greasy residues, allowing them to be wiped away easily.
When combined, these two ingredients create a synergistic effect, forming a paste that clings to surfaces and actively works to loosen and melt away tough, greasy build-up.
How to Make It
- Pour the 1/2 cup of baking soda into your small mixing bowl.
- Gradually add the liquid dish soap or detergent, starting with 1/4 cup.
- Mix thoroughly with a spoon or spatula. The goal is to achieve a thick, spreadable paste consistency. If it’s too thick, add a tiny bit more detergent; if it’s too thin, add a sprinkle more baking soda.
How to Use It
This paste is ideal for kitchen areas prone to grease and burnt-on food, such as stovetops, oven interiors (excluding self-cleaning elements), sink basins, and even stainless steel appliances.
- Apply the Paste: Using a spoon, spatula, or even gloved fingers, generously apply the paste directly onto the greasy or grimy area. Ensure the entire affected surface is covered.
- Let It Work: For light grime, let the paste sit for 5-10 minutes. For more stubborn, built-up grease, allow it to sit for 15-30 minutes, or even longer for really tough spots. This gives the detergent time to break down the grease.
- Gently Scrub: After the waiting time, use a non-abrasive scrubbing brush, sponge, or an old toothbrush (for tight corners and crevices) to gently scrub the treated area. You should notice the grime beginning to loosen and lift away.
- Wipe Clean: Use a clean, damp cloth to wipe away the paste and the loosened grime. You may need to rinse and wring out your cloth multiple times.
- Finish: Once all residue is removed, wipe the surface with a clean, dry cloth to reveal a sparkling finish.
What to Expect
You can expect a significant reduction in stubborn grease and grime, leaving surfaces visibly cleaner and often with a renewed shine. While it may not make extremely old or damaged surfaces look brand new, it is highly effective at dissolving and removing layers of built-up residue that regular cleaning methods struggle with.
Helpful Tips
- Patch Test: Always test the paste on an inconspicuous area first, especially on new or delicate surfaces, to ensure no discoloration or damage occurs.
- Consistency is Key: Adjust the amount of liquid detergent to achieve a thick, spreadable paste that adheres to the surface without dripping.
- Warm Water Boost: For exceptionally tough spots, you can apply the paste to a slightly warmed surface (e.g., a stovetop that’s just cooled down) for potentially better results, but ensure it’s not hot.
- Targeted Scrubbing: Use an old toothbrush for grout lines, corners, and other hard-to-reach areas.
- Regular Use: Incorporating this mix into your regular cleaning routine can prevent excessive build-up, making future cleaning even easier.
Important Notes / Safety
- Ventilation: While the ingredients are common household items, ensuring good ventilation during cleaning is always a good practice.
- Gloves: Wearing gloves is recommended to protect your hands from potential irritation, especially with prolonged contact.
- Rinse Thoroughly: Ensure all paste residue is completely rinsed off surfaces to avoid any film or streaks.
- Surface Compatibility: This mixture is generally safe for most kitchen surfaces like stainless steel, ceramic, and laminate. However, avoid using it on very delicate, porous, waxed, or unsealed surfaces that could be sensitive to abrasives or strong detergents.
- Avoid Mixing with Acids: Do not mix this paste with acidic cleaners like vinegar or lemon juice, as baking soda is a base and can neutralize their effectiveness.