Hey beauty besties!
Who doesn’t dream of smooth, glowing skin that looks as youthful as you feel? We all do! But sometimes, the endless array of anti-aging products on the market can feel overwhelming, not to mention expensive. What if I told you that the secret to a youthful glow might be hiding right in your own home, using simple, natural ingredients?
At Beauty Tips Daily, we’re all about empowering you with easy, affordable, and effective beauty hacks. Today, we’re diving into the wonderful world of DIY skincare to whip up a homemade cream designed to help smooth those pesky fine lines and wrinkles. Get ready to unlock your skin’s natural radiance!
Why Go DIY for Anti-Aging?
Before we jump into the recipe, let’s chat about why making your own anti-aging cream is such a game-changer:
- Natural Goodness: You know exactly what’s going into your skin – no harsh chemicals, synthetic fragrances, or unnecessary fillers.
- Budget-Friendly: Premium anti-aging creams can cost a fortune. DIY saves you money while still delivering fantastic results.
- Personalized Care: You can tailor the ingredients to your skin’s specific needs and preferences.
- Empowering & Fun: There’s something incredibly satisfying about creating your own beauty products!
The Simple DIY Anti-Aging Cream: Your Recipe for Youthful Skin
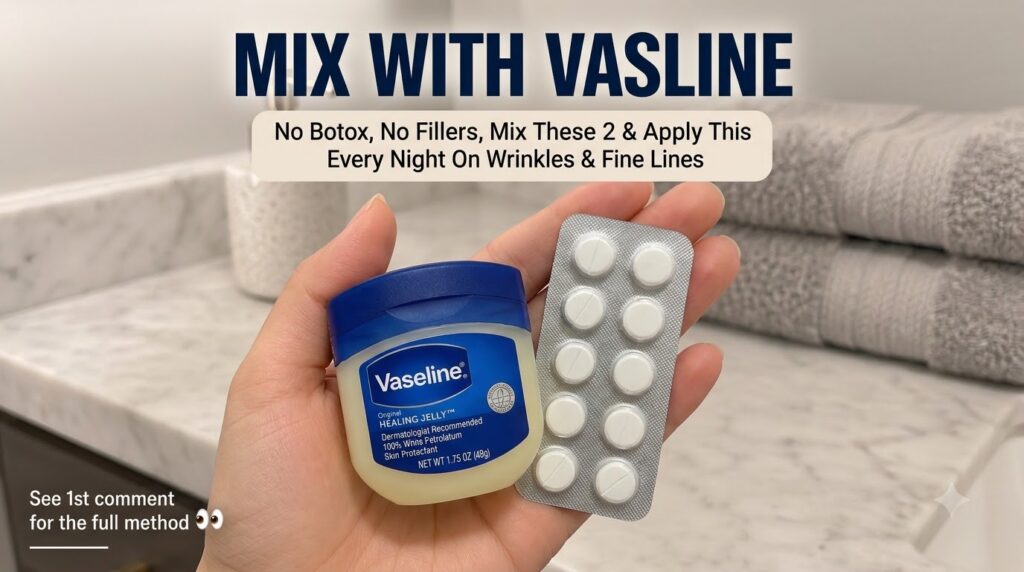
This homemade cream is designed to deeply moisturize, nourish, and provide antioxidant support to help reduce the appearance of fine lines and promote a smoother complexion. We’re keeping it super simple and effective!
What You’ll Need:
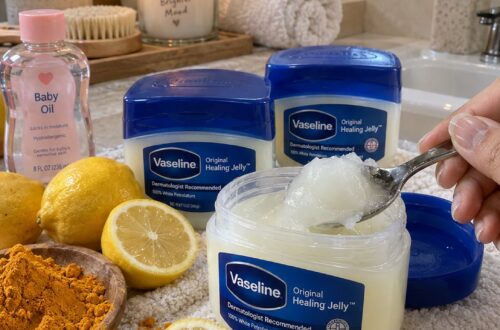
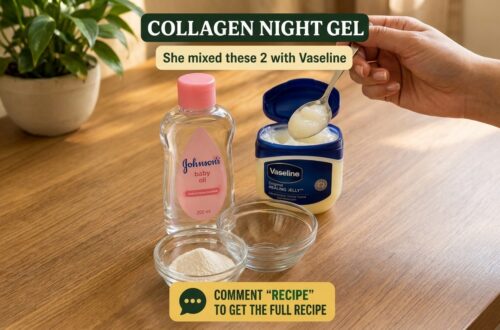
- 2 tablespoons of Petroleum Jelly (like Vaseline) – a fantastic occlusive that locks in moisture
- 1 teaspoon of a Carrier Oil (like Almond Oil, Jojoba Oil, or Coconut Oil) – deeply nourishing and great for skin elasticity
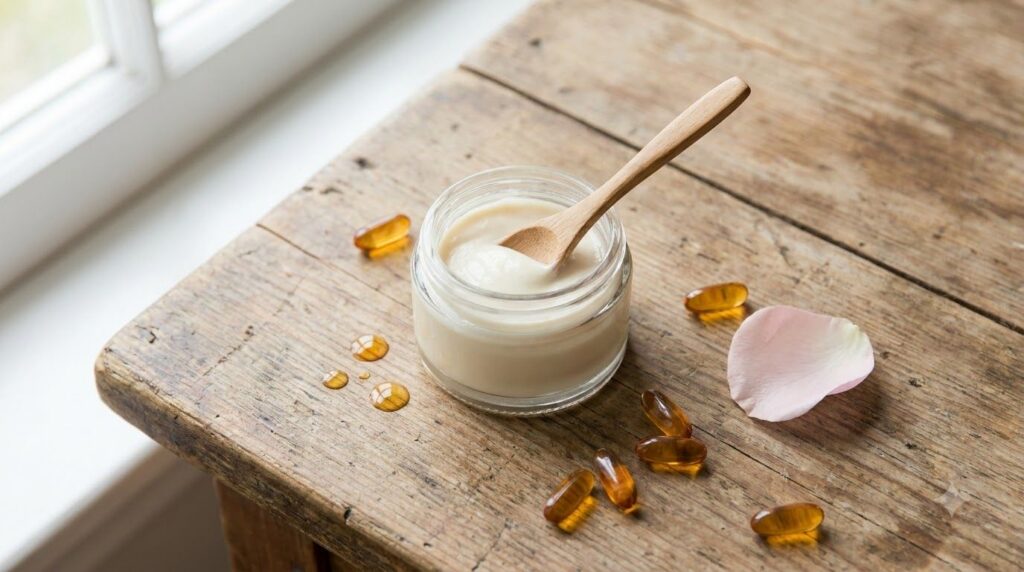
- 2-3 Vitamin E Capsules – a powerful antioxidant that protects skin cells
- Optional: 2-3 drops of essential oil (e.g., Lavender or Frankincense for skin regeneration, but always do a patch test first!)
- A small, clean, airtight container or jar
- A small pot for a double boiler (or a heat-safe bowl over a pot of simmering water)
Step-by-Step Instructions:
- Melt the Base: In your double boiler (or heat-safe bowl over simmering water), gently melt the petroleum jelly until it’s liquid. Make sure the water doesn’t boil aggressively or get into the jelly.
- Add Carrier Oil: Once the petroleum jelly is melted, stir in your chosen carrier oil. Mix well until fully combined.
- Infuse with Vitamin E: Carefully snip the end off 2-3 Vitamin E capsules and squeeze the oil directly into the mixture. Stir thoroughly.
- (Optional) Essential Oil: If you’re using essential oils, remove the mixture from the heat and let it cool slightly before adding the drops. Stir once more. This prevents the heat from degrading the delicate properties of the essential oil.
- Pour & Set: Carefully pour the warm mixture into your clean, airtight container.
- Cool & Store: Allow the cream to cool completely and solidify at room temperature. Once solid, secure the lid. Store it in a cool, dry place. It should last for several weeks to a month.
How to Use Your Youthful Skin Cream
Consistency is key for seeing results! Here’s how to incorporate your DIY cream into your routine:
- Cleanse: Start with a clean face. Gently wash away makeup and impurities with your favorite mild cleanser.
- Tone (Optional): If you use a toner, apply it now.
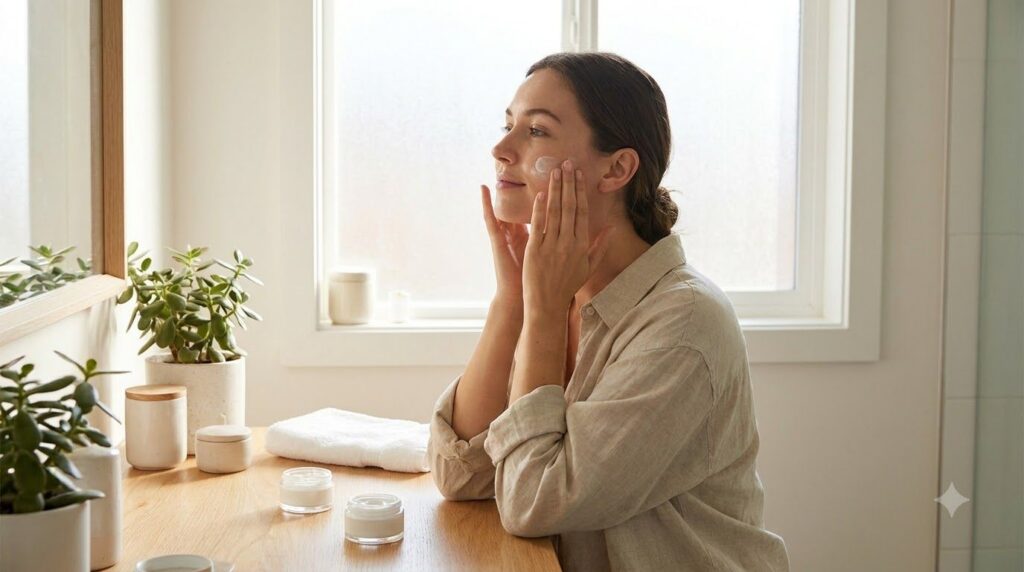
- Apply: Take a small pea-sized amount of your homemade anti-aging cream and gently dot it onto your face and neck.
- Massage: Using gentle upward strokes, massage the cream into your skin, paying special attention to areas with fine lines and wrinkles.
- Frequency: Use this cream nightly as part of your evening skincare routine. For very dry skin, you might use a tiny bit in the morning too.
Important Tips for DIY Skincare Success:
- Patch Test: Always, always, *always* do a patch test on a small, inconspicuous area of your skin (like behind your ear or on your inner arm) 24 hours before applying any new DIY product to your entire face. This helps check for any allergic reactions.
- Cleanliness: Ensure all your tools and containers are sparkling clean to prevent contamination.
- Listen to Your Skin: If you experience any irritation, stop use immediately. Every skin type is unique!
Beyond the Cream: Holistic Habits for Ageless Beauty
While your DIY cream works its magic, remember that true youthful radiance comes from a holistic approach:
- Stay Hydrated: Drink plenty of water throughout the day to keep your skin plump and hydrated from within.
- Sun Protection: Always wear a broad-spectrum SPF, even on cloudy days. Sun damage is a primary cause of premature aging.
- Balanced Diet: Load up on antioxidant-rich fruits, vegetables, and healthy fats.
- Quality Sleep: Your skin repairs itself while you sleep, so aim for 7-9 hours of restful slumber.
- Stress Less: Chronic stress can take a toll on your skin. Practice self-care and relaxation techniques.
Embrace Your Natural Radiance!
Achieving youthful, glowing skin doesn’t have to be complicated or expensive. With a little creativity and a few simple ingredients, you can whip up your own powerful anti-aging solutions right at home. This DIY cream is a beautiful step towards embracing natural beauty and taking control of your skincare journey.
Try out this recipe and tell us what you think! Have you tried any other homemade anti-aging remedies? Share your beauty secrets with our community in the comments below!
Stay glowing, beauty besties!