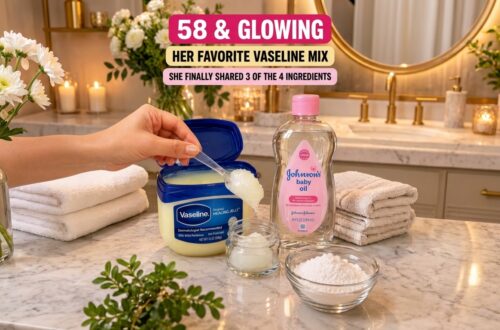
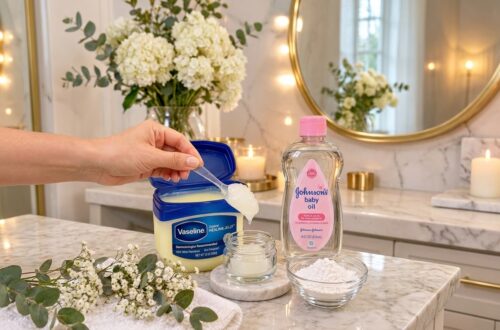
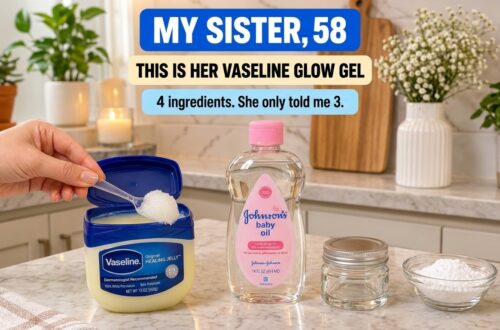
Who doesn’t dream of skin that looks smooth, radiant, and full of life? We often associate that ‘ageless glow’ with expensive serums and complicated routines. But what if we told you that achieving a beautifully radiant complexion could be as simple as combining three humble ingredients you might already have at home? That’s right! Today, we’re diving into a popular DIY beauty secret that people are trying for a deeply hydrating and illuminating balm, aiming for that sought-after youthful look.
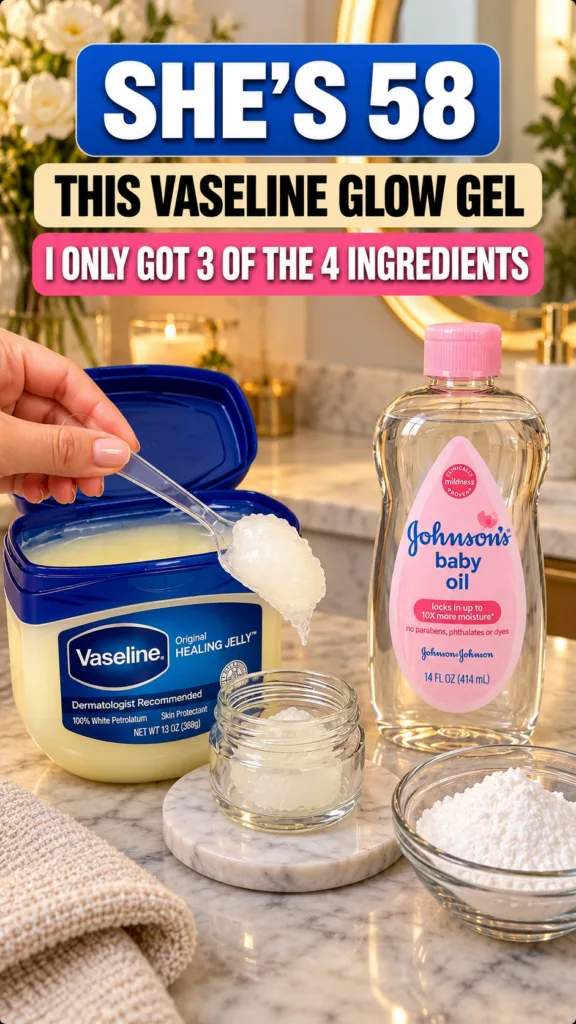
The 3-Ingredient Glow Secret
This ‘glow gel’ has gained traction as a simple way to achieve skin that feels incredibly soft and looks wonderfully radiant. The core of this beauty hack lies in three easily accessible ingredients:
- Petroleum Jelly (like Vaseline): A renowned occlusive, meaning it creates a protective barrier on your skin to help lock in moisture. It’s fantastic for intense hydration.
- Baby Oil: Often a blend of mineral oil and fragrance, baby oil is a lightweight moisturizer that can help soften the skin and give it a silky feel. It also helps in achieving a smoother consistency for our balm.
- Fine Mineral Powder: This isn’t just any powder! A finely milled mineral powder (like translucent setting powder or a subtle shimmer powder) can help give your DIY balm a more refined texture and add a gentle, natural luminosity without feeling heavy.
Why People Love This DIY Glow Gel
The appeal of this simple recipe goes beyond just its ease of preparation. Here’s why it’s become a popular choice for those seeking a radiant boost:
Deep Hydration and Moisture Lock
Petroleum jelly is a champion at preventing moisture loss. When combined with baby oil, it can help deliver and seal in hydration, leading to skin that feels supple and comfortable, especially beneficial for drier complexions or during colder months.
For a Smoother-Looking Skin Texture
Consistent hydration is key to maintaining healthy-looking skin. By providing a rich moisturizing treatment, this glow gel can help reduce the appearance of dryness and flaky patches, contributing to a smoother, more even-toned appearance.
Gentle and Accessible
Many commercially available ‘glow’ products can be pricey or contain ingredients some people prefer to avoid. This DIY alternative uses widely available ingredients, making it an accessible option for almost everyone interested in natural beauty solutions. Remember, always check the ingredient list of your baby oil to ensure it suits your skin’s needs.
Affordability
One of the biggest advantages is the cost-effectiveness. The main ingredients are typically very affordable, allowing you to create a luxurious-feeling product without breaking the bank.
Crafting Your Own 3-Ingredient Glow Gel: A Simple Recipe
Ready to try making your own? Here’s how to create your hydrating and illuminating balm. Always ensure your hands and equipment are clean to maintain hygiene.
What You’ll Need:
- 2 tablespoons of Petroleum Jelly (like Vaseline)
- 1 teaspoon of Baby Oil
- ½ teaspoon of Fine Mineral Powder (translucent setting powder or a very subtle shimmer powder)
- A small, clean, airtight container (e.g., a small glass jar)
- A small spoon or spatula for mixing
Step-by-Step Instructions:
- Melt the Petroleum Jelly: Scoop the petroleum jelly into a small, heat-safe bowl. You can gently melt it using a double boiler method (placing the bowl over a pot of simmering water) or in a microwave for very short bursts (5-10 seconds at a time) until it’s just liquid. Be careful not to overheat it.
- Combine with Baby Oil: Once the petroleum jelly is melted and smooth, add the baby oil to the bowl. Stir gently until both ingredients are thoroughly combined.
- Incorporate the Mineral Powder: Gradually add the fine mineral powder to the mixture, stirring continuously. This step is crucial for achieving an even texture and avoiding clumps. Keep stirring until the powder is fully integrated and the mixture looks smooth and consistent.
- Pour into Container: Carefully pour the warm mixture into your clean, airtight container.
- Cool and Set: Allow the gel to cool completely and solidify at room temperature. For a quicker set, you can place it in the refrigerator for about 30-60 minutes.
How to Incorporate Your DIY Glow Gel into Your Routine
Once your glow gel is ready, it’s time to enjoy its benefits!
- For a Radiant Finish: Dab a tiny amount onto the high points of your face, like your cheekbones, brow bone, and the bridge of your nose, for a subtle, natural-looking glow. It can be applied over or under makeup.
- Intense Hydration: For an overnight treatment, apply a thin layer to any dry patches on your face or body, such as elbows or knees. Wake up to skin that feels wonderfully soft.
- Lip Balm: This mixture also makes for an incredibly hydrating lip balm, giving your lips a soft, plump look.
Important Considerations Before You Try:
Patch Test First
As with any new product, especially DIY creations, it’s always wise to perform a patch test on a small, inconspicuous area of your skin (like behind your ear or on your inner arm) 24 hours before applying it more broadly. This helps ensure you don’t have any sensitivities to the ingredients.
Storage and Shelf Life
Store your DIY glow gel in a cool, dry place away from direct sunlight. Since this recipe contains no preservatives, it’s best to use it within 2-3 months to ensure freshness and prevent bacterial growth. Always use clean hands or a clean spatula to scoop out the product.
Manage Expectations
While this balm can offer fantastic hydration and a beautiful glow, it’s important to remember that DIY solutions are for enhancing your skin’s natural beauty and providing a luxurious feel. It aims to help achieve smoother-looking, radiant skin, not to offer permanent fixes for aging concerns.
Embrace Your Natural Radiance!
Discovering simple, effective ways to care for your skin can be incredibly empowering. This 3-ingredient glow secret is a testament to how accessible and rewarding DIY beauty can be. It’s a wonderful way to give your skin a boost of hydration and a touch of luminosity, helping you feel confident in your natural radiance.
Have you tried a similar DIY glow recipe? Share your tips and experiences in the comments below!