If you’re noticing more fine lines and wrinkles, this simple DIY natural cream can help support a smoother, more refreshed complexion.
Quick Recipe
Prep time: 15 minutes
Best for: Addressing the appearance of fine lines and wrinkles, promoting skin hydration
Use type: Cream
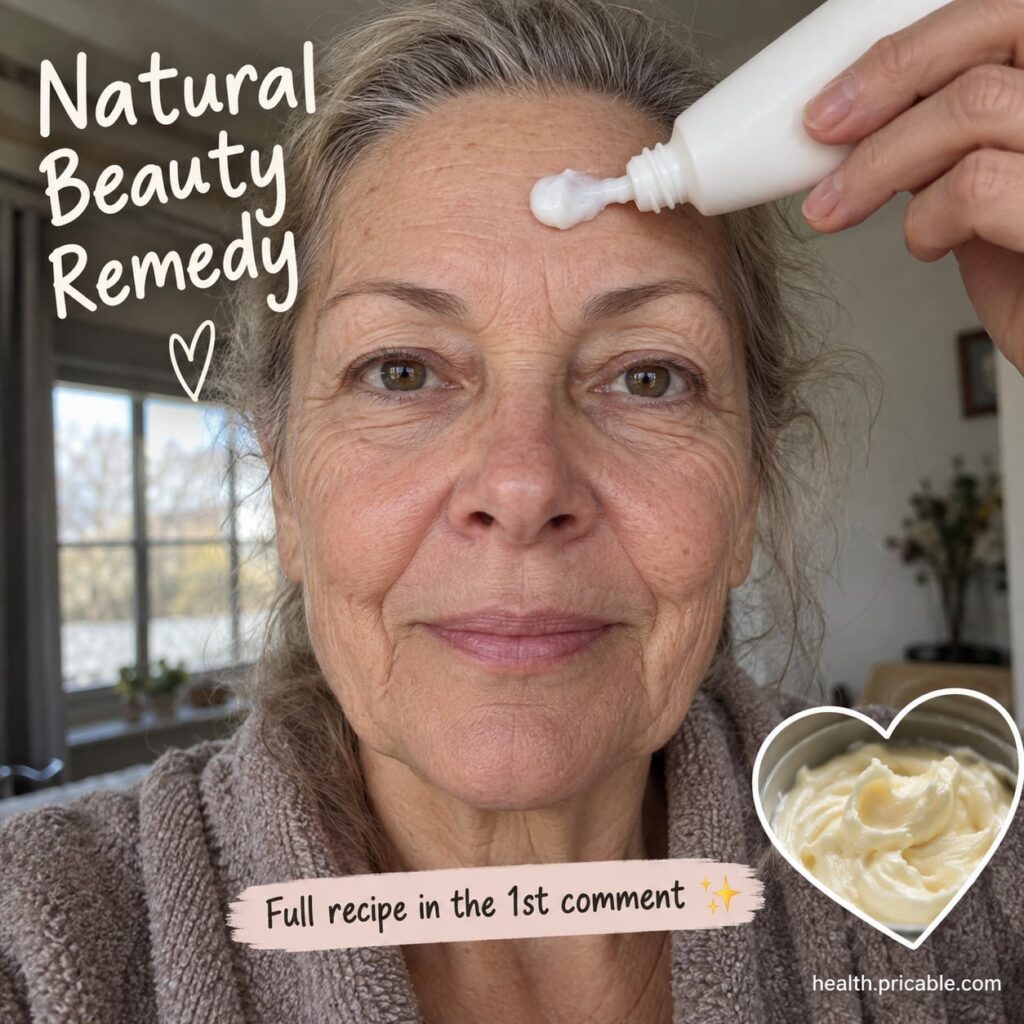
Main ingredients:
- Shea Butter
- Jojoba Oil
- Aloe Vera Gel
- Vitamin E Oil
Ingredients
- 2 tablespoons unrefined shea butter
- 1 tablespoon jojoba oil (or sweet almond oil)
- 1 tablespoon pure aloe vera gel
- 5-7 drops vitamin E oil
- Optional: 2-3 drops lavender essential oil (ensure it’s skin-safe and dilute properly)
How to Make It
- Melt the Shea Butter: In a double boiler or a heat-safe bowl placed over a pot of simmering water, gently melt the shea butter until it’s liquid. Be careful not to overheat it.
- Combine Oils: Once the shea butter is melted, remove it from the heat. Stir in the jojoba oil and vitamin E oil.
- Cool Slightly: Let the mixture cool down for about 5-10 minutes, but don’t let it solidify completely. It should still be liquid but no longer hot.
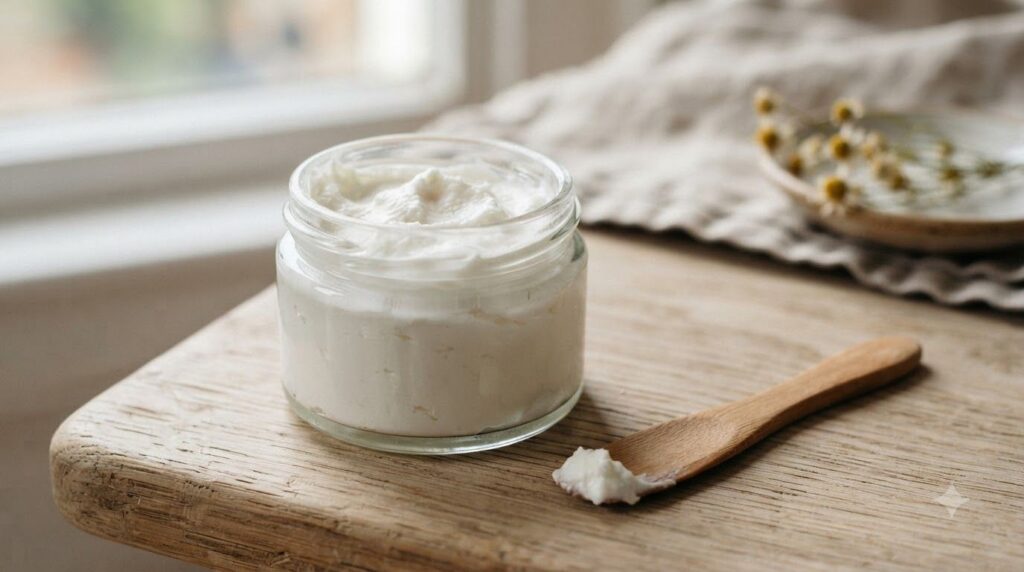
- Whip in Aloe Vera: Add the aloe vera gel to the cooled oil mixture. If using, add the essential oil now. Use a small whisk or a hand mixer to whip the mixture until it becomes light, fluffy, and takes on a creamy consistency. This may take 2-5 minutes.
- Transfer and Store: Carefully transfer your freshly made cream into a clean, airtight glass jar.
How to Use It
- Cleanse Your Skin: Start with a freshly cleansed face. Gently pat your skin dry.
- Apply a Small Amount: Scoop a pea-sized amount of the cream onto your fingertips.
- Massage Gently: Dab the cream onto your face and neck. Using upward circular motions, gently massage it into your skin until absorbed. Pay special attention to areas with fine lines.
How Often to Use It
This cream can be used once or twice daily, as part of your morning and/or evening skincare routine. Consistency is key for best results.
Why These Ingredients Are Used
Shea Butter
Shea butter is known for its rich moisturizing properties, helping to nourish dry skin and create a smoother-looking texture. It’s often used to support skin elasticity.
Jojoba Oil
Jojoba oil is unique because its composition is very similar to the natural oils produced by our skin. It’s an excellent moisturizer that can help balance oil production and leave skin feeling soft and supple.
Aloe Vera Gel
Aloe vera gel is celebrated for its soothing and hydrating qualities. It can help the skin feel refreshed and contribute to a plumper, more vibrant appearance.
Vitamin E Oil
Vitamin E is a popular antioxidant in skincare, often included for its potential to help protect the skin and support its natural repair processes, contributing to a healthy-looking complexion.
What Results to Expect
With regular use, this natural cream may help to improve the appearance of skin hydration and softness. It can support a smoother-looking texture and contribute to a more refreshed and youthful glow. While it won’t erase deep wrinkles, it can help the skin feel more supple and nourished, which may reduce the visible prominence of fine lines.
Safety Notes
- Patch Test First: Always apply a small amount of the cream to a discreet area of your skin (like behind your ear or on your inner arm) and wait 24 hours to check for any adverse reactions before applying it to your face.
- Use Gently: Apply the cream with gentle motions, avoiding harsh rubbing.
- Avoid Irritated or Broken Skin: Do not apply the cream to broken, irritated, or wounded skin.
- Stop Using if Discomfort Occurs: If you experience any redness, itching, burning, or discomfort, discontinue use immediately.
- Storage: Store your homemade cream in a cool, dark place. Since it contains natural ingredients and no harsh preservatives, it’s best to use it within 2-4 weeks. If you notice any changes in smell or texture, discard it.
FAQ
Can I substitute other oils for jojoba oil?
Yes, sweet almond oil, grapeseed oil, or argan oil are good alternatives that also offer moisturizing benefits for the skin. Choose an oil that suits your skin type.
How long does this homemade cream last?
Without commercial preservatives, this cream is best used within 2-4 weeks. Storing it in an airtight container in a cool, dark place can help extend its freshness slightly.
Is this cream suitable for all skin types?
While the ingredients are generally gentle, individual skin reactions vary. It’s particularly beneficial for dry or mature skin types. Always perform a patch test, especially if you have sensitive skin.
Final Thoughts
Embracing natural ingredients in your skincare routine can be a wonderful way to nourish your skin. This DIY natural cream offers a simple, accessible method to support a smoother, more refreshed complexion. Give it a try and share your experience with our community!