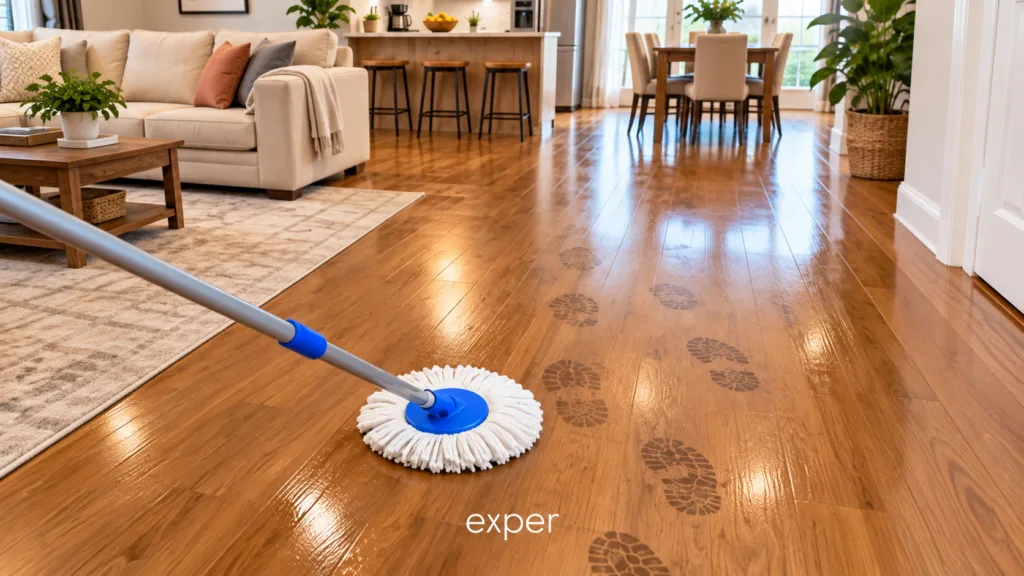
Are dull, dirty wooden floors and persistent footprints making your home feel less inviting? You’re not alone! Keeping wood floors clean and shiny can seem like a never-ending chore, but it doesn’t have to be. With the right technique and simple tools, you can effortlessly restore the natural beauty and sparkle to your wooden floors.
This DIY approach focuses on efficient mopping to lift away grime and leave a streak-free shine. It’s a practical method that saves you time and effort, making your cleaning routine much more satisfying.
What You’ll Need
- Vacuum Cleaner or Broom: For initial debris removal
- Microfiber or Flat Mop: Specifically designed for wood floors
- Two Buckets: One for cleaning solution, one for clean rinse water
- Mild Wood Floor Cleaner: A product safe for your specific floor finish, or a DIY solution of 1 cup white vinegar per gallon of warm water
- Warm Water: For diluting cleaner and rinsing
Why This DIY Can Be Useful
The secret to sparkling wooden floors lies in using the right tools and minimizing water exposure. A microfiber or flat mop is excellent because it’s highly absorbent and provides good surface contact without oversaturating the wood. This helps lift dirt effectively and allows the floor to dry quickly, preventing water damage.
A mild wood floor cleaner (or diluted white vinegar) is designed to cut through grime and footprints without stripping your floor’s finish. By using two buckets—one for the cleaning solution and one for clean rinse water—you avoid spreading dirty water back onto your floors, which is key for a streak-free finish.
How to Make It
- Prepare Your Solution: If using a commercial cleaner, follow the manufacturer’s instructions for dilution with warm water in one of your buckets. If using white vinegar, mix 1 cup of white vinegar with 1 gallon of warm water in the bucket.
- Fill Rinse Bucket: Fill your second bucket with clean, warm water.
How to Use It
- Pre-Clean the Floor: Before mopping, thoroughly vacuum or sweep your wooden floors to remove loose dirt, dust, and debris. This prevents scratching and ensures the mop can focus on grime.
- Dampen the Mop: Dip your microfiber or flat mop into the cleaning solution. Wring it out very thoroughly until it is just damp, not dripping. Excess water is not good for wood floors.
- Mop in Sections: Start mopping in a small section, working your way across the floor. Move the mop in the direction of the wood grain for best results and to avoid streaking.
- Rinse Frequently: After mopping a small section, rinse your mop in the bucket of clean water. Wring it out again very well.
- Repeat: Dip the clean, damp mop back into your cleaning solution and continue mopping the next section of the floor, repeating the rinsing process as you go. Change the clean rinse water once it becomes cloudy.
- Allow to Dry: Let the floor air dry completely. Since the mop was only damp, this should happen fairly quickly. For an extra shine, you can buff with a clean, dry microfiber cloth after the floor is dry.
What to Expect
You can expect to see a significant improvement in the cleanliness and shine of your wooden floors. Footprints and general grime should be visibly reduced, leaving behind a fresh, clean surface. While this method won’t repair deep scratches or damage, it will restore a healthy luster and make your floors look well-maintained and cared for.
Helpful Tips
- Work Smart: Always start mopping from the furthest corner of the room and work your way towards the exit to avoid stepping on freshly cleaned areas.
- Quick Cleanup: For spills or small messes, address them immediately with a lightly damp cloth to prevent stains or water damage.
- Protect Your Floors: Use doormats at entrances to trap dirt and consider felt pads under furniture legs to prevent scratches.
- Regular Maintenance: Frequent dry dusting or vacuuming between moppings will keep dirt from building up, making your deeper cleans easier.
Important Notes / Safety
- Test First: Always test any new cleaning solution (even DIY ones) on an inconspicuous area of your wooden floor to ensure it doesn’t cause discoloration or damage to the finish.
- Avoid Over-Wetting: Wood floors are sensitive to excess moisture. Always wring your mop out thoroughly. Standing water can warp wood or damage the finish.
- Ventilation: Ensure good ventilation by opening windows or using fans, especially when using commercial cleaning products, to help floors dry faster and dissipate any fumes.
- Read Product Labels: If using a commercial cleaner, always follow the manufacturer’s specific instructions for your type of wood floor.