Jade plants (Crassula ovata) are beloved for their beautiful, plump leaves and their reputation as symbols of good luck and prosperity. But did you know that these resilient succulents are also incredibly easy to propagate? With just a gentle touch and a little patience, you can turn one jade plant into many, expanding your collection or sharing the joy of gardening with friends and family. Let’s dive into the simple steps to propagate your jade plant!
Why Propagate Your Jade Plant?
Propagating jade plants is a rewarding experience for several reasons:
- Expand Your Collection: Create more plants from your existing one without spending extra money.
- Share with Friends: Jade plant cuttings make wonderful, thoughtful gifts.
- Revive an Old Plant: If your jade plant is leggy or unhealthy, propagation can give it a new lease on life.
- Pruning Benefits: Propagating often involves taking cuttings, which helps shape and maintain the health of your parent plant.
What You’ll Need
Gathering your supplies before you begin makes the process smooth and enjoyable:
- A healthy jade plant
- Sharp, clean pruning shears or a knife (for stem cuttings)
- Well-draining potting mix (succulent or cactus mix works best)
- Small pots or a propagation tray
- Optional: Rooting hormone (though jade plants usually root easily without it)
Step-by-Step Guide to Jade Plant Propagation
1. Choosing Healthy Cuttings
The success of your propagation starts with selecting the right material. You can propagate jade plants from either leaves or stem cuttings.
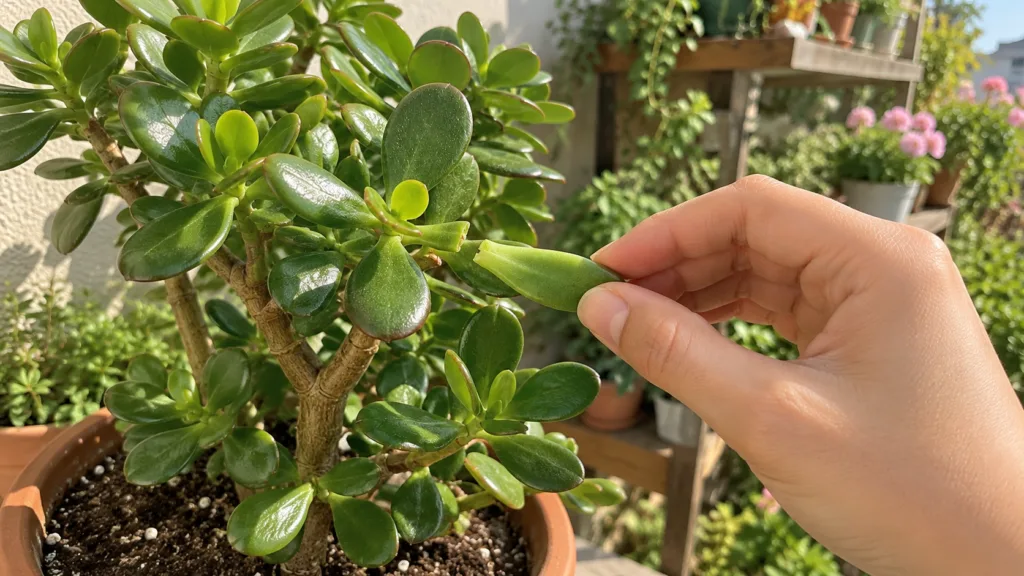
Leaf Cuttings:
Gently twist a healthy, plump leaf off the main stem. Ensure you get a clean break, including the very base of the leaf, as this is where new roots and pups will emerge. Avoid tearing the leaf.
Stem Cuttings:
Using clean, sharp shears, cut a section of a stem that is at least 3-6 inches long. Look for stems that have several sets of leaves. Remove the lower leaves from the cutting, leaving at least an inch or two of bare stem at the bottom.
2. Allow Cuttings to Callus
This is a crucial step for succulents! After taking your cuttings, lay them on a clean, dry surface in a warm spot away from direct sunlight for a few days to a week. You’ll notice the cut end drying out and forming a protective scab, or

