There’s nothing quite like the taste of a fresh, sun-ripened tomato picked straight from your own garden. The journey from a tiny seed to a juicy, delicious fruit is one of gardening’s most rewarding experiences. If you’ve ever dreamt of an abundance of homegrown tomatoes, starting them from seed is the best way to ensure a bountiful harvest tailored to your taste!
Why Start Tomato Seeds from Scratch?
While buying young tomato plants is convenient, starting from seed offers a world of benefits:
- Wider Variety: Access to hundreds, if not thousands, of tomato varieties you won’t find at local nurseries, from heirloom gems to unique hybrids.
- Cost-Effective: A single packet of seeds can produce dozens of plants for a fraction of the cost of buying individual seedlings.
- Stronger Plants: When grown in your specific environment from the start, seedlings can adapt better and often become more robust plants.
- The Joy of Cultivation: There’s immense satisfaction in nurturing a plant from its very beginning, watching it grow and eventually bear fruit.
Choosing Your Tomato Varieties
Before you even think about dirt, decide what kind of tomatoes you want to grow! Consider your climate, available space, and culinary preferences. Do you love slicing tomatoes for sandwiches, cherry tomatoes for salads, or paste tomatoes for sauces? Look for:
- Determinate vs. Indeterminate: Determinate varieties grow to a certain size and produce their fruit within a concentrated period, great for containers. Indeterminate varieties continue to grow and produce fruit throughout the season until frost, ideal for trellising and a continuous harvest.
- Days to Maturity: This tells you how long it will take from transplanting the seedling until you get ripe fruit. Choose varieties that suit your growing season length.
- Disease Resistance: Some seeds are bred to resist common tomato diseases, which can save you a lot of heartache.
Gathering Your Essential Supplies
Preparation is key for successful seed starting. Here’s what you’ll need:
- Tomato Seeds: Of course! Choose fresh seeds from a reputable source.
- Seed Starting Mix: A lightweight, sterile, fine-textured mix designed for seedlings. Avoid heavy garden soil.
- Seed Trays or Small Pots: Biodegradable pots, plastic trays with drainage holes, or even repurposed containers (ensure they are clean and have drainage).
- Light Source: A sunny windowsill might work, but grow lights provide consistent, strong light, which is crucial for sturdy seedlings.
- Watering Can or Spray Bottle: For gentle watering.
- Heat Mat (Optional): Can help speed up germination, especially for tomatoes that love warmth.
- Labels: Don’t forget to label your varieties!
Step-by-Step Guide to Planting Tomato Seeds
1. Preparing Your Tomato Seeds (If Using Fresh Tomatoes)
If you’re using seeds extracted from a fresh tomato, you’ll want to ferment them first. This process removes the gelatinous coating around each seed, which inhibits germination, and helps protect against seed-borne diseases.
- Squeeze the seeds and pulp from a ripe tomato into a jar.
- Add a little water to cover the mixture.
- Cover the jar loosely and let it sit at room temperature for 2-5 days. A layer of mold might form on top – this is normal!
- Once the seeds sink to the bottom and the mold layer is distinct, pour off the mold and pulp.
- Rinse the seeds thoroughly in a sieve, then spread them on a paper towel or plate to dry completely for several days before storing or planting.
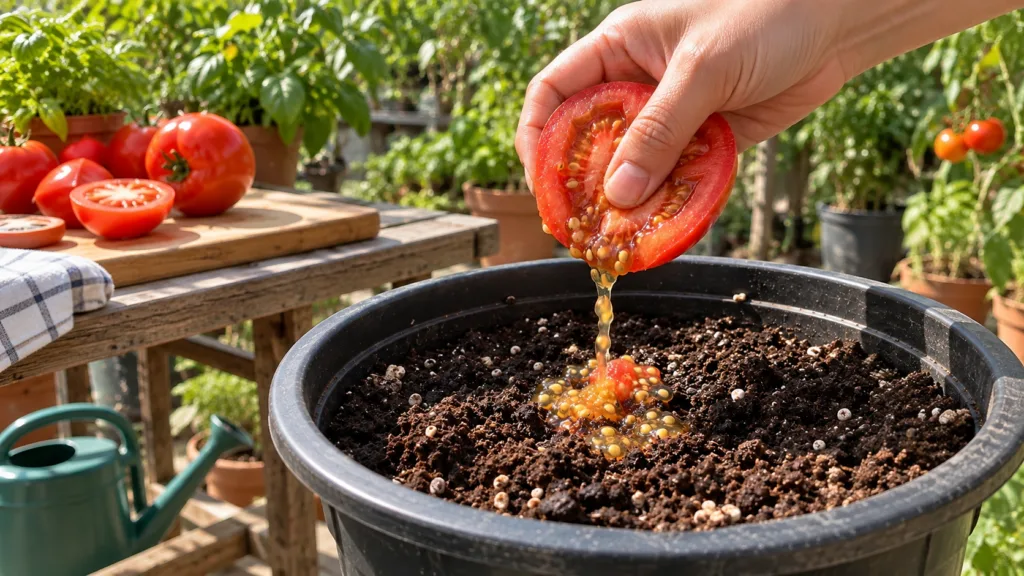
2. The Planting Process
- Prepare Your Pots: Fill your seed trays or small pots with the seed starting mix, gently pressing it down to remove large air pockets, but don’t compact it too much.
- Moisten the Soil: Water the soil thoroughly until it’s evenly moist but not soggy.
- Plant the Seeds: Make small holes about 1/4 inch deep in the center of each cell or pot. Place 2-3 seeds in each hole to account for potential non-germination. If using fermented and dried seeds, plant them directly.
- Cover and Label: Lightly cover the seeds with about 1/4 inch of seed starting mix. Gently mist the surface with water. Label each pot immediately with the tomato variety and date planted.
- Provide Warmth: Place your trays in a warm spot (75-85°F / 24-29°C is ideal). A heat mat can be very beneficial here.
Caring for Your Young Seedlings
Light is Key
Once your seeds germinate and tiny green sprouts appear (usually within 5-10 days), immediately move them to a strong light source. If using grow lights, keep them 2-4 inches above the seedlings for 12-16 hours a day. Without adequate light, seedlings will become leggy and weak, stretching for light.
Watering Wisely
Keep the soil consistently moist but never waterlogged. Overwatering can lead to damping-off disease, a fungal infection that kills young seedlings. Bottom-watering (placing trays in a shallow pan of water) can be effective as it encourages root growth downwards.
Thinning and Potting Up
Once your seedlings have their first set of true leaves (the second set of leaves to appear, after the initial round, or cotyledons), thin them to one strong seedling per pot. Snip the weaker seedlings at the soil line with small scissors to avoid disturbing the roots of the chosen one. When seedlings outgrow their small starter pots, usually when they are 4-6 inches tall, it’s time to

