Dust and cobwebs love to accumulate in the highest corners and on ceilings, often going unnoticed until the sunlight hits them just right. These hard-to-reach spots can make your home feel less clean, and airborne dust contributes to indoor allergens. If you’ve been looking for a simple, effective way to tackle these areas without needing a ladder, this DIY method is for you.
This straightforward approach uses a long-handled duster to extend your reach, making quick work of dusting ceilings, high shelves, and light fixtures. It’s a practical, low-effort way to maintain a consistently cleaner home, improving both aesthetics and air quality. Give it a try for a noticeably fresher living space.
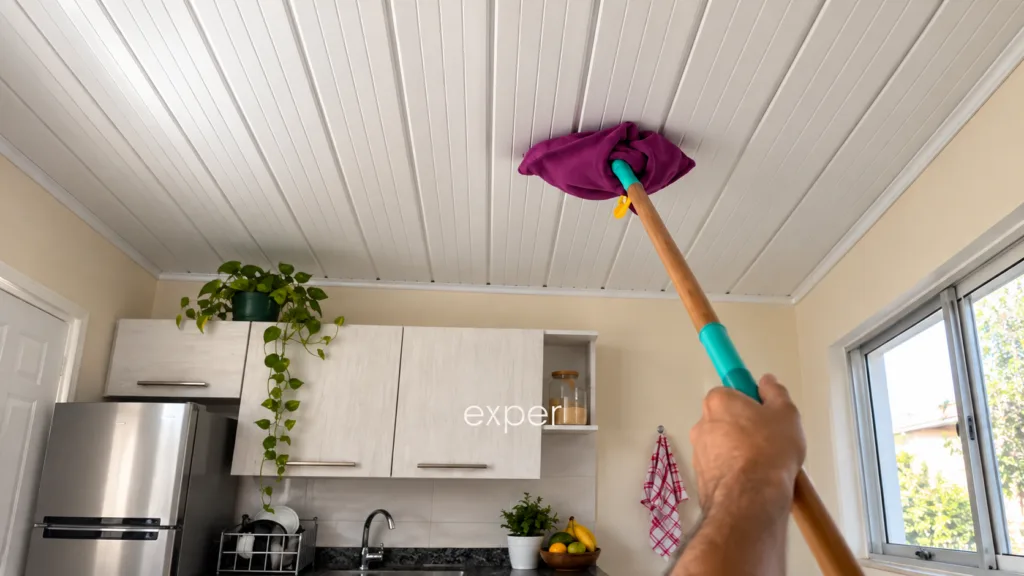
What You’ll Need
- Long-handled duster: Choose one with an extendable pole and a head designed to attract and trap dust, such as a microfiber or electrostatic duster. A purple microfiber duster as seen in many cleaning aisles works well.
Why This DIY Can Be Useful
The primary benefit of this DIY is the extended reach provided by the long handle. This eliminates the need for precarious climbing on chairs or ladders, making ceiling cleaning safer and more accessible. Dusters, especially those made from microfiber or treated with electrostatic properties, are designed to pick up and hold onto dust and cobwebs rather than just pushing them around. This means less dust falling back onto your furniture and floors, contributing to better indoor air quality and a more thorough clean.
How to Use It
- Assemble and Extend: If your duster comes in parts, assemble it securely. Extend the pole to the desired length, ensuring it’s long enough to comfortably reach your ceiling without overstretching. Make sure the locking mechanism on the pole is engaged.
- Gentle Sweeping Motion: Begin dusting your ceiling by gently sweeping the duster across the surface. Start from one end of the room and work your way across systematically.
- Target High Spots: Pay close attention to corners, edges where the wall meets the ceiling, and around light fixtures where dust and cobwebs often settle.
- Handle Textured Surfaces: If you have textured or popcorn ceilings, use a very light touch to avoid snagging the duster or damaging the texture.
- Clean the Duster: Periodically take the duster down and gently shake off accumulated dust and debris outdoors or over a trash can. You may need to do this several times depending on how dusty your ceilings are.
- Repeat for Full Coverage: Continue the process until all high surfaces, including ceiling fans and tops of tall cabinets, are dust-free.
What to Expect
You can expect a noticeable reduction in dust and cobwebs on your ceilings and other high, hard-to-reach areas. Rooms will likely feel fresher and brighter without the visible film of dust. This method is excellent for maintaining cleanliness and preventing heavy buildup. Keep in mind it’s primarily for loose dust and cobwebs; it won’t remove heavy grime, stains, or deeply embedded dirt.
Helpful Tips
- Regular Dusting: Make ceiling dusting a regular part of your cleaning routine, perhaps once a month, to prevent heavy dust accumulation and make future cleaning quicker.
- Dust Top-Down: Always dust high surfaces before cleaning lower ones so any falling dust lands on surfaces you still plan to clean.
- Protect Surfaces Below: If your ceilings are very dusty or you’re sensitive to dust, consider covering furniture and floors with old sheets or drop cloths before you start.
- Good Lighting: Work in good lighting to easily spot all dusty areas and cobwebs that might otherwise be missed.
Important Notes / Safety
- Overhead Fixtures: Exercise caution when dusting around light fixtures, smoke detectors, and other ceiling-mounted items. Use gentle movements to avoid dislodging or damaging them.
- Secure Handle: Always ensure your duster’s handle is securely locked at its extended length before use to prevent accidental collapse.
- Ventilation: If you’re sensitive to dust, open windows for ventilation or consider wearing a dust mask during the process.
- Patch Test: If you have unusually delicate or antique ceiling finishes, test a small, inconspicuous area first to ensure the duster material won’t cause any marks or damage.