Unlock Radiant Skin with DIY Clove Ice! Your New Skincare Bestie
Hey beauty besties! Are you dreaming of that radiant glow that makes you feel confident and beautiful? We’ve got a super exciting, natural secret to share that might just become your new favorite skincare hack: DIY Clove Ice! Forget complicated routines and expensive products for a moment, because this simple, at-home remedy uses the power of natural cloves to give your skin a truly refreshing pick-me-up.
Clove ice is quickly becoming a buzzword in natural beauty circles, and for good reason! It’s known for helping to brighten your complexion, reduce the appearance of dark spots, and leave your skin feeling revitalized and happier. Imagine a soothing, easy treatment that feels like a mini spa day, right in the comfort of your home. Ready to dive in and discover how this little ice cube can make a big difference?
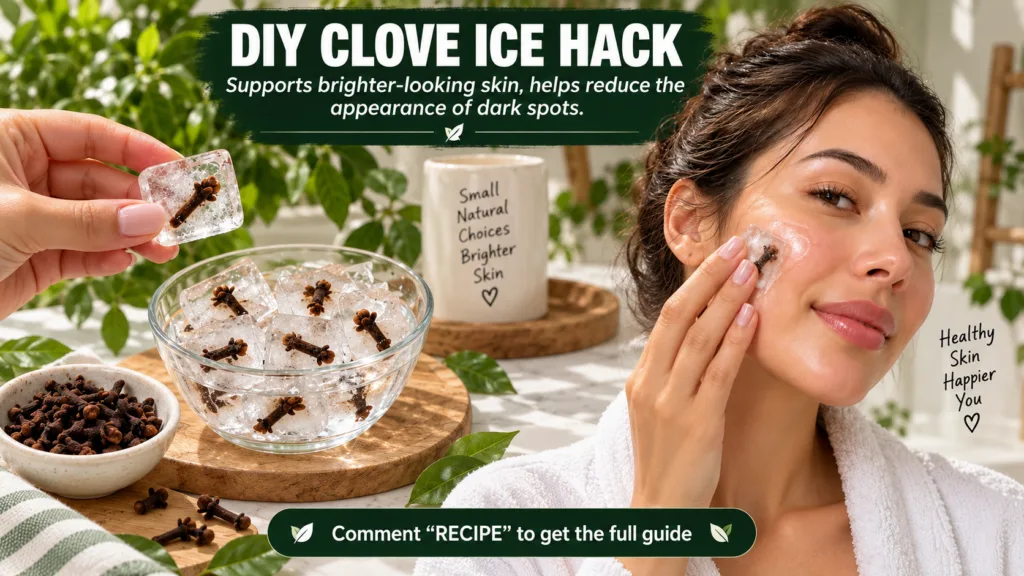
What Makes Cloves So Special for Your Skin?
Cloves aren’t just for cooking or warm, cozy drinks! These aromatic buds are packed with compounds that can work wonders for your skin. Here’s why cloves are a fantastic addition to your natural beauty routine:
- Antioxidant Powerhouse: Cloves are rich in antioxidants, which help fight off free radicals that can damage skin cells and accelerate aging. This can lead to a more youthful and vibrant complexion.
- Anti-Inflammatory Properties: If you struggle with redness or minor skin irritations, the anti-inflammatory properties of cloves can help soothe and calm your skin.
- Brightening Effect: Many users report that regular application of clove ice helps to even out skin tone and reduce the appearance of dark spots and hyperpigmentation, leading to a brighter, more radiant complexion.
- Astringent Qualities: Cloves can act as a natural astringent, helping to tighten pores and give your skin a smoother appearance.
How to Make Your Own Clove Ice: A Simple Recipe
Making clove ice is incredibly easy and requires just a few ingredients you likely already have or can easily find. Here’s how to whip up your own batch:
- Gather Your Ingredients: You’ll need about 1-2 tablespoons of whole cloves and 1 cup of filtered water.
- Boil the Water: Bring the cup of filtered water to a boil in a small saucepan.
- Add Cloves and Steep: Once the water is boiling, add the whole cloves. Reduce the heat to low, cover the pan, and let the cloves steep for about 10-15 minutes. This allows the beneficial compounds to infuse into the water.
- Cool and Strain: Remove the pan from the heat and let the clove water cool completely to room temperature. Once cool, strain the liquid to remove the whole cloves. You should have a brownish, fragrant liquid.
- Freeze: Pour the strained clove water into an ice cube tray. Place the tray in the freezer and let it freeze solid for at least 4-6 hours, or overnight.
And just like that, you have your very own natural skincare weapon ready to go!
How to Use Clove Ice for Best Results
Using clove ice is a refreshing and invigorating experience. Here’s how to incorporate it into your routine for the best glow-getting results:
- Cleanse Your Skin: Always start with a freshly cleansed face. Remove any makeup or impurities.
- Wrap It Up: Never apply ice directly to your skin, as it can be too harsh. Instead, take one clove ice cube and wrap it in a thin, soft cloth or a piece of gauze.
- Gentle Application: Gently glide the wrapped ice cube over your face in small, circular motions. Focus on areas where you want to brighten your complexion or reduce dark spots. Avoid keeping the ice in one spot for too long.
- Duration: Continue for about 30 seconds to 1 minute, or until the ice cube has significantly melted. You should feel a refreshing coolness, but stop if you experience any discomfort.
- Let It Absorb: After applying, let the clove water air dry on your face for a few minutes. This allows your skin to absorb all the wonderful nutrients.
- Follow Up: Pat your skin dry with a clean towel if needed, then follow with your favorite hydrating serum or moisturizer to lock in the benefits.
For best results, try using clove ice once a day, either in the morning to wake up your skin or in the evening as part of your winding-down routine.
Tips and Precautions for Your Clove Ice Journey
While clove ice is a natural and generally safe remedy, it’s always good to keep a few tips and precautions in mind:
- Patch Test First: Especially if you have sensitive skin, always do a patch test on a small, inconspicuous area of your skin (like behind your ear or on your inner arm) before applying it to your entire face. Wait 24 hours to check for any reaction.
- Avoid Broken Skin: Do not use clove ice on skin that has cuts, open wounds, or severe acne breakouts.
- Listen to Your Skin: If you experience any redness, irritation, or excessive stinging, stop using it immediately.
- Storage: Keep your clove ice cubes stored in an airtight container in the freezer. They usually last for about 1-2 weeks.
Why Clove Ice Should Be Your New Skincare Bestie
The beauty of DIY Clove Ice lies in its simplicity, affordability, and natural approach to skincare. It’s a wonderful way to bring a little bit of nature’s magic into your daily routine, helping you achieve that coveted radiant, even-toned skin without breaking the bank. It’s truly like giving yourself a refreshing facial at home!
So, are you ready to embrace this easy hack and unlock your most radiant complexion yet? Give DIY Clove Ice a try and see the amazing difference it can make for your skin. We can’t wait to hear about your experience! Share your thoughts and glow-up stories with us below.