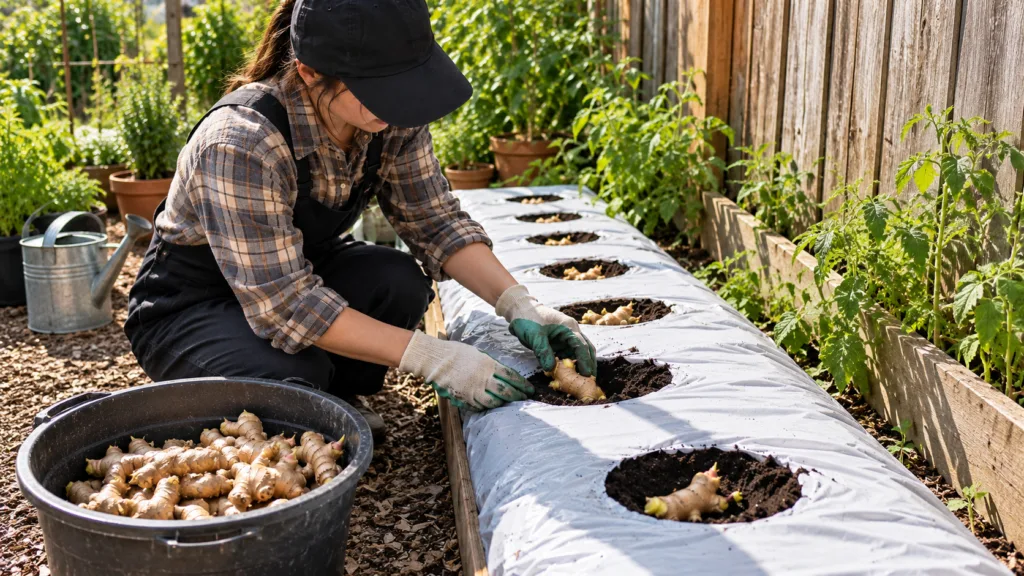
There’s nothing quite like the satisfaction of harvesting your own fresh produce, and ginger is no exception! Imagine plucking a fragrant, zesty rhizome right from your backyard or patio, ready to elevate your cooking or soothe a sore throat. Growing your own ginger might seem daunting, but it’s surprisingly simple and incredibly rewarding. Let’s dive into how you can start your very own ginger patch and enjoy a bountiful harvest.
Why Grow Your Own Fresh Ginger?
Beyond the joy of gardening, homegrown ginger offers several benefits:
- Superior Flavor: Freshly harvested ginger has a potent, vibrant flavor that store-bought ginger often lacks, as it hasn’t been dried or stored for long periods.
- Health Benefits: Ginger is renowned for its anti-inflammatory properties, ability to aid digestion, and relief from nausea. Having it fresh and organic from your garden ensures maximum potency.
- Cost-Effective: A small initial investment in ginger rhizomes can yield a significant harvest, saving you money in the long run.
- Pesticide-Free: When you grow it yourself, you control the environment, ensuring your ginger is free from harmful chemicals.
Getting Started: What You Need
1. Choosing Your Ginger Rhizomes
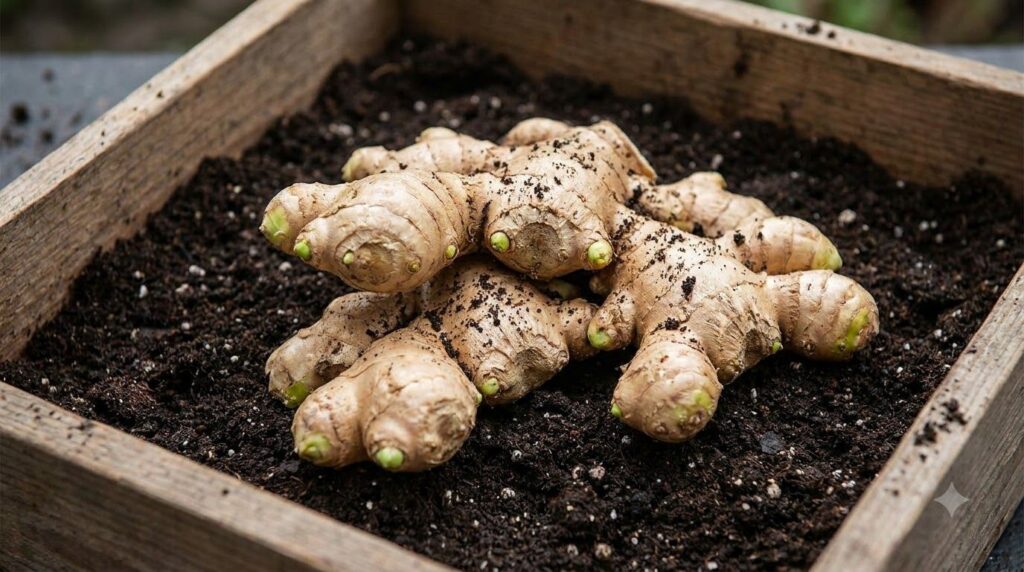
Don’t look for ginger seeds; ginger is grown from rhizomes, which are the fleshy, underground stems we commonly call ‘ginger roots.’ Here’s what to look for:
- Organic Ginger: Purchase organic ginger from a grocery store or a garden center. Non-organic ginger might be treated with a growth inhibitor.
- Plump and Healthy: Choose rhizomes that are firm, plump, and free of blemishes.
- ‘Eyes’ or Buds: Look for pieces with visible ‘eyes’ or small bumps, which are the points where new shoots will emerge.
2. Soil and Potting
Ginger thrives in rich, loose, well-draining soil. It prefers a slightly acidic to neutral pH (6.0-7.0).
- Garden Beds: Amend your garden soil with plenty of compost or well-rotted manure to improve drainage and fertility.
- Containers: If growing in pots, choose a wide, shallow pot (at least 12 inches in diameter) rather than a deep one, as ginger grows horizontally. Use a high-quality potting mix blended with compost.
3. Climate and Location
Ginger is a tropical plant, so it loves warmth and humidity. It’s best grown in USDA Zones 7-10 as a perennial, or as an annual in cooler climates. It needs a long growing season (8-10 months).
- Partial Shade: While it enjoys warmth, ginger doesn’t like direct, scorching sun. A spot with partial shade, especially in the afternoon, is ideal.
- Warmth: Temperatures between 70-85°F (21-29°C) are perfect.
Step-by-Step Planting Guide
1. Prepare Your Rhizomes
If your ginger rhizome is a large piece, you can cut it into smaller sections. Each section should be about 1-2 inches long and have at least one or two ‘eyes’. Allow the cut pieces to callus over for a day or two in a dry, warm spot. This helps prevent rot once planted.
2. Planting Time
Plant your ginger in late spring, after the last frost, when soil temperatures are consistently above 55°F (13°C).
3. How to Plant
- Depth: Plant the ginger pieces about 1-2 inches deep with the ‘eyes’ facing upwards.
- Spacing: If planting in a garden bed, space pieces 6-8 inches apart. For containers, you can plant 2-3 pieces in a 12-14 inch wide pot.
- Watering: Water thoroughly after planting, but don’t overwater. The soil should be consistently moist, but not waterlogged.
Care and Maintenance for Thriving Ginger
1. Watering
Keep the soil consistently moist, especially during dry spells. However, ensure good drainage to prevent rhizome rot. Reduce watering as temperatures drop in the fall.
2. Fertilizing
Ginger is a heavy feeder. Fertilize monthly with a balanced organic liquid fertilizer or a slow-release granular fertilizer throughout the growing season. Compost tea is also an excellent option.
3. Weed Control and Mulching
Keep the area around your ginger free of weeds, as they compete for nutrients. Applying a layer of organic mulch (like straw or wood chips) can help suppress weeds, retain soil moisture, and provide a slow release of nutrients as it breaks down. Some gardeners also use white plastic sheeting, as seen in our initial image, to help warm the soil and suppress weeds effectively.
4. Pest and Disease
Ginger is relatively pest-resistant. Watch out for root-knot nematodes or slugs. Good air circulation and proper watering usually prevent fungal issues.
When and How to Harvest Your Ginger
Ginger typically takes 8-10 months to mature, but you can harvest it earlier for a milder flavor. The leaves will start to yellow and die back as the plant matures, signaling it’s ready for harvest.
- Partial Harvest: Around 4-6 months, you can carefully dig around the plant and snip off a piece of the rhizome from the side, then re-cover the remaining plant. This allows the plant to continue growing.
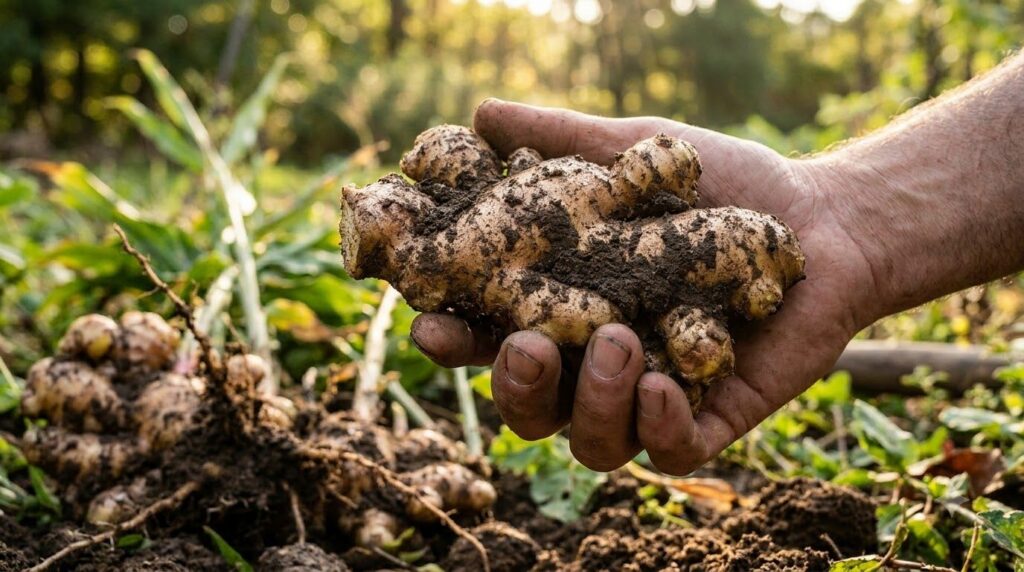
- Full Harvest: After 8-10 months, when the foliage has completely died back, gently dig up the entire plant. Brush off the soil and separate the rhizomes.
Storing Your Fresh Ginger
Once harvested, you can store your ginger in a few ways:
- At Room Temperature: Store unpeeled ginger in a cool, dark, dry place for up to a week.
- In the Refrigerator: Place unpeeled ginger in a paper bag or wrap it in a paper towel, then put it in a plastic bag in the crisper drawer. It can last for several weeks.
- In the Freezer: Peel and chop or grate ginger, then freeze it in an airtight container or freezer bag. You can also freeze whole unpeeled pieces. Frozen ginger can last for several months.
Enjoy Your Homegrown Harvest!
Growing ginger is a delightful experience that connects you closer to your food and garden. With a little patience and care, you’ll be enjoying the unparalleled flavor of fresh, homegrown ginger in no time. Whether you’re adding it to stir-fries, making ginger tea, or using it in baked goods, your efforts will surely pay off!
Do you have any secret tips for growing ginger? Share your experiences in the comments below – we’d love to hear them!