Hey, beauty besties! Are you ready to dive into your kitchen for some skincare magic? We often think of our favorite spices and veggies for delicious meals, but did you know some of them hold incredible secrets for glowing, clear skin too? Today, we’re stirring up some warmth and wellness with a fantastic DIY toner featuring two powerhouse ingredients: ginger and garlic!
It might sound a little unconventional, but trust us, these natural wonders are packed with benefits that can help transform your complexion. Forget expensive potions; let’s talk about affordable, effective solutions right at your fingertips!
The Power Duo: Ginger and Garlic for Your Skin
Before we jump into the recipe, let’s chat about why ginger and garlic are making waves in the natural skincare world. You’ll be amazed at what these humble ingredients can do!
Ginger: The Zesty Skin Soother
Ginger isn’t just for adding a kick to your tea or stir-fry; it’s a skincare superstar!
- Anti-inflammatory Marvel: Got redness or irritation? Ginger’s natural anti-inflammatory properties can help calm your skin, reducing puffiness and soothing blemishes.
- Antioxidant Boost: Rich in antioxidants, ginger helps fight off free radicals that can damage your skin cells and lead to premature aging. Hello, youthful glow!
- Brightening Effect: Regular use can help improve skin tone and diminish the appearance of dark spots, giving you a more even and radiant complexion.
- Improved Circulation: Ginger can stimulate blood flow, which means more nutrients delivered to your skin cells, promoting a healthy, vibrant look.
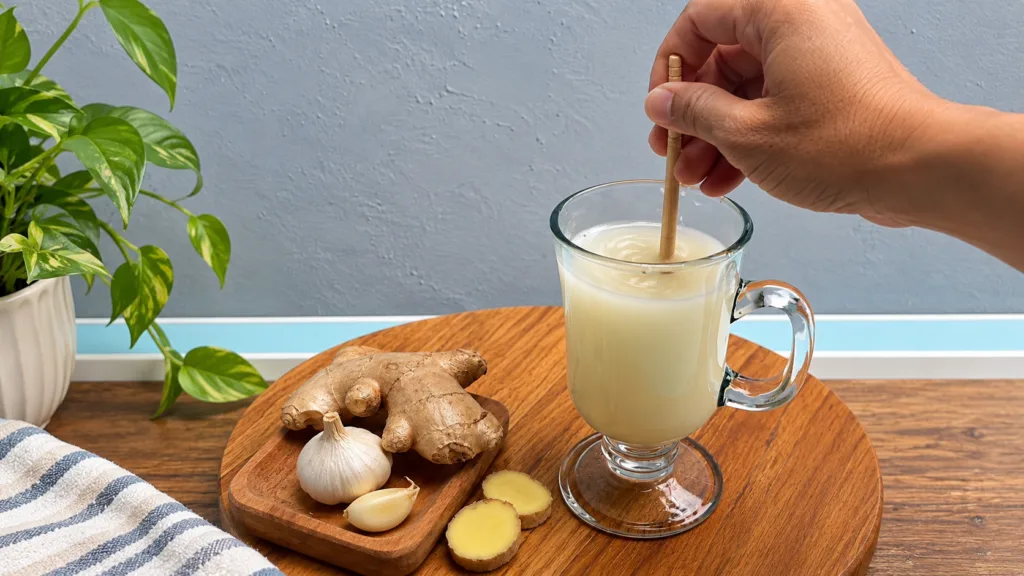
Garlic: Your Skin’s Secret Weapon
While its scent might be strong, garlic offers incredible benefits for clear, healthy skin.
- Acne Fighter: Garlic contains allicin, a compound with powerful antimicrobial and antibacterial properties, making it an excellent natural remedy for combating acne-causing bacteria.
- Collagen Booster: Sulfur, a key component in garlic, is essential for collagen production, which helps keep your skin firm and elastic.
- Antifungal Benefits: It can also help tackle various skin fungal issues, promoting overall skin health.
- Detoxifying Power: Garlic helps purify the skin, reducing congestion and promoting a clearer complexion.
DIY Ginger & Garlic Skin Clarity Toner Recipe
Ready to make your own skin-loving toner? Here’s a simple recipe to get you started!
What You’ll Need:
- 1-inch piece of fresh ginger root, peeled and thinly sliced or grated
- 2-3 cloves of fresh garlic, peeled and thinly sliced or lightly crushed
- 1 cup distilled water (or filtered water)
- Small saucepan
- Fine-mesh sieve or cheesecloth
- Sterilized glass bottle or spray bottle for storage
Step-by-Step Instructions:
- Prepare Ingredients: Peel and slice your ginger and garlic. The more surface area exposed, the more beneficial compounds will be released.
- Simmer Gently: In a small saucepan, combine the distilled water, sliced ginger, and sliced garlic. Bring the mixture to a gentle simmer over low heat. Do not boil vigorously, as this can destroy some of the beneficial compounds.
- Infuse: Let it simmer for about 10-15 minutes. You’ll notice the water starting to take on a light yellowish tint and a subtle aroma.
- Cool Down: Remove the saucepan from the heat and let the mixture cool completely. It’s important to let it cool down before straining to ensure maximum infusion.
- Strain: Once cooled, pour the mixture through a fine-mesh sieve or cheesecloth into a clean bowl. Press down on the ginger and garlic to extract all the liquid. Discard the solids.
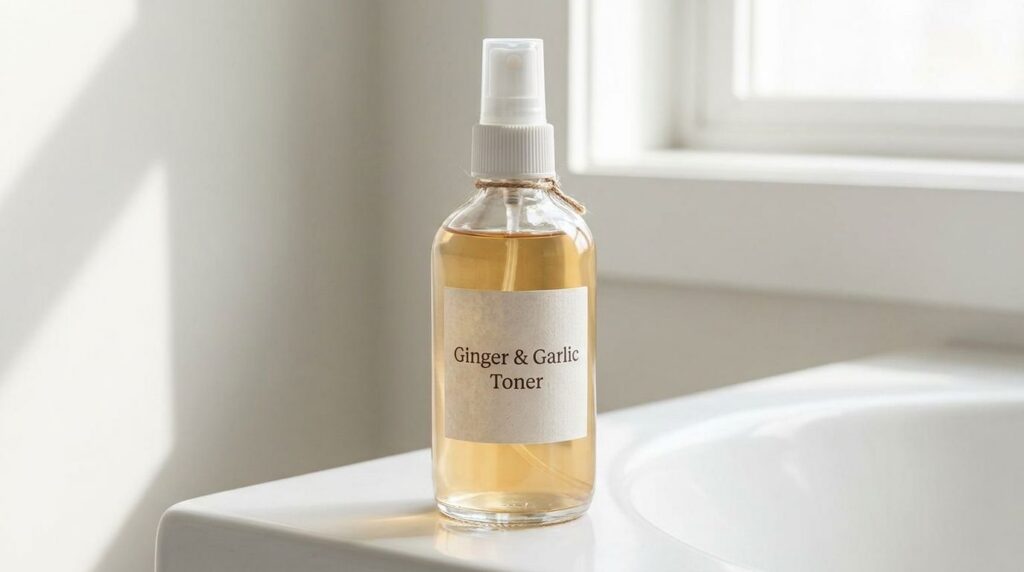
- Store: Transfer your homemade ginger and garlic toner into a sterilized glass bottle or spray bottle.
How to Use Your Toner:
This toner is best used after cleansing and before applying serums or moisturizers.
- As a Spray: Gently mist over your clean face, avoiding the eyes.
- With a Cotton Pad: Dispense a small amount onto a cotton pad and gently swipe across your face and neck.
Follow up with your favorite moisturizer to lock in hydration.
Important Tips & Considerations:
- Patch Test is Key: Always, always perform a patch test on a small, inconspicuous area of your skin (like behind your ear or on your inner arm) before applying it to your entire face. Wait 24 hours to check for any irritation or allergic reaction.
- Storage: Store your toner in the refrigerator to keep it fresh. It should last for about 5-7 days. If you notice any changes in smell or appearance, it’s best to discard it and make a fresh batch.
- Frequency: Start by using it once a day, perhaps in your evening routine, to see how your skin reacts. If your skin tolerates it well, you can increase to twice daily.
- Sun Sensitivity: While ginger and garlic aren’t known to drastically increase sun sensitivity, it’s always a good idea to use sunscreen daily, especially when introducing new active ingredients into your routine.
- Listen to Your Skin: If you experience any stinging, burning, or redness, discontinue use immediately. Natural doesn’t always mean suitable for everyone, especially if you have very sensitive skin or specific skin conditions.
Embrace the Natural Glow!
There you have it, beauties! A simple, affordable, and incredibly beneficial DIY ginger and garlic toner for clearer, more radiant skin. It’s truly amazing what powerful ingredients we can find right in our own kitchens!
Give this natural toner a try and let us know how your skin feels. Remember, consistency is key, and listening to your skin is always the best beauty advice. Here’s to healthy, happy, glowing skin, naturally!