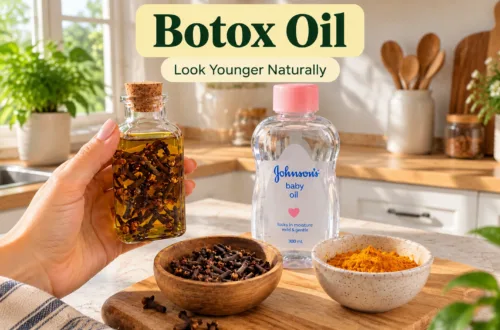
Hey beauty besties! Are you dreaming of naturally smooth, radiant skin without breaking the bank? What if I told you that a common spice in your kitchen holds a secret to unlocking glowing skin? Today, we’re diving into the wonderful world of cloves and how you can easily make your own homemade clove beauty oil!
Cloves aren’t just for adding flavor to your favorite dishes; they’re packed with incredible properties that can work wonders for your complexion. From ancient remedies to modern skincare, cloves have been cherished for their potent benefits. Ready to discover this natural gem?
Why Clove Oil is Your Skin’s New Best Friend
So, what makes cloves such a powerhouse for your skin? These tiny dried flower buds are rich in antioxidants, which help fight off free radicals that contribute to premature aging and dullness. But that’s not all!
- Anti-inflammatory properties: Clove oil can help calm irritated skin and reduce redness.
- Antiseptic qualities: It’s great for keeping blemishes at bay and maintaining clear skin.
- Promotes circulation: This can give your skin a healthy, youthful glow.
- Smooths and softens: Regular use can lead to noticeably softer and smoother skin texture.
It’s like a little spa treatment right from your pantry!
DIY Clove Beauty Oil: Your Step-by-Step Guide
Making your own clove beauty oil is surprisingly simple and requires just a few ingredients. Here’s how you can whip up this amazing elixir at home.
What You’ll Need:
- 1/4 cup whole cloves (not ground!)
- 1 cup carrier oil (jojoba oil, almond oil, or olive oil are great choices)
- A clean, dry glass jar with a lid
- Fine mesh strainer or cheesecloth
- A dark glass dropper bottle for storage
Instructions:
- Prepare the Cloves: Gently crush the whole cloves a bit. You can use a mortar and pestle or place them in a bag and lightly tap with a rolling pin. This helps release their beneficial compounds.
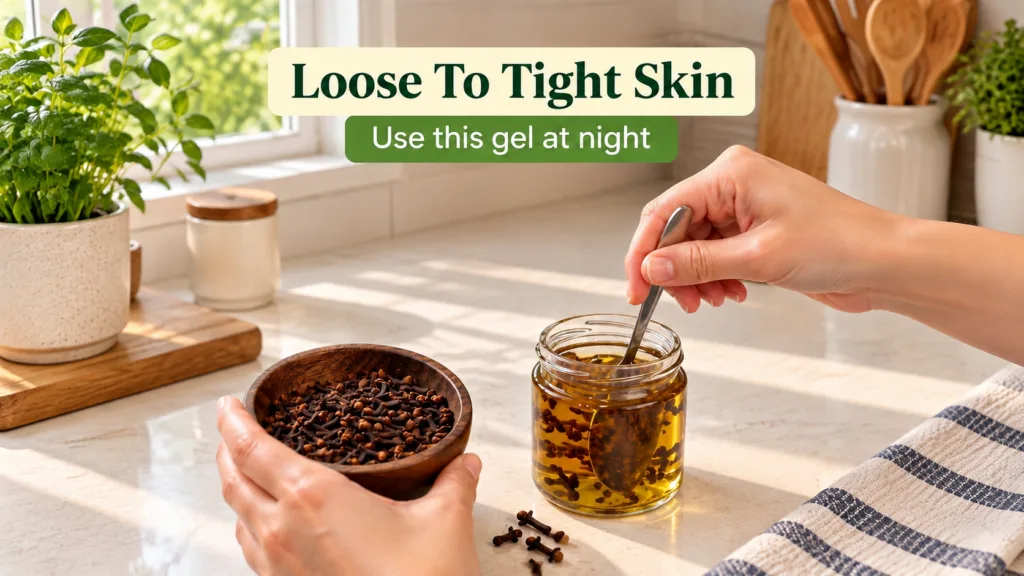
- Combine Ingredients: Place the crushed cloves into your clean glass jar. Pour your chosen carrier oil over the cloves, ensuring they are fully submerged.
- Infuse the Oil: Seal the jar tightly. Place the jar in a sunny spot (like a windowsill) for 2-4 weeks. Give it a gentle shake every day or two. The warmth and time allow the cloves to infuse their goodness into the oil.
- Strain the Oil: After the infusion period, use a fine mesh strainer or cheesecloth to separate the cloves from the oil. Make sure to squeeze out all the oil from the cloves!
- Store Your Oil: Pour the strained clove-infused oil into a dark glass dropper bottle. This helps protect the oil from light and extends its shelf life.
How to Use Your Homemade Clove Beauty Oil
Once your beautiful clove oil is ready, here’s how you can incorporate it into your routine for that smooth, radiant glow:
- Facial Massage: After cleansing, apply a few drops of the oil to your face and neck. Gently massage in upward circular motions. This boosts circulation and helps the oil penetrate deeply.
- Spot Treatment: For specific areas that need extra love, dab a tiny amount of oil directly onto blemishes or rough patches.
- Mix with Moisturizer: Add a drop or two to your favorite daily moisturizer for an extra boost of nourishing benefits.
Always remember to do a patch test first! Apply a tiny amount to a small area of your skin (like your inner arm) and wait 24 hours to ensure you don’t have any adverse reactions.
Important Considerations & Safety Tips
While natural, clove oil is potent, so a little goes a long way!
- Dilution is Key: Never apply undiluted essential clove oil directly to your skin. Our DIY oil is already diluted with a carrier oil, making it safer for use.
- Frequency: Start by using it a few times a week and adjust based on how your skin responds.
- Storage: Keep your oil in a cool, dark place to maintain its potency. It can last for several months.
- Listen to Your Skin: If you experience any irritation, stop use immediately.
Embrace Your Natural Glow!
Making your own clove beauty oil is a wonderful way to connect with nature’s power and treat your skin to something truly special. It’s affordable, effective, and tailored by you!
Give this DIY a try and let us know how your skin transforms! Share your experiences in the comments below. We love hearing from our beauty besties!
Stay glowing!